Ultimate Sleeper

For some reason(s), diesel vehicles offered to the average consumer over the past 40 years have arrived for sale at local dealerships either woefully engineered and/or seriously de-tuned. Fortunately manufacturers have recognized the value and profit potential in diesel technology and the engineering has caught up. Diesel builders have also been required to keep pace with ever-tightening emissions standards levied by governments. That has led to a combination of significantly de-tuned engines saddled with in some cases, ridiculous amounts of overly complex emissions control gear.

The real state of just how bad it is came to the fore last year with what’s being called “VW Dieselgate.” Volkswagen engineers forced to resolve meeting emissions standards against onerous bean counters in their own company simply decided to use software to cheat the government regulators in probably the biggest scandal that’s ever hit the automotive industry. Restitution to dealers and customers is running in the billions and it’s not over yet. Volkswagen’s survival as a company was even in question at one point. Here is a good synopsis of the VW fiaso, as of Thanksgiving, 2016. It’s not over yet.

Well, I’m not gonna take it anymore, and I’m far from alone in that sentiment. As usually happens in cases like this, 3rd party software engineers and fabricators have stepped up to address the issue. Enthusiasts who love their cars and are willing to pay the price, have options to modify or eliminate troublesome, power-sapping pollution control systems in their cars. Bimmertime is upon us. I just returned from a friend’s place who helped me get the car finally done right. He has some 1st hand experience with the 335D, and spent a day demonstrating how to eliminate the remaining two emissions systems from the car: DPF and DEF. These contraptions have the ability to stop the car in it’s tracks, entailing thousands of dollars in repair expense when they do break – and they are proven failure-prone. The $40/gal LL04 low SAPS oil required to support the DPF is a real kick in the wallet, too.  BMW took a beating in warranty outlays on this particular model here in the U.S. My car ended the extended warranty period last year with a total of a whopping $23k in warranty repairs – almost all emissions systems work.

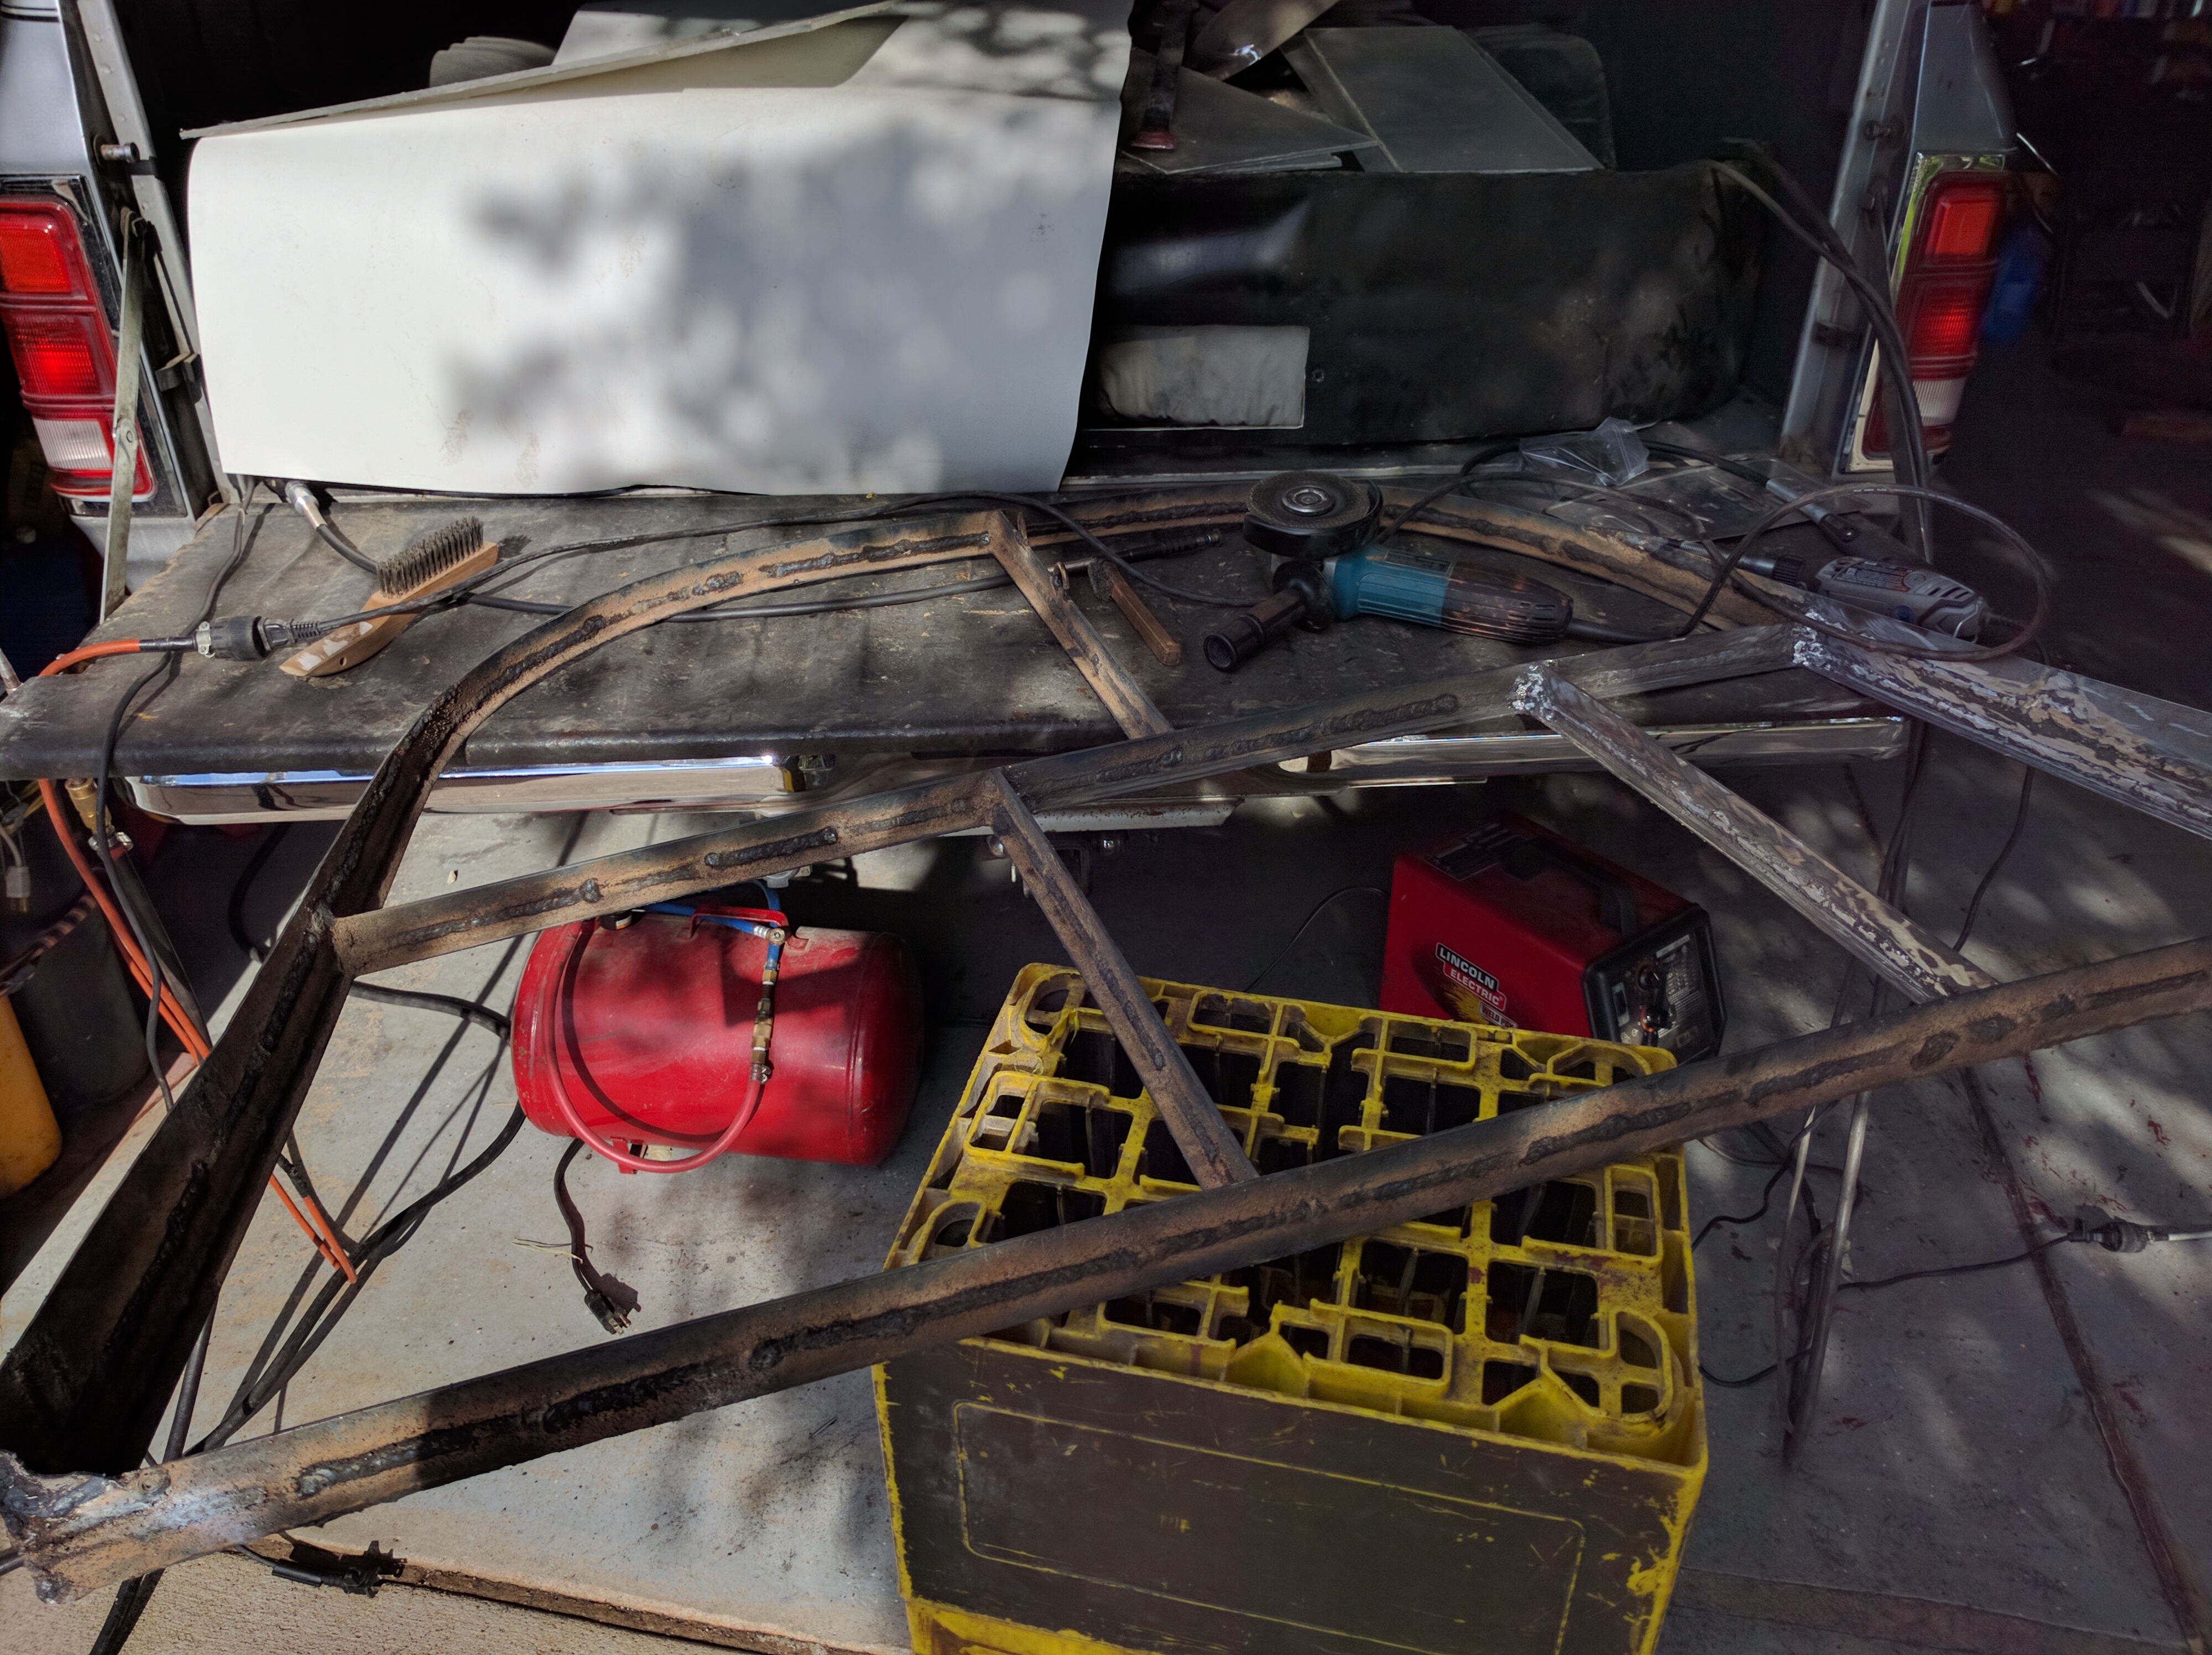
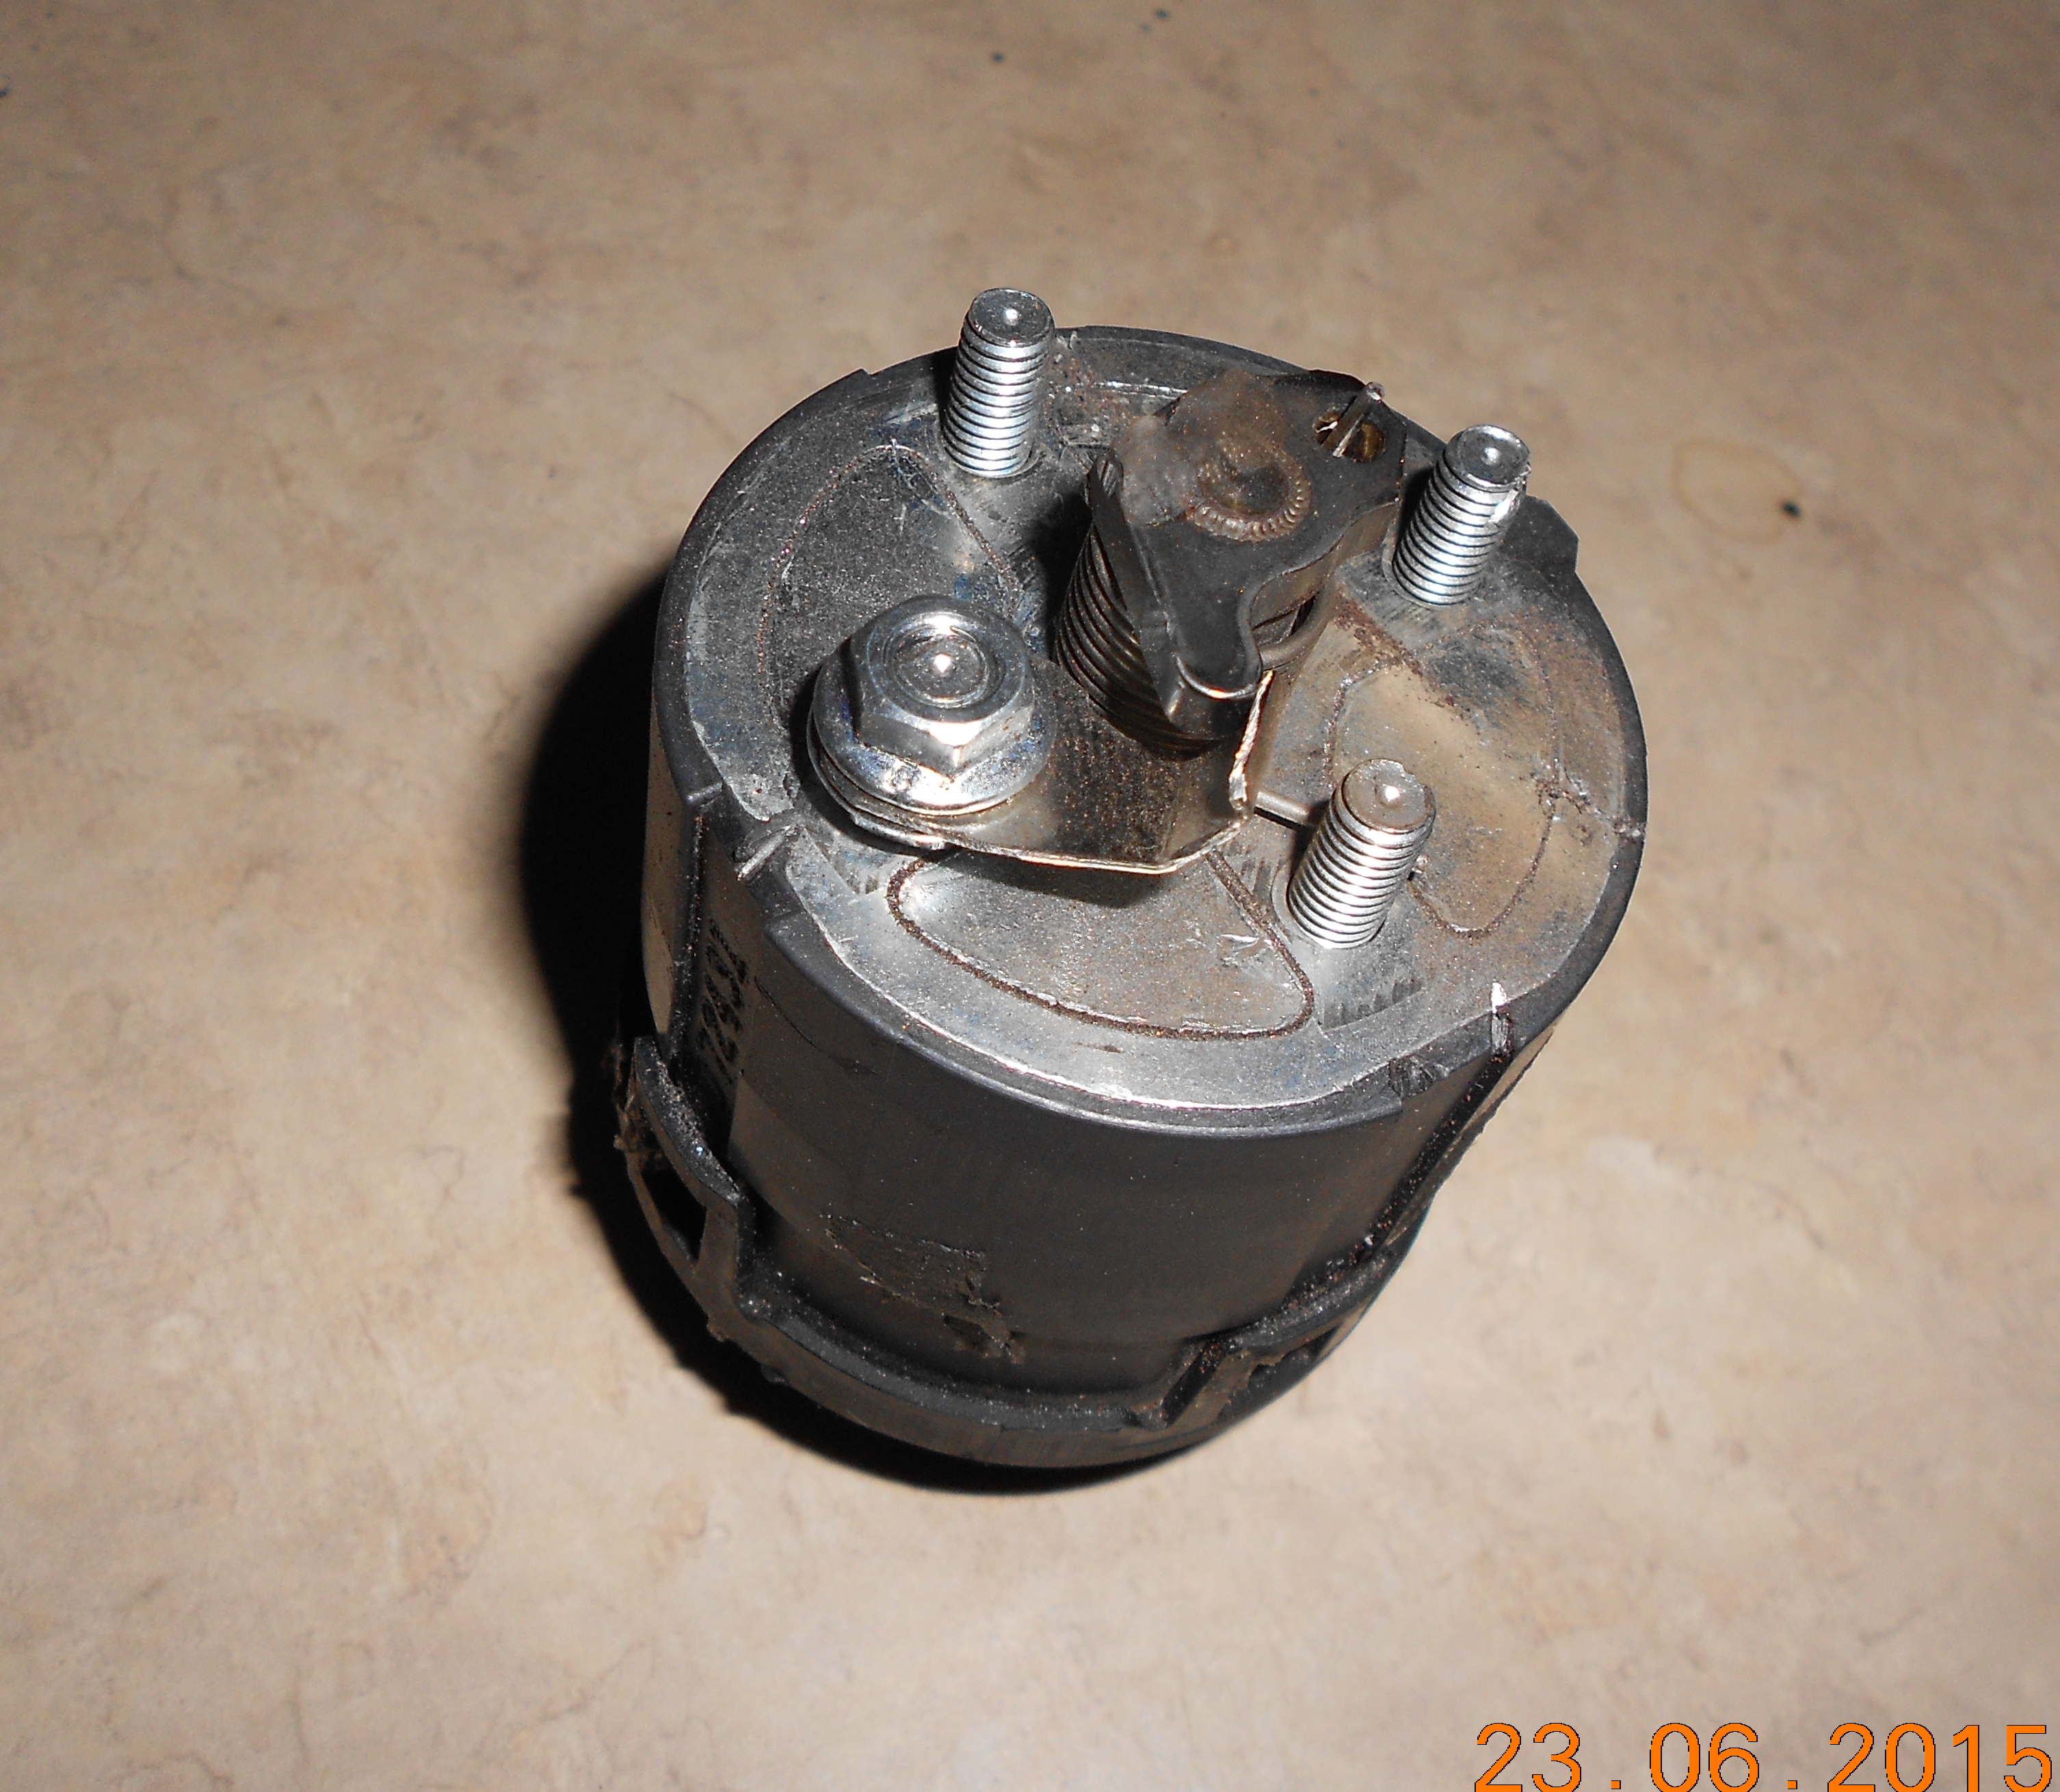
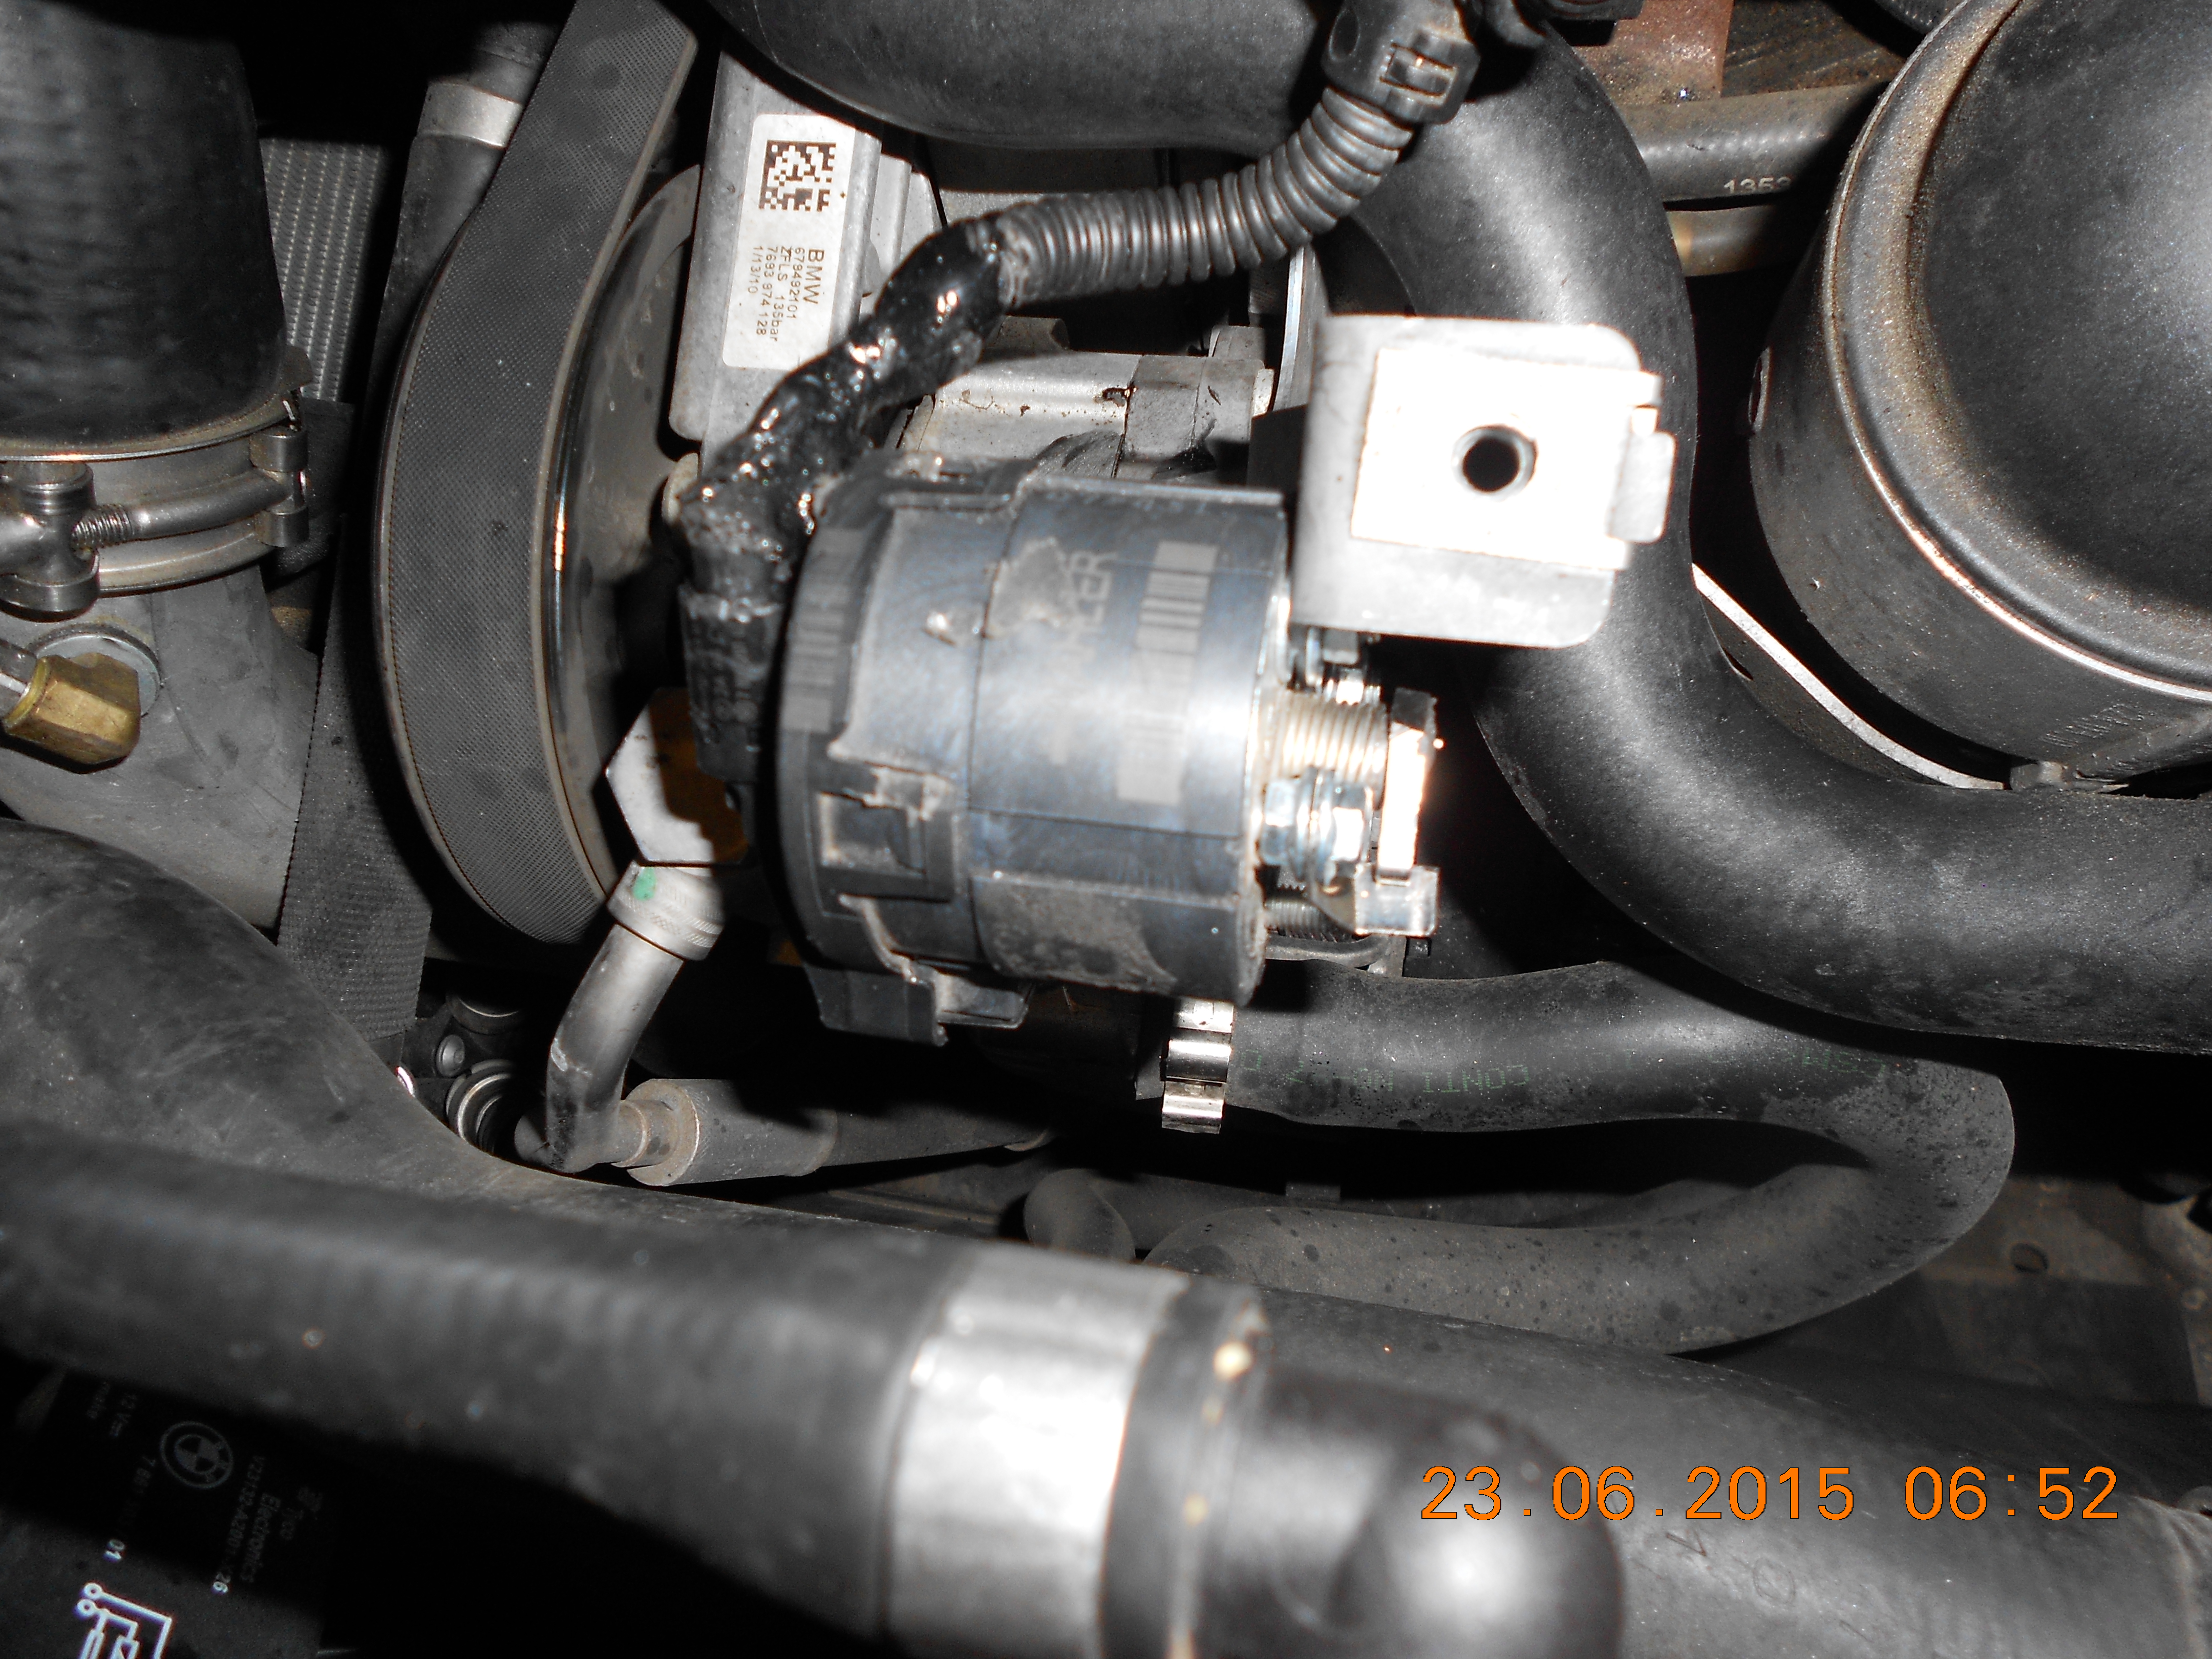
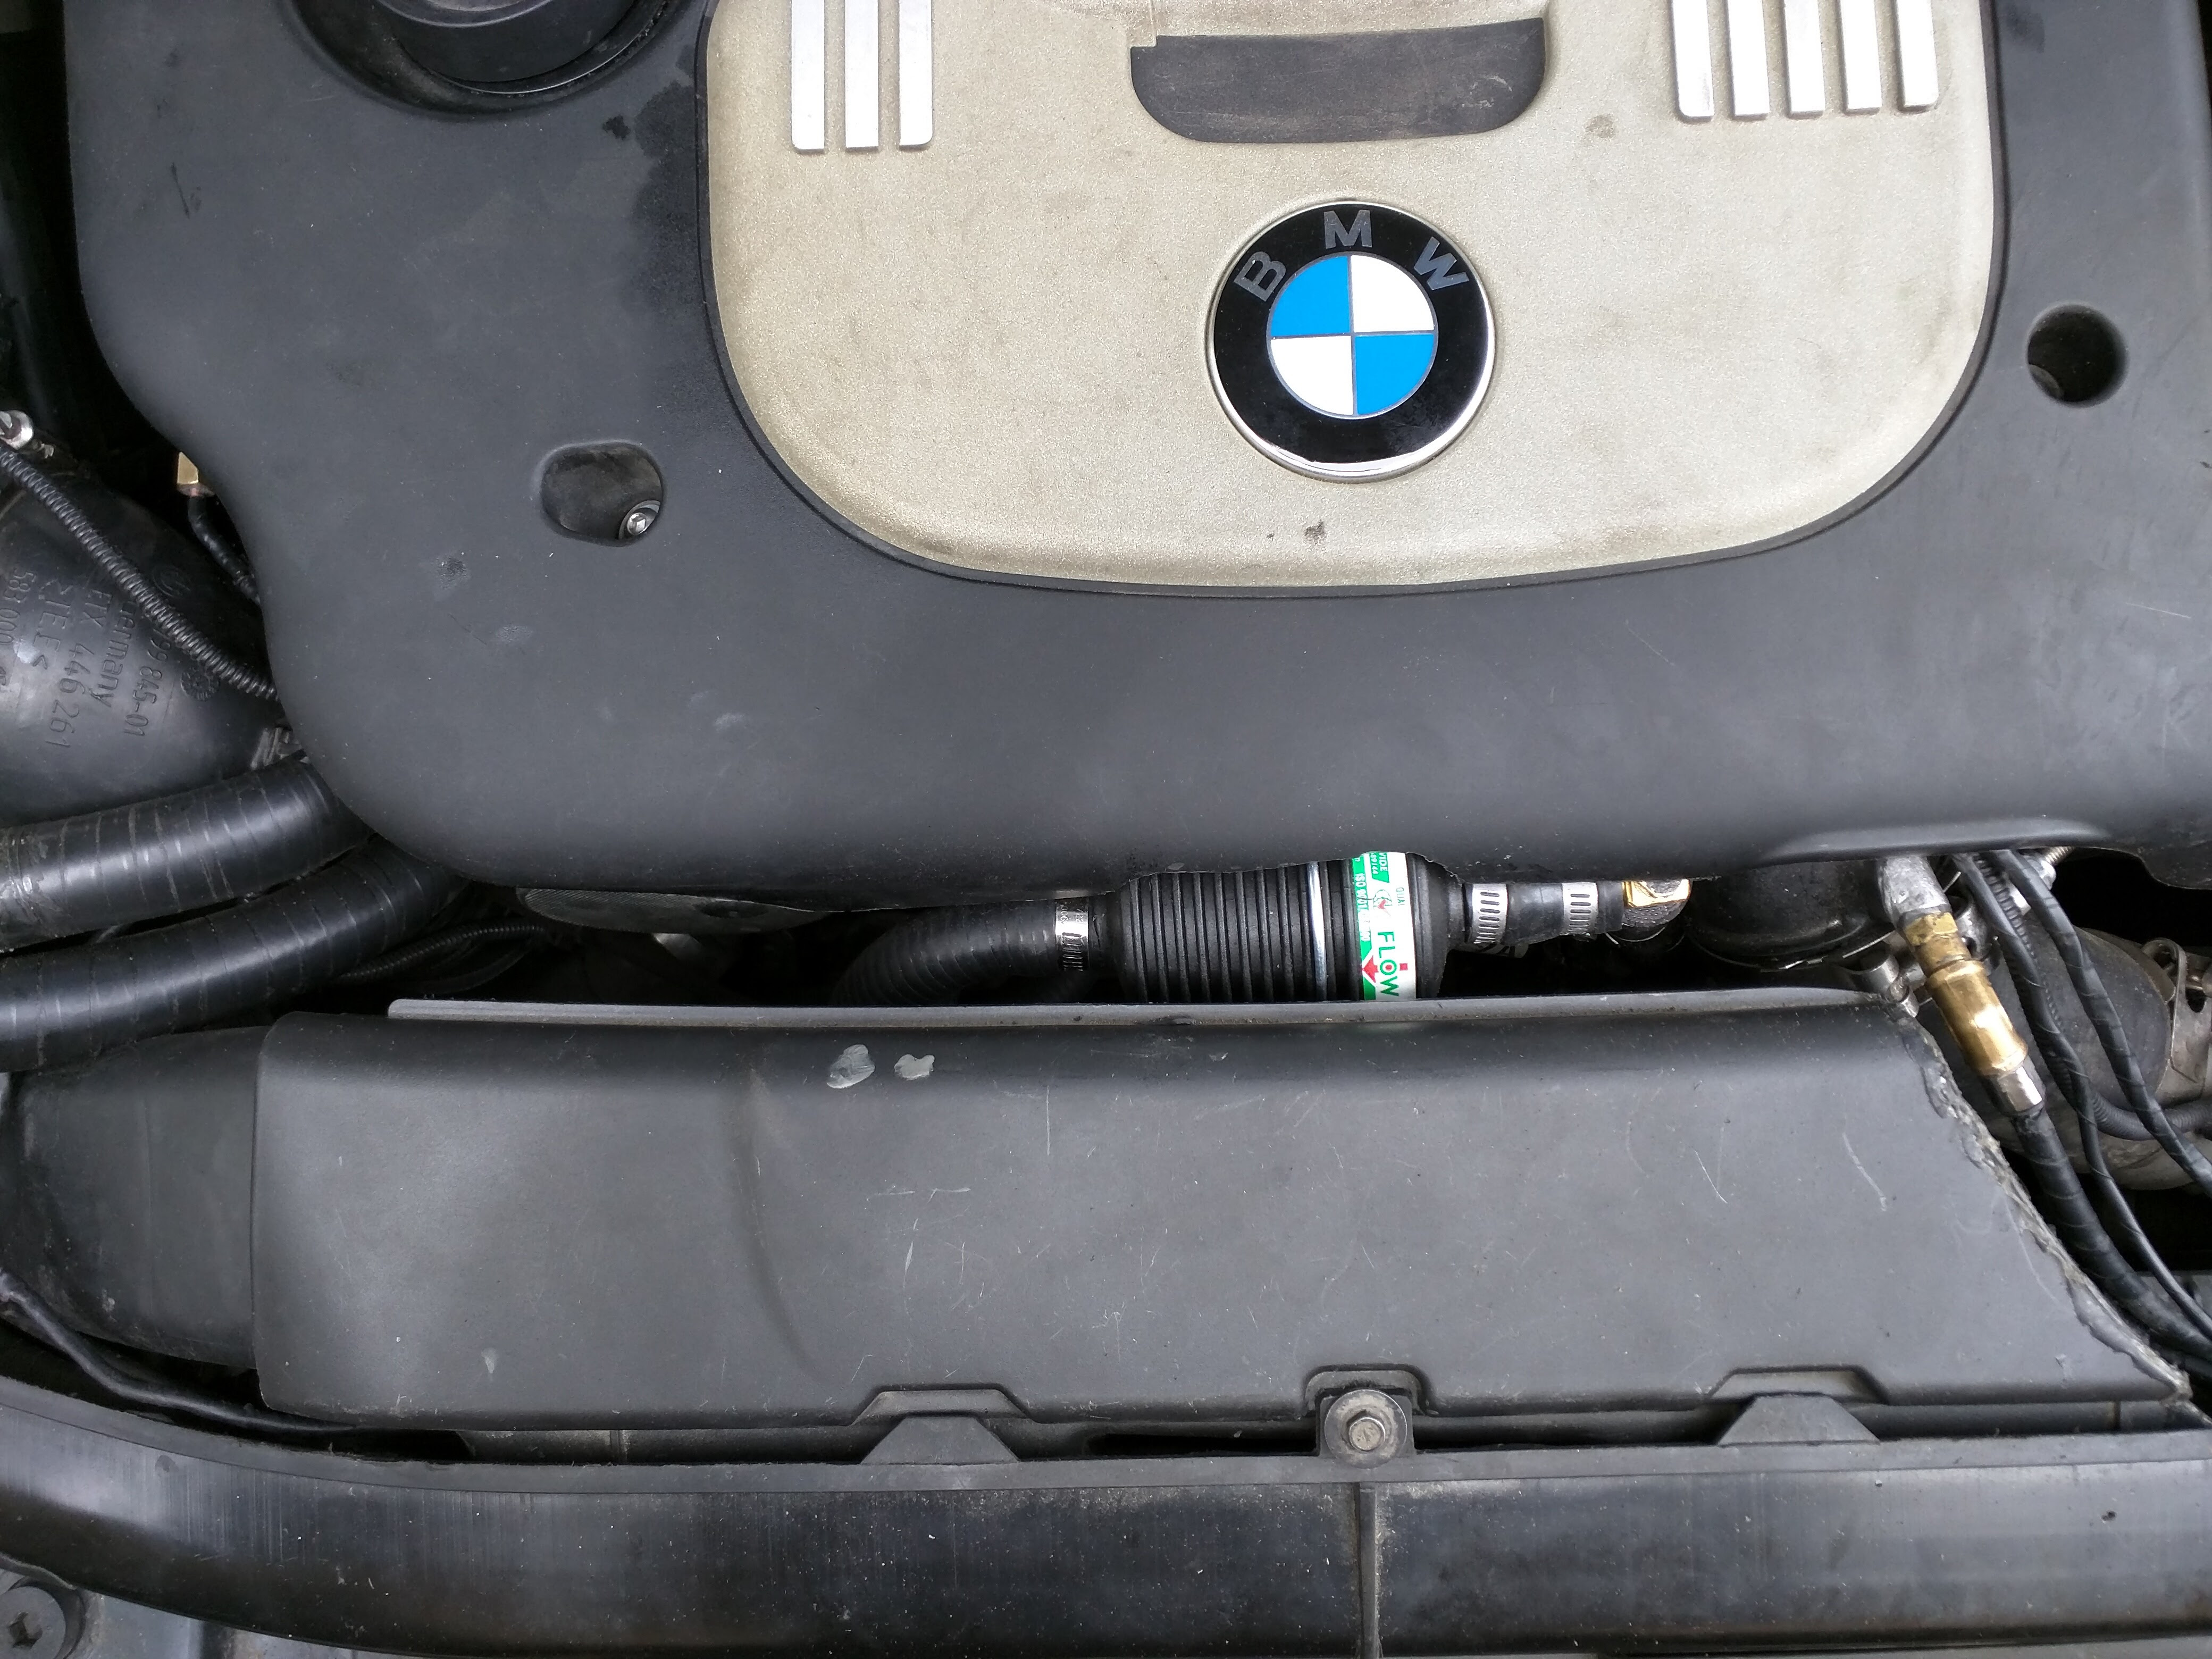
We’ve seen in that previous post linked above how exhaust gas re-circulation and the crankcase vent combine to literally kill the engine by clogging the intake over time and what I did to correct those particular top-priority problems. That process was completed after we got the car back from BMW with an $8,000.00 bill (covered under warranty) for intake cleaning and new injectors. Finishing the job involved basically replacing the entire exhaust system along with an engine control computer coded to support a lack of the now-absent DPF and DEF systems. Here’s what came out and what went in:

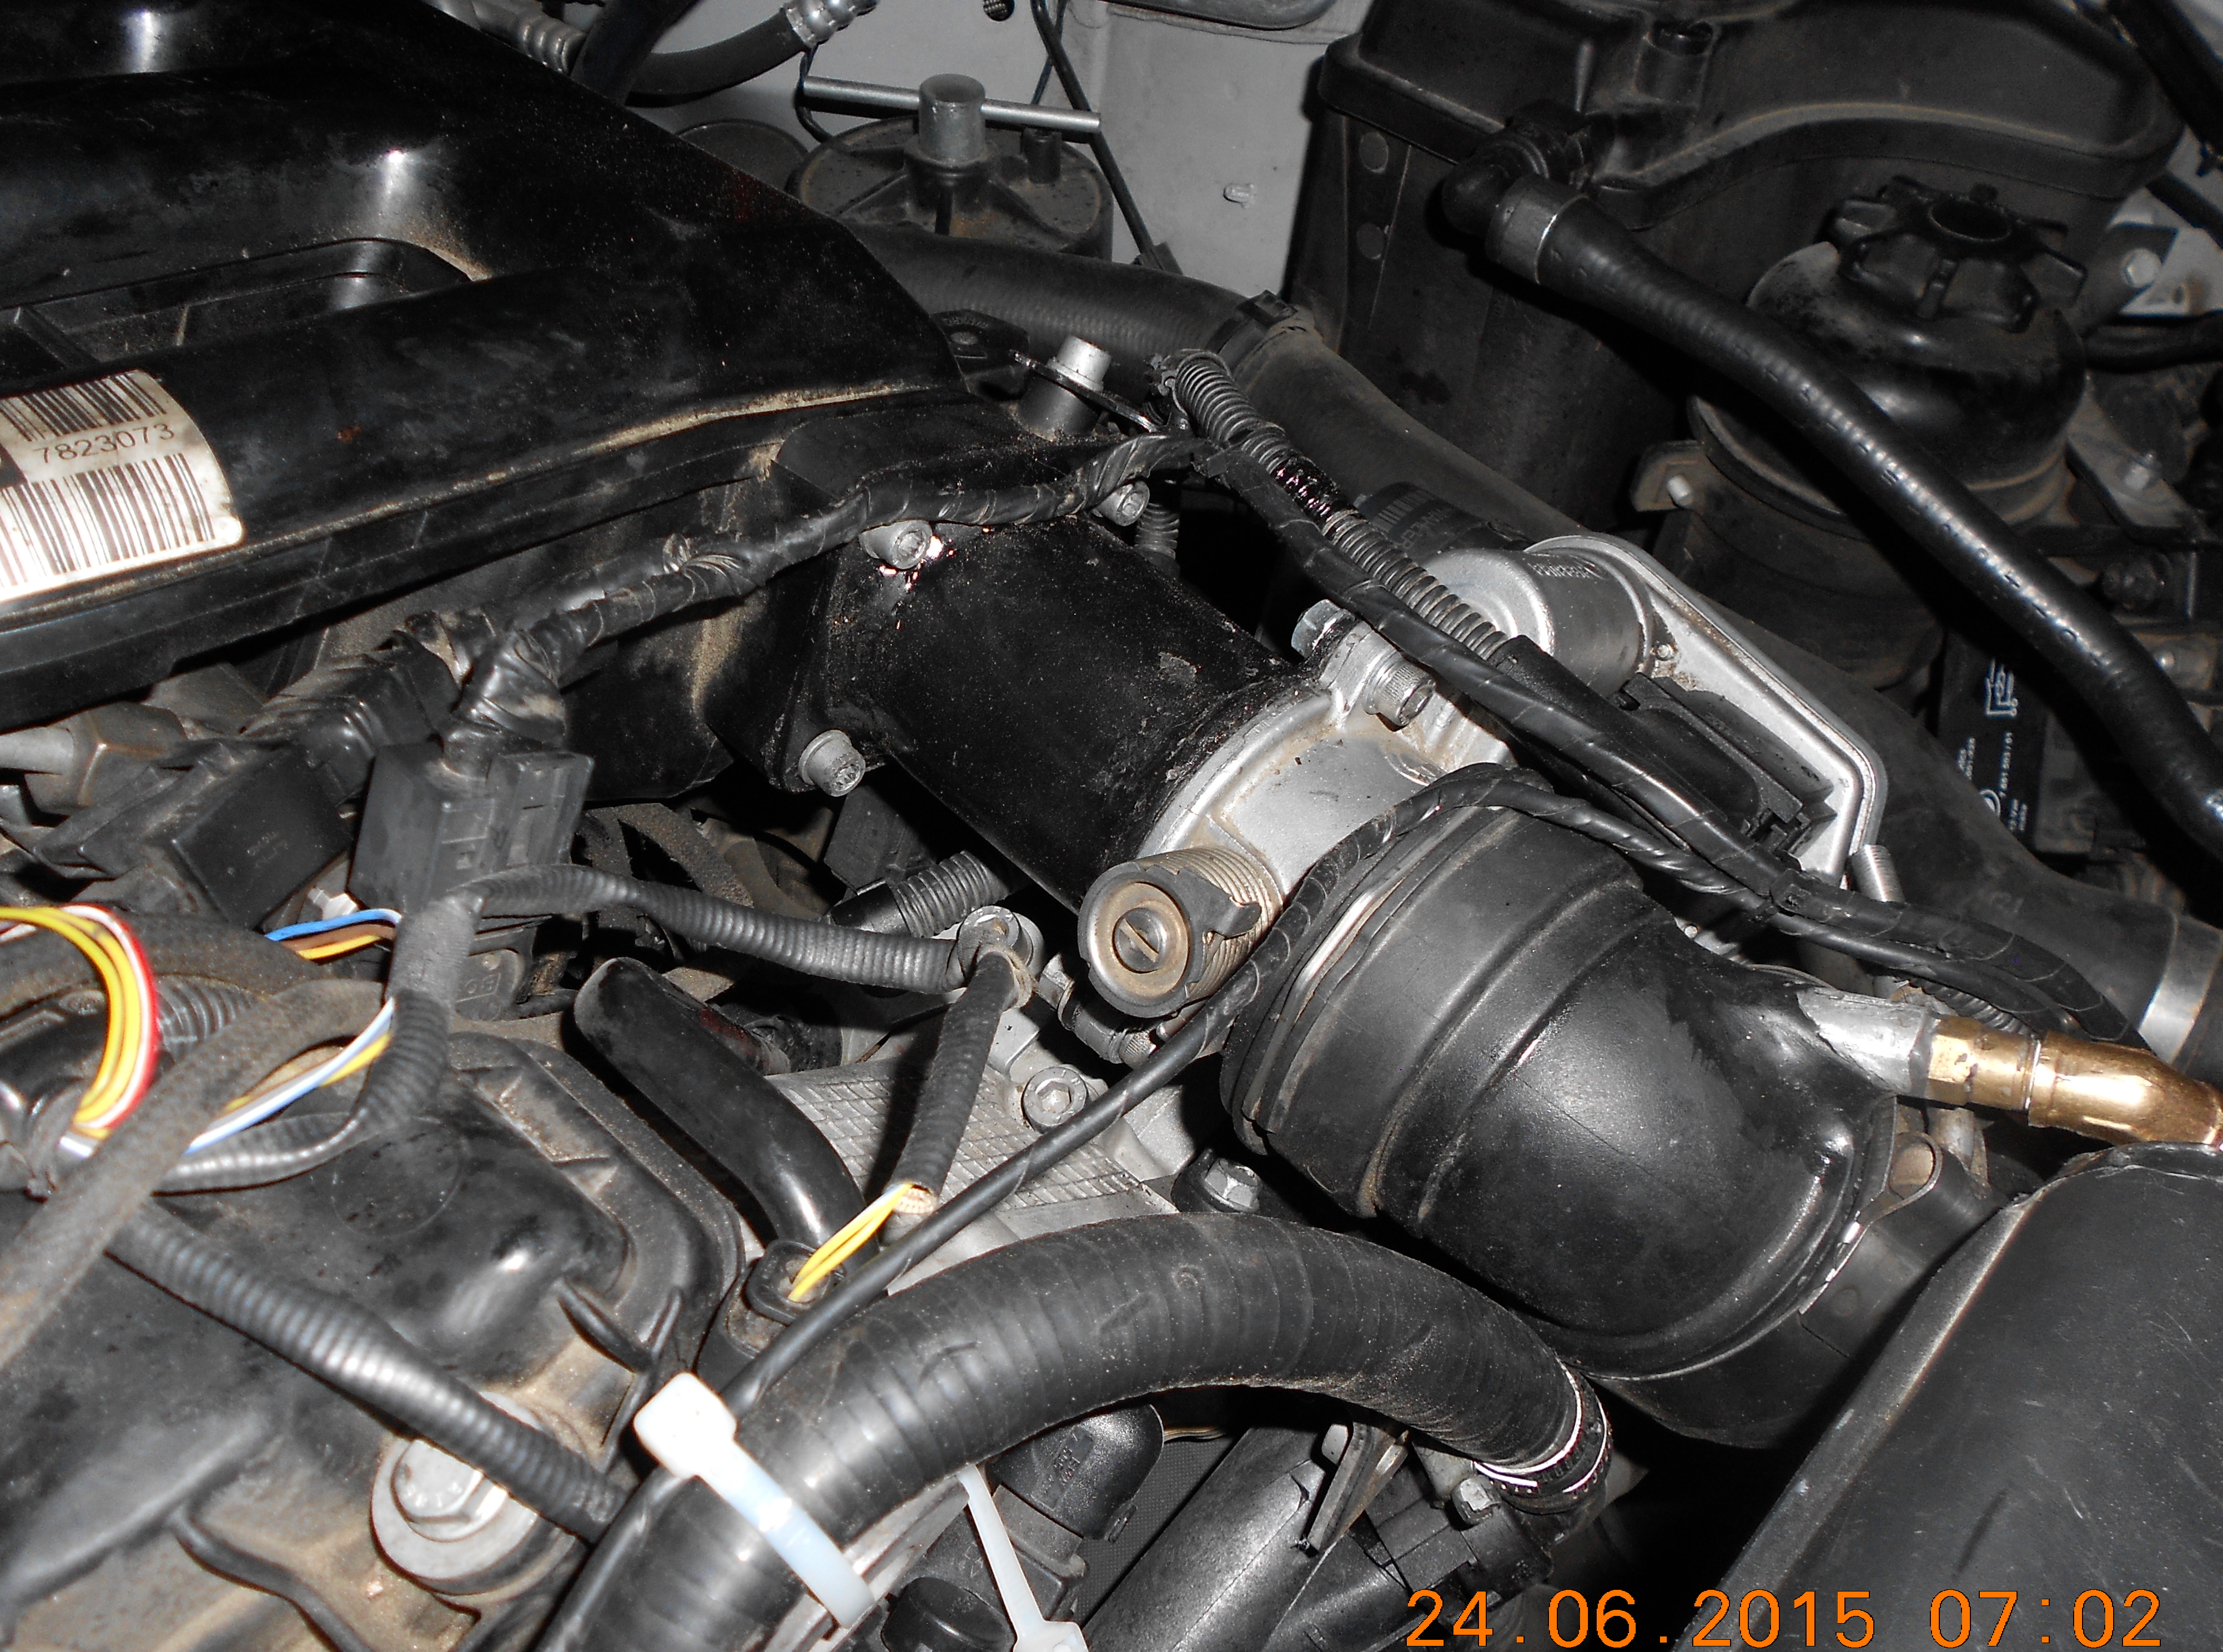
Removing the DDE (Engine Control Computer) was probably the easiest part, despite involving quite a bit of disassembly to get to it. It’s hidden under two covers, and there are a few wires connected to it.

Old Exhaust New Exhaust

Installed

The car now returns even better fuel mileage, up by at least 2MPG, despite already being a star in that category. I snapped this dash readout upon arrival home after cruising the last 200 miles out of Kansas into Colorado, mostly gently upsloping terrain, no wind, 78mph (GPS-corrected) at 70F ~5,000 ft:

42MPG
Last but not least, power is up nicely as well of course. Butt dyno says 350hp and 600 ft.lbs. It pulls HARD. I’ll guess mid 12’s properly setup for the quarter mile. I wanted to keep the exhaust sound on the quiet side of aftermarket, whatever that means to the listener. Some like it loud, I do not. This system suits my taste perfectly. The new mufflers are just slightly louder, producing a nice low growl at idle and a pleasing “woosh” under acceleration in normal driving. The only time I want to hear the engine note is during the wicked shriek it emits at full song on a highway kickdown – priceless!

The problem with diesel emissions technology is really quite simple: Fuel. The more fuel burned, the more emissions needing squelched. Gassers are similar in this respect, but to a lesser degree and for reasons involving the different types of emissions they produce. So the obvious, easiest and most effective means for manufacturers to start addressing the diesel emissions quandary is to limit fuel. Less fuel equals less power. My old Dodge truck is a perfect example. It’s Cummins 5.9 came from the factory rated at 165 horsepower and 425 foot-pounds of torque. Power output literally almost doubled overnight after a new set of bigger injectors and turbo with some injection pump mods. But it puffs black smoke on shift recovery and under heavy throttle until it gets up on the turbo. I suppose if everybody drove one all the time it might hasten the planet’s demise by some immeasurable amount. But they don’t, and it won’t.

Government regulators would do well to focus more on commercial and corporate entities that actually produce a lot of pollution. I want my diesels to pull like a train as they should, and not send me to the poorhouse paying repair bills in the process.

Overall Trip Stats

It's Over!

We had our 1st freeze warning of the season last night. Time to ramp up the cold weather transition. I started with the pond:

Empty Pond 1
Empty Pond 2
Today I’ll try to get the sump cleaned out and cover it with a tarp for the winter. Remaining significant tasks are blowing out the sprinklers, swapping out 2 sets of tires and yard stuff – winterizer, leaf raking, etc.
2 weeks later, and All Done!
Sump and Vent Pics

Empty Pond 3
Empty Pond 4
Empty Pond 5
A table fan taped to the bottom of the vent pipe runs 6 hours/day on a timer to prevent condensation from accumulating.

Window Well Project Finally Finished

This project started last April, when we pulled the dead junipers out from under Phoebe’s bedroom window. Then came repairs to the well itself, installing the sump and making a new flowerbed. The Junipers made a nice cover for that window well, shielding it from rain and snow and providing a safety factor so at least nobody fell in. I decided to fabricate a steel-framed custom window cover for it because the builders used a too-small well that is splayed out or stretched on one side to fit. Nothing purchased off-the-shelf would fit right and the good ones cost over $500 anyway. I put this together for about $200 in materials and maybe 50 hours of labor. There was a TON of welding involved with a total of 25 separate pieces of steel going into the frame:

Window Well Frame
It can be locked from the inside with a chain and hook mechanism, so it adds a nice little layer of home security. Panes in, painted and installed:

Window Well 6
Window Well 7
Window Well 8

Bimmertime!

It’s finally almost time to get the 335D straightened out once and for all. I made good progress getting the emissions crap worked around over the past couple years after it suffered an untimely intake clogging thanks to BMW’s ludicrously self-defeating pollution-control design coupled with Michelle’s short drive to work. Then it became “my” car, the preparatory work began and the extended warranty ran out. The crankcase now vents through a catch can that drains to the environment. The dime-sized spots of environment it sits parked over will just have to suffer:

CCV Catch Can
The EGR system needed removed with significant re-work to compensate for it’s absence, including some custom mods addressing the EGR cooler, EGR Valve, valve position step motor and a CAN tool installed on the OBD-II port to reset the accompanying faults in the car’s computer every time it gets re-started. The EGR manifold ports were blocked and the cooler was replaced with a filter. The valve motor was a bit tricky and critical to the desired outcome. It’s lack of input triggers a limp mode on the system, so it needed to be retained in order to fool the computer:

EGR-1
EGR-1
EGR-1
Coolant Filter
Coolant Filter2
The black tube in the 3rd pic above replaces the EGR valve, itself. Now it’s just a 3″ steel tube connecting the intercooler to the intake manifold with the primary water meth nozzle (1st stage of the 2-stage W/M injection system) included for good measure. At this point now, the car would be expected to run normally without EGR and CCV depositing too much junk in the intake and water-meth providing ongoing cleaning. But alas, it still has the catalyst reduction (Urea/DEF) system and diesel particulate filter (DPF) hobbling it.

Eliminating those calls for pretty much total exhaust system replacement and DDE (computer) coding to support a lack of numerous sensor inputs associated with that nonsense. The primary SCR tank (there’s 2, for chrissakes!) and metering valve have already been replaced once under warranty and the DPF is certainly running on borrowed time. Those are multi-thousand dollar repairs which are guaranteed to re-occur if you drive it long enough. Thanks a bunch for that, EPA and BMW.

I’ll be driving out east to see see some guys at one of the few places in the country currently doing BMW DDE hacking. The choice came down to these guys, mostly due to their location. I’m also looking forward to spending some time with my best bud from growing up back in PA. I imagine a detour back through PA for Thanksgiving with the eastern family is in the cards, as well. 😉

RMNP 2016

We managed to accomplish my annual camping trip in the Rockies this week after missing it last year due to excessive mundane life obligations. Home renovations, kids, projects and other miscellaneous activities just ate up all my time. I had a reservation in Moraine Park campground like always, but ended up cancelling it due to irreconcilable scheduling issues. It seemed odd, since I was technically supposed to be retired as of around February, 2015.

But anyway, we got it done this year – “we” meaning me and Jax, We headed for higher ground only the day after Carolyn and Ron departed following a 10-day stay for their 2016 summer vacation. They were only really “here” less than half that time, out driving all over Colorado trying to see as much as they could in a short period of time. Taking them on a little tour of the park last Thursday was really cool because I got two opportunities to breathe the clean air this year AND Carolyn and me got to re-create a 50-year-old photo of us sitting along Raindow Curve, taken by our parents on a trip to California in the early 60’s. It more than made up for missing it last year.

This pic was along the Buchanan Pass trail out of Camp Dick, south of the park. It’s a 9-mile hike to the pass through some amazing and even dangerous terrain (link to trail details). I had to leash Jax more than once when he was excitedly running around too close to the edge of a 100-foot cliff. He was having a GREAT time:

Jax Tounge

We did two other “dog friendly” trails the day prior to that and maybe a bit less than half the Buchanan Pass hike before I ran out of steam due to aging joints despite taking Tylenol at the trailhead. It looks like this one may join the north side of Bear Lake on the list of trail goals I am no longer able to complete. The National Park anti-dog trail policy doesn’t really bother me any more, because I’ve already hiked most of them and the National Forest and Larimer county regions nearby have all the same stuff with far fewer tourists clogging up the scenery. Here’s a link to the web page with all the photos from our 4-day hiking trip. Pup (and me!) was worn out by the time we headed back down via road 7 and some fun cutting curves with the Bimmer on new Ohlins coilovers:

Jax Car Sleep

Aaaaand Another One…

It only took a year for me to get around to finishing the stairs portion of our flooring remodel. I suppose I just needed the motivation from Sis coming to visit tomorrow. I’m a function over form guy, so I had no problem climbing in and out of the basement on the un-finished steps. The flooring contractor wanted +$500 for just the stairs, so I did it myself for about $200 in materials. I wanted something better than the contractor would ever do, for any price.

Stairs3
More Pics

Another One Almost Done

They’ve been working on the new Wetland Loop Bridge literally almost all year. I think that is what made me care less about getting the pond done any time soon. I learned my construction attitude from the contractors building this bridge for the town:

New Bridge 1
New Bridge 2
This bridge used to be a 4-ft. concrete pipe covered with dirt and road. It was washed out beyond repair in the big flood a couple years ago. The true story about why it takes 5 months to build a little bridge like this will likely not be made publicly available. Ostensibly the reason given was the crews were mired in a huge mud hole all though spring and early summer. I’m not even sure why we need a bridge there, but we have a good one now!

It's Finally Done! Well, Almost ;-/

Took three whole months from March through early July, but it’s done. Admittedly, the pace of work was slow compared to what I used to do only a few years ago. It came out really well considering my inexperience with stone masonry. All told, the total price tag came to around ~$1k worth of materials, parts and tools. The big ticket item was a new hammer drill for the holes in those fountain rocks. Still need to hit the rough spots with the grinder and then apply a couple coats of sealer to the whole thing. I’ll get to that this fall after bringing the Goldfish inside and getting it emptied and cleaned out for winter. It’s gonna need a new cover then, too. The fun just never seems to stop.

Pond19
Pond29
More Pics: 18 20 21 22 24 25 26 27 28 29 30
The LED lighting, particularly the fountain top, looks really cool. The top light fixture is a piece I custom made with a polycarbonate camera dome and some other miscellaneous bits and bobs. It creates a shimmering cloud of light around the whole patio area, but is masked from direct view so you’re not blinded standing there looking right at it.

Pond v3: Almost There!

Just a couple pics to show the current state of work. You can get a pretty good idea of how the finished product will soon look. Things still left to do are finishing the fountain, stone details/joints, installing lights and fountain pump, running/burying electric lines into the garage and cleaning up and restoring the landscaping. The little round flowerbed by the filter basin was the only casualty from the work, so it needs re-planted. But it’s well in hand at this point. I think it’s kinda funny how you start into a project like this and after a couple-few days of digging a big hole don’t realize you are only about 5% finished with all the work needing to be done at that point. I’ll make another post later in the season when everything is in full bloom and looking nice.

Pondv3-16
I’ll get the sump liner sealed up and do a flagstone top around that flowerbed, as well:

Pondv3-17

Pond v3: Update2

Over the past week I’ve ramped up the work pace to really get this project moving. Concrete was done last Sunday. The top edge is pretty close to level all the way around now. That solves one of the biggest problems I always had with it. I could never get it filled clear up to the top due to leakage around the edge somewhere. It’s built into a gradual downslope, so that always became an issue at 2 or 3 problem spots and caused the water level to be lower than I wanted.

Pond v3-04
The fountain pedestal was problematic. I’m no professional mason, but finally managed to get it shaped, polished and sealed in an acceptable fashion. You can also see how I did the ingress points for water return and electric in the next 2 pics:

Pond v3-05
Pond v3-06
There are a total of 12 ingress points through the liner. I still need to fabricate a backing grommet for the fountain bottom. The little ones (shown below) are made from PVC dowels to accept stainless screws and screw-eyes. They will be used to fasten floating plants, lights and to control lettuce and  duckweed or whatever else ends up in there:

Pond v3-10
Here’s another pic showing a better view of the water return line:

Pond v3-07
I’ve had the sump/filter running in test mode for the past couple of weeks, and it seems to be operating as expected. The filter is made up of 63 wiffle balls covered with 2 bags of polyfill. This is actually a low-budget project, believe it or not. The biggest expense so far was about $100 worth of Quickrete. I got the poly drum for $10 from my methanol supplier. I think I’ll use 3 bags of poylfill next time, but it seems adequate with 2 for now. Bird netting separates the polyfill from the top layer of rocks. The landscape blocks around the sump edge are just holding up the liner for now, and I’ll get that properly finished at some point.

Pond v3-08
Where the water falls out to the sump here will be covered after the top is finished with flagstone all around:

Pond v3-09
Depth in the middle ends up being about 4 feet. Liner goes in today.

Pond v3: Construction Update

As mentioned in the previous post, the backyard pond turned into a major construction project this year. I expect to pour concrete this weekend, so that biggest and most difficult portion is now almost done. Welding rebar on my hands & knees for 4 hours yesterday afternoon really wore me out! I believe a tentative finishing date should be somewhere within the next couple of weeks. As opposed to the old 5-gallon pail, the new sump is a significant upgrade, now holding probably around 40 gallons. The big blue thing in there is the top 3rd of a 50-gallon poly-drum. It’s 16 inches below the water line, forming the lower pump compartment, with an access panel. Proper filter media goes on top of the pump compartment, covered with landscape rock forming a small pool under the outlet:

Sump
Water level will come up at least a full 6 inches, with alot of digging still left to do. The other 2/3 of the blue poly barrel will form the bottom of the pond itself, making it around 4 feet deep in the middle. I’d estimate total capacity to end up being in the 500 gallon range.

Sump
A concrete slab all the way around the edge will make it easy to seal. I got the largest liner Home Depot had – hope it’s big enough. We’ll be using red flagstone around the edges for finishing once again, and also to form a tall pyramid on top of the fountain pedestal. The pedestal will be finished with a polished surface color matching the flagstone. It should end up standing about eye-level at the top with LED lights under a small clear poly-carbonate dome where the water comes out. Two underwater LED’s will illuminate around the bottom.

The fountain is an interesting bit to me, from a design standpoint. It was the part that started the whole project after I decided the old store-bought item was not exactly what I wanted. This one is fairly solid, with 3-inch steel pipe support roots welded into a re-bar base going out 3 feet at a 45-degree angle. Standing back looking at it after that little concrete experiment inspired me to just tear it all apart a re-do the whole thing.

Sump

WEMMS Enters OTE

Yesterday, the WEMMS (W)ay (E)xtreme (M)obile (M)usic system achieved initial operational capability. It came in fully loaded at 18.2 pounds:

WEMMS1
WEMMS2

We had a little scope creep during the build, but what project doesn’t these days? (aside: I started the pond refurb 2 months ago with the intention of just replacing the fountain. It turned into a top-to-bottom rebuild. Ended up tearing everything out, clear down to the dirt.) Anyway, this guy is now also a universal charging station with 3 transformers supporting 2 USB female plugs, with cables and adapters to fit just about anything currently out there in the mobile electronics realm.

WEMMS3
WEMMS4

It played continuously in testing for over a week before I cancelled the test after the battery was down to under 6v. Recharge time with the big wall wart was about 2 days. The little wart is hardwired for standby charging near a wall socket to keep it topped up in that mode of operation. I still need to make a cigarette lighter and standard car charger adapter plugs, but other than that, I believe it’s pretty well finished and good to go. Camping trip in August will complete the OTE phase.

Sneak Preview: DIY Mobile Sound

I’ve never been able to realize a truly satisfying mobile music experience. Been through literally dozens of car, walkman, boombox, etc. systems over the years – some retail, mostly DIY, others kludged combinations. Despite the arguably diverse application scope here, one drawback always ruined it: Battery Capacity. To me, mobile means mobile. I’m not interested if it needs plugged in to keep playing loudly for more than a few hours.

I have this little Sony portable speaker and an Apple Nano I use for camping. It sounds good, but is as expected, limited by battery capacity. I was in a hurry ordering replacement batteries for one of the UPS units a few weeks ago and of course ordered the wrong ones. With the help of an inexpensive 5-12V transformer, I decided to press these 8-aHr units into service on a solution to my mobile sound quandary, rather than pay the 15% re-stocking fee. You can barely see the battery in it’s custom carry case in the protoype setup pictured below. It’s been playing continuously for 4 days now. The Nano thinks it’s plugged in:

BoomBox1

This morning it’s down to 12.3 volts, from a 12.7v start. That’s about .1 volt loss/day, playing softly. I’m springing for one of those new high-end DAC digital players that’s been showing up on the market lately for what I’ll refer to as the WEMMS – Way Extreme Mobile Music System. Finished pics coming after testing and touching up complete…

St. Vrain School District Issue

I felt compelled to send this note to the district this afternoon”

It is absolutely reprehensible how today we must come to grips with another suicide at our school. I blame the leadership of this school district. We didn’t have this problem when I was in school. I believe it comes down to a simple lack of discipline and leadership. Bullies followed that boy to his home trying to start a fight not long ago. I want to know what is being done about the bullying problem. I also want to see those associated with the aforementioned incident held accountable. They must learn their actions have consequences. You will find this note posted on my personal blog at http://stuff.is-a-geek.net/wordpress, along with my and your (if any) and other’s responses. I will be keen to publicly evaluate attitude(s), actions and/or inactions on your part. Enough is enough.

We’ll see what they have to say…