Pond v3: Almost There!

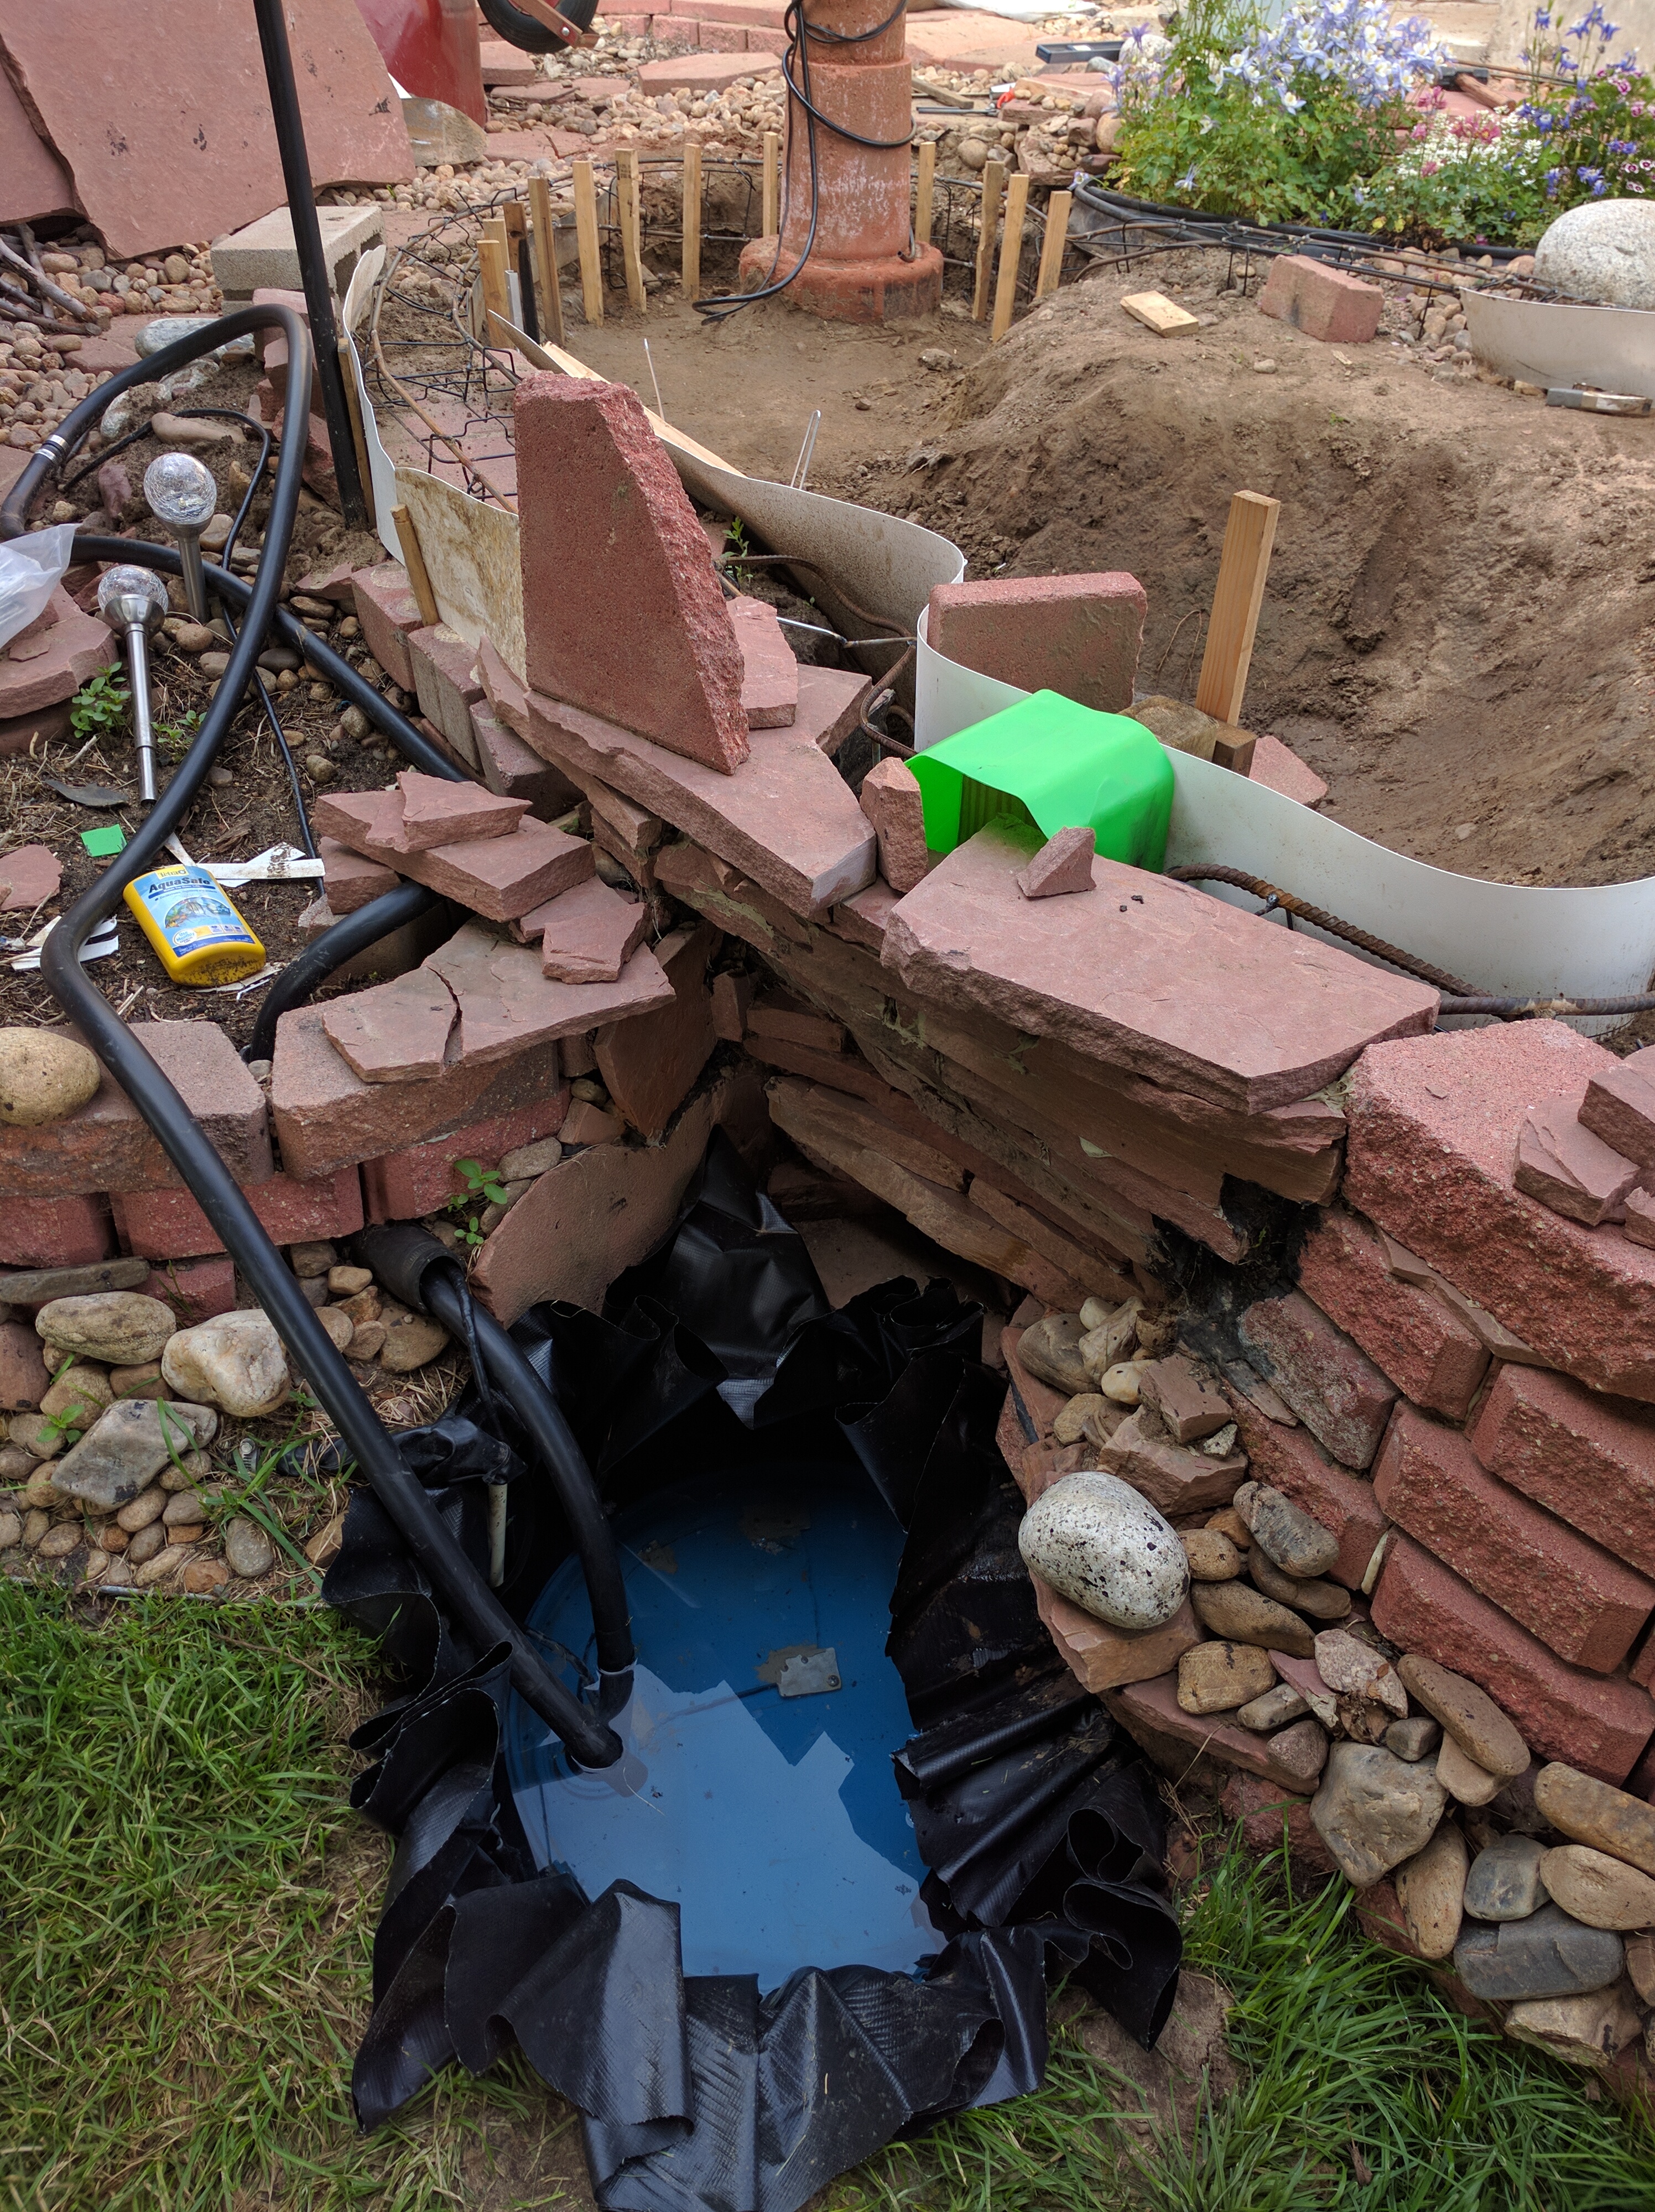
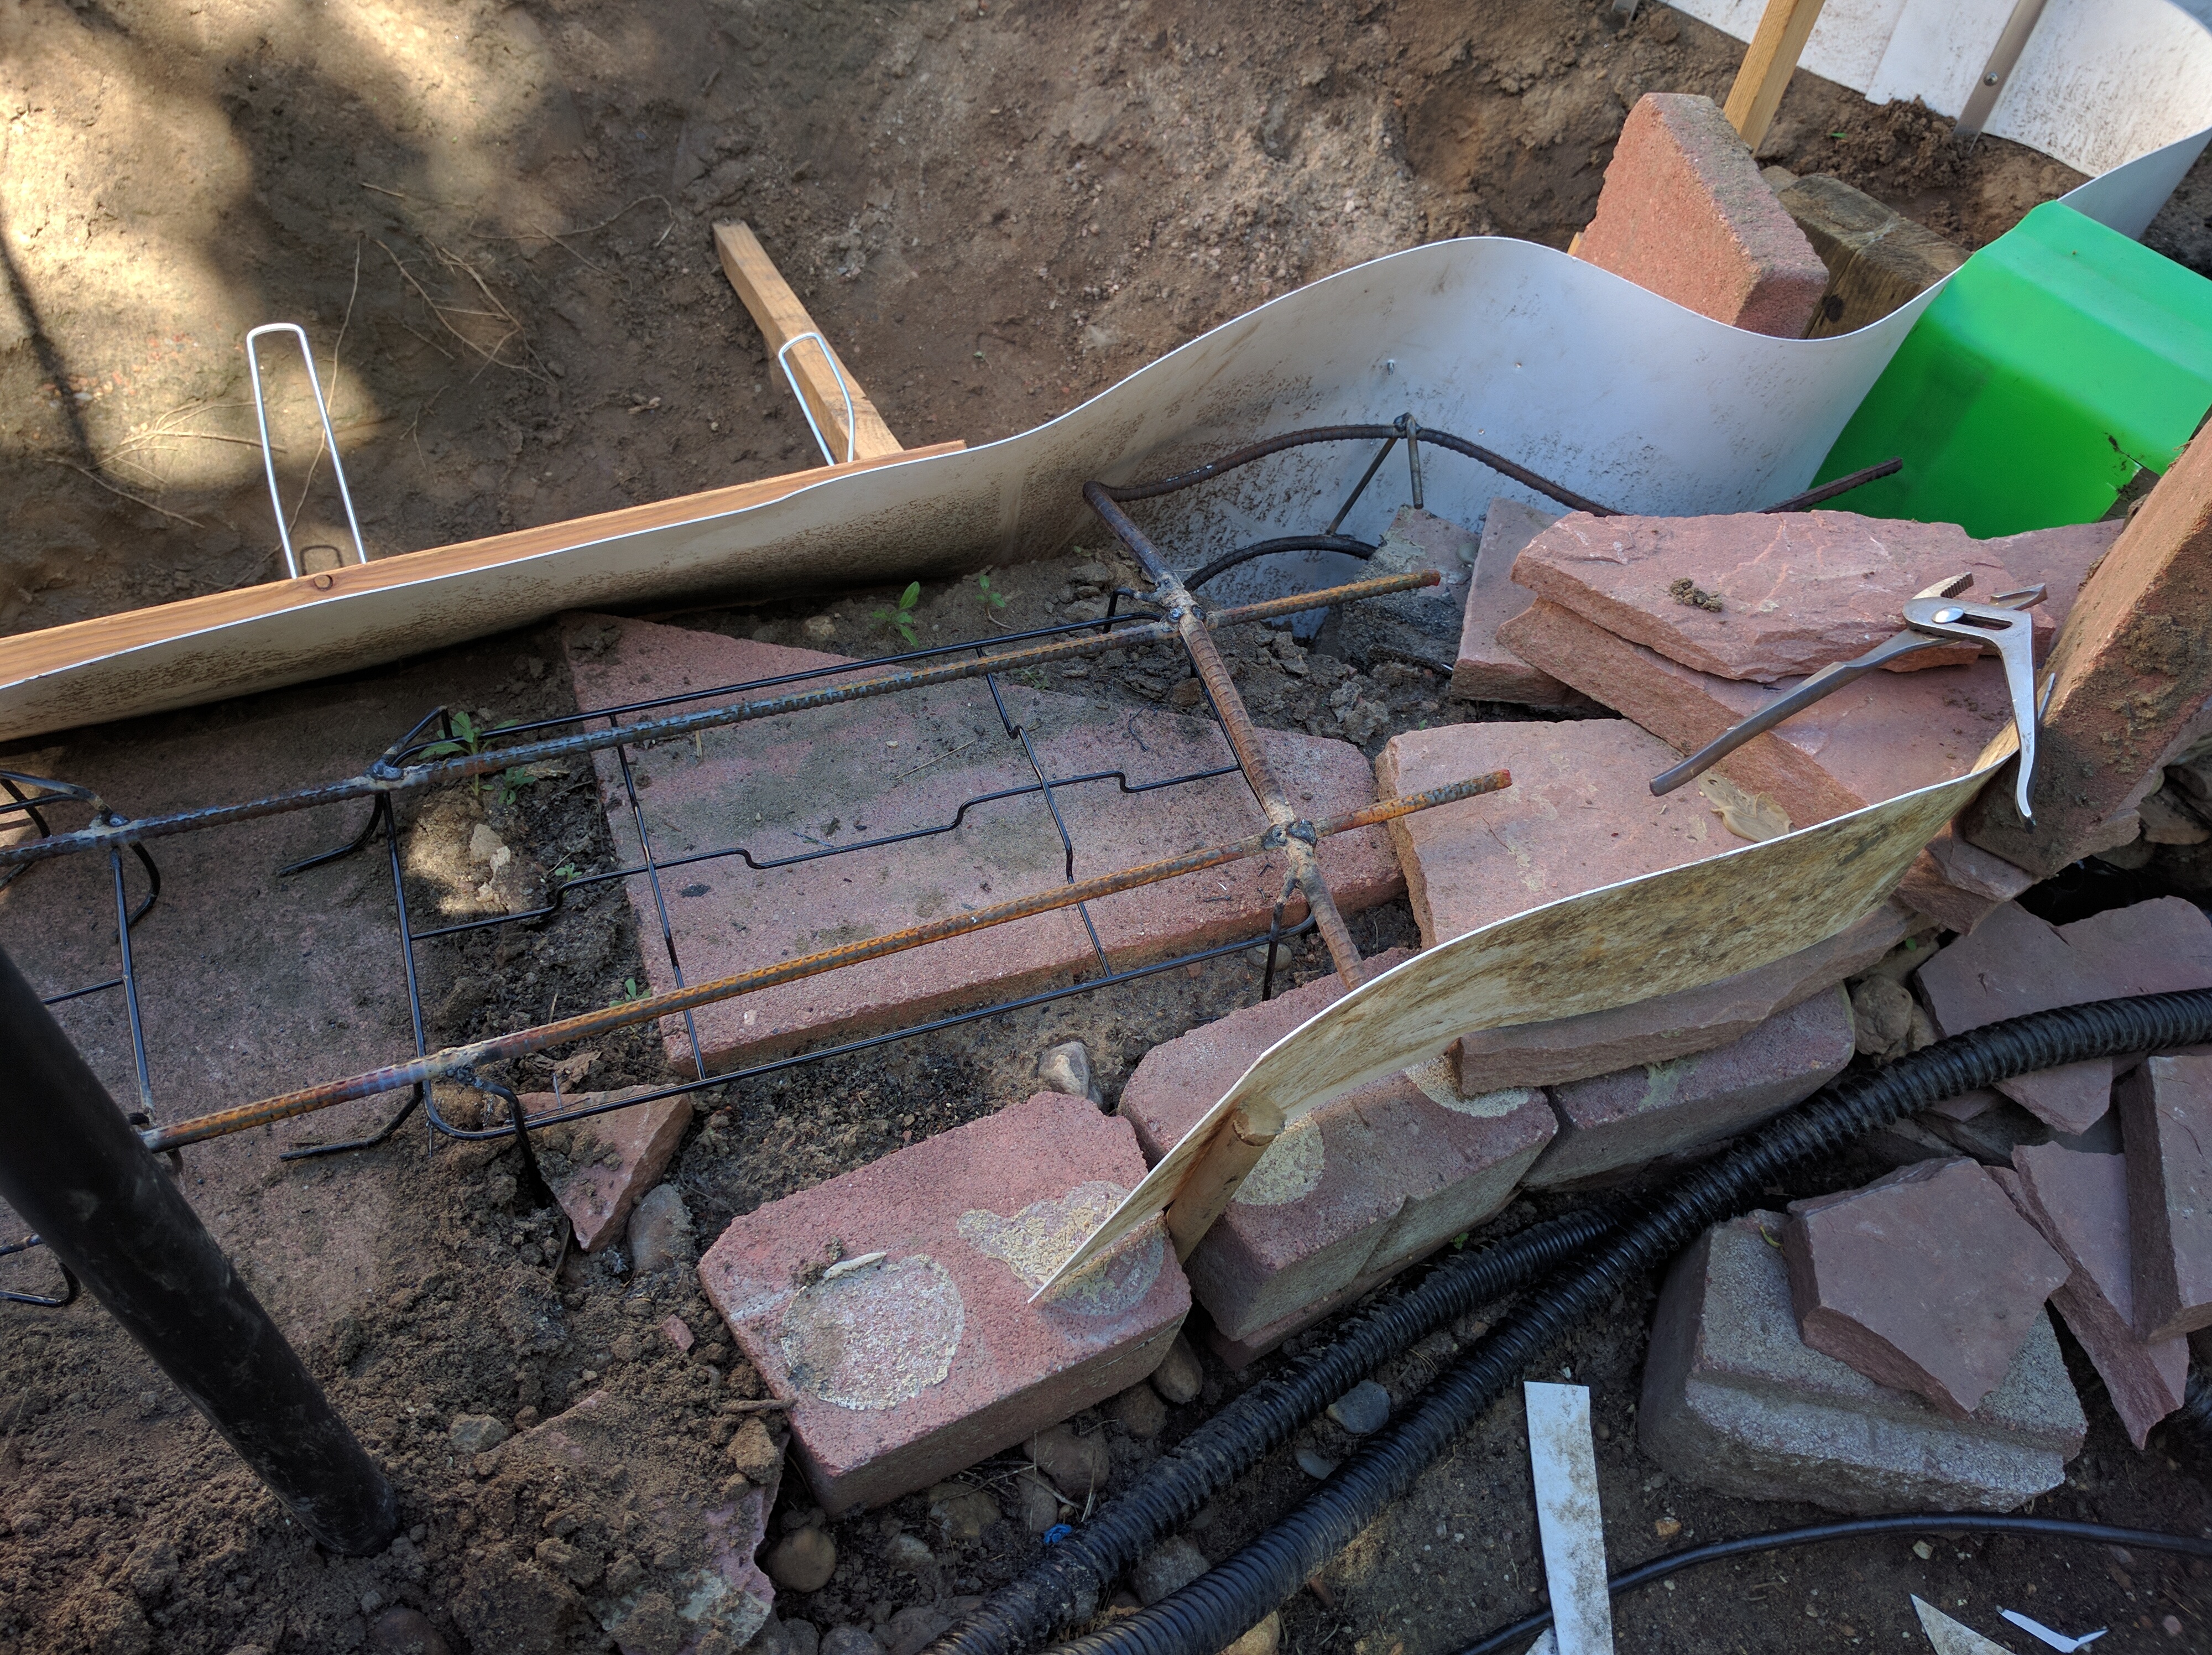
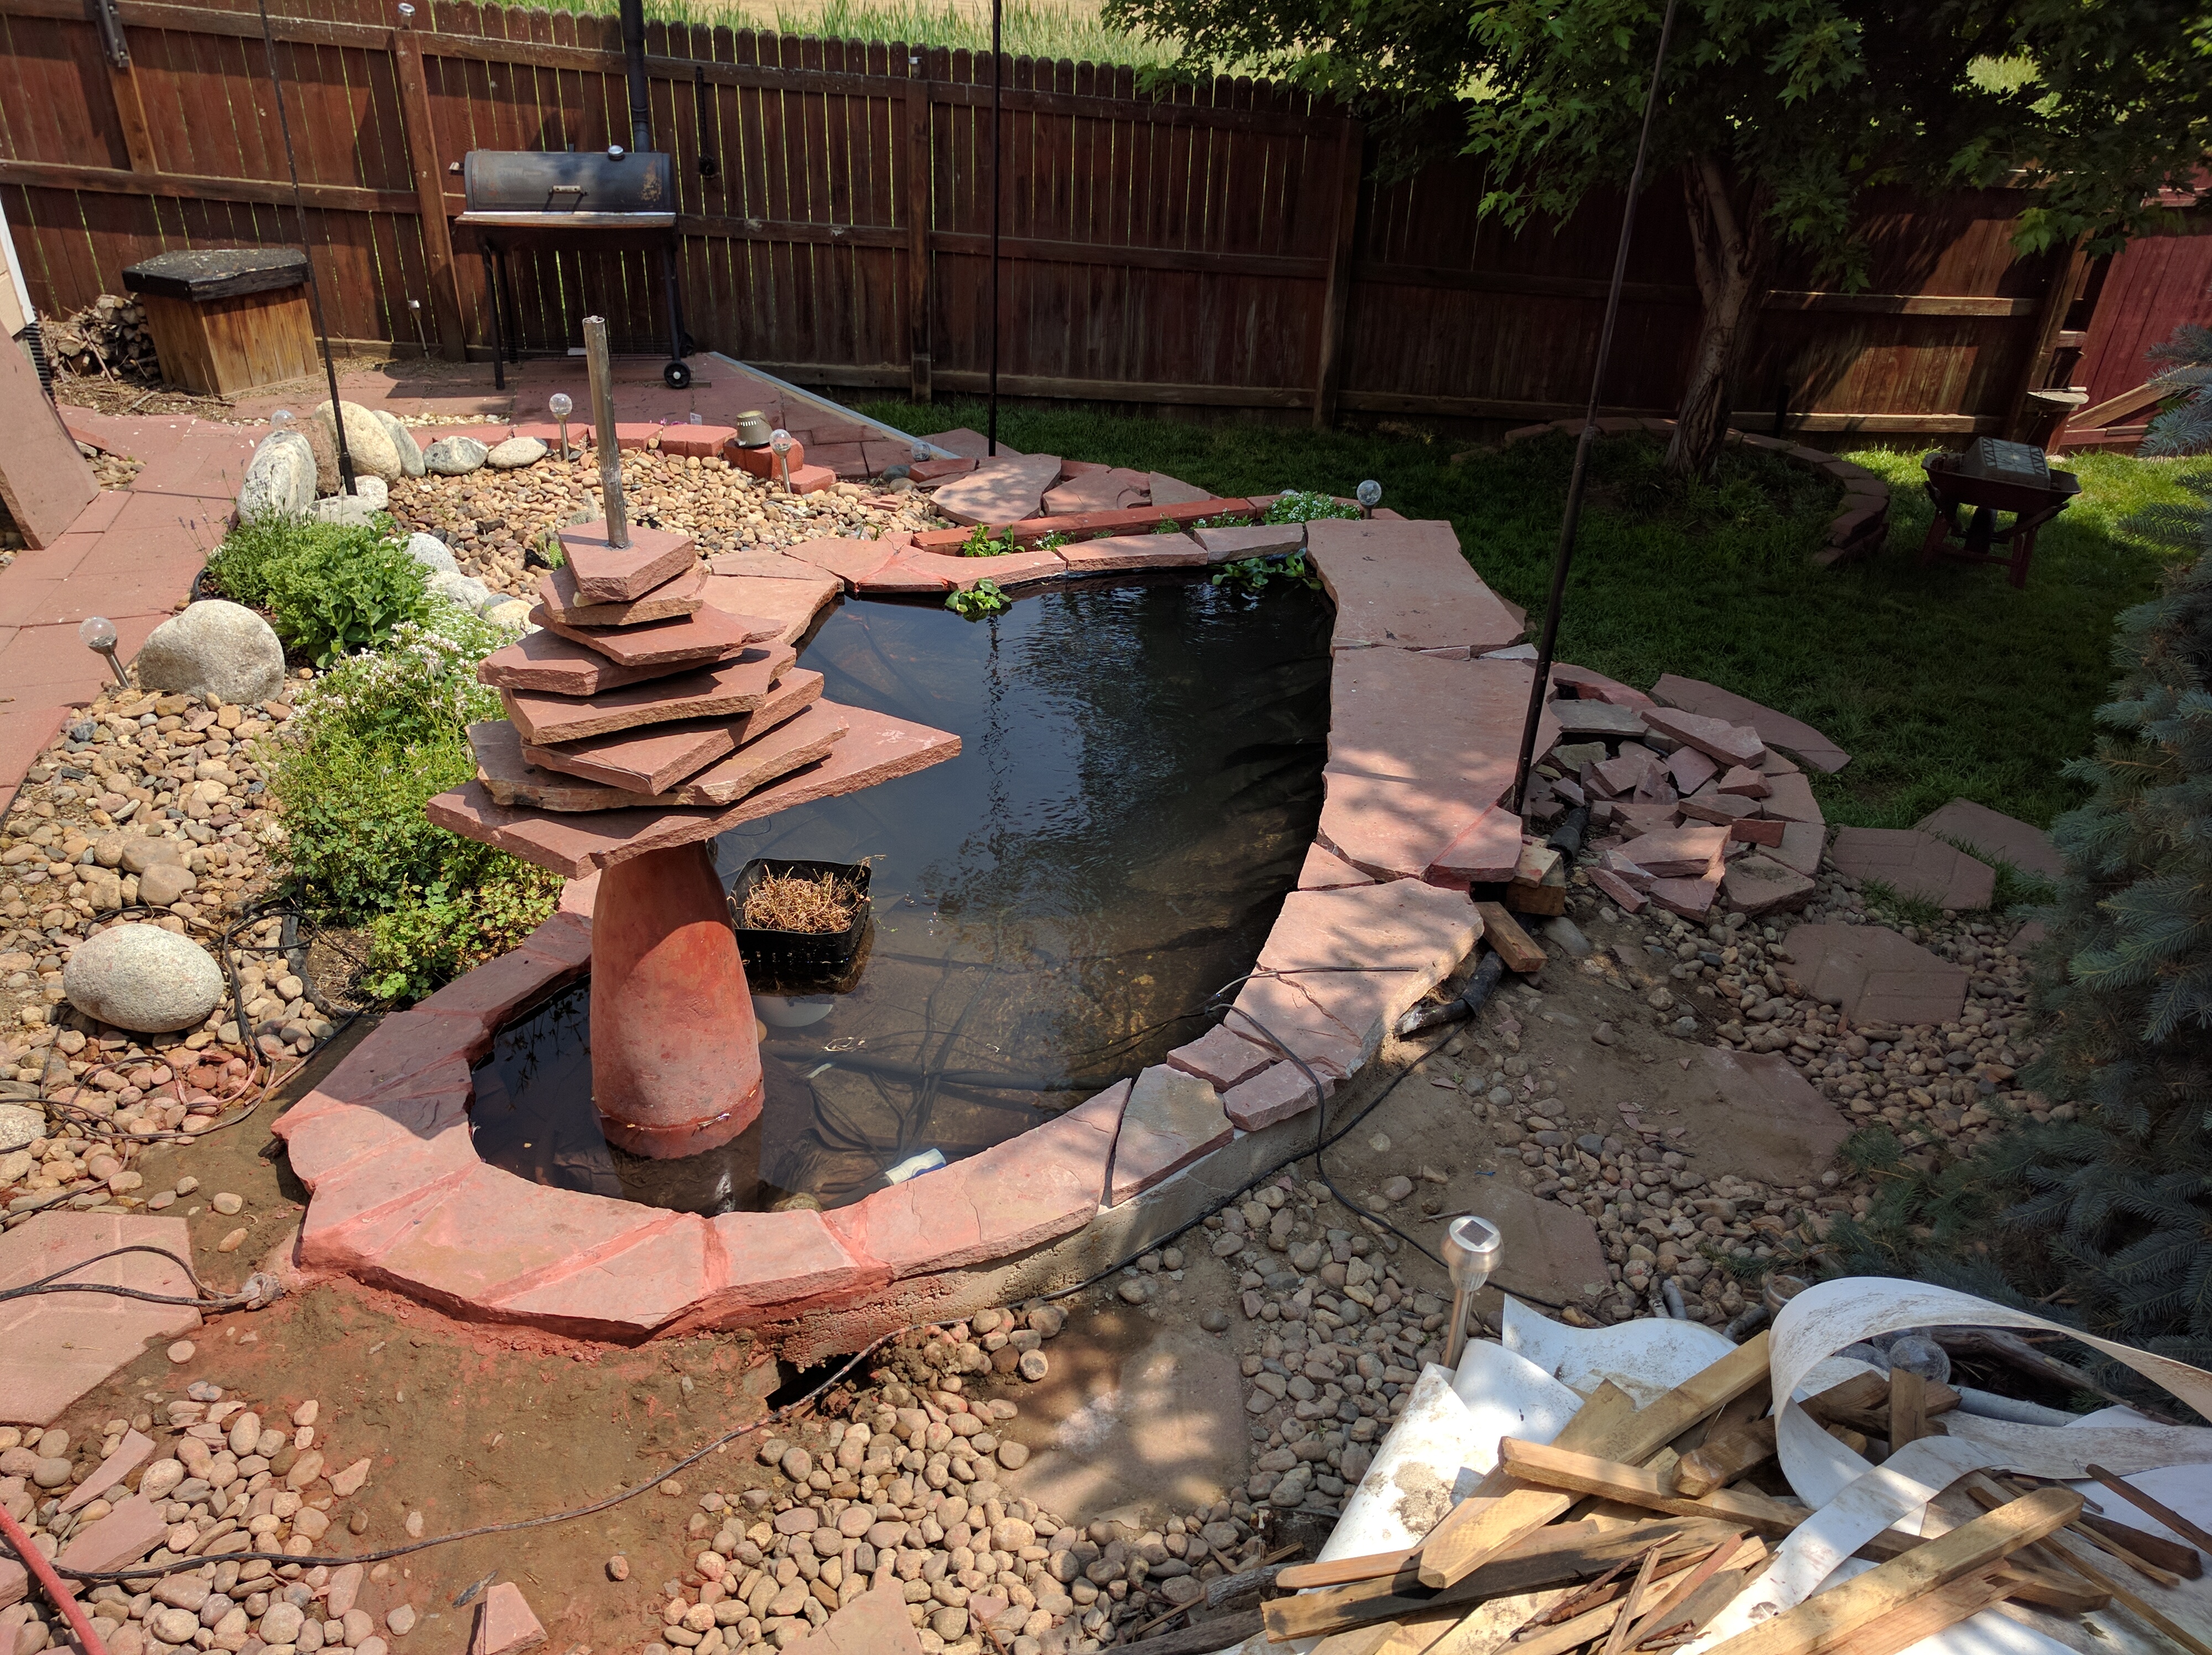
Just a couple pics to show the current state of work. You can get a pretty good idea of how the finished product will soon look. Things still left to do are finishing the fountain, stone details/joints, installing lights and fountain pump, running/burying electric lines into the garage and cleaning up and restoring the landscaping. The little round flowerbed by the filter basin was the only casualty from the work, so it needs re-planted. But it’s well in hand at this point. I think it’s kinda funny how you start into a project like this and after a couple-few days of digging a big hole don’t realize you are only about 5% finished with all the work needing to be done at that point. I’ll make another post later in the season when everything is in full bloom and looking nice.

Pondv3-16
I’ll get the sump liner sealed up and do a flagstone top around that flowerbed, as well:

Pondv3-17

Pond v3: Update2

Over the past week I’ve ramped up the work pace to really get this project moving. Concrete was done last Sunday. The top edge is pretty close to level all the way around now. That solves one of the biggest problems I always had with it. I could never get it filled clear up to the top due to leakage around the edge somewhere. It’s built into a gradual downslope, so that always became an issue at 2 or 3 problem spots and caused the water level to be lower than I wanted.
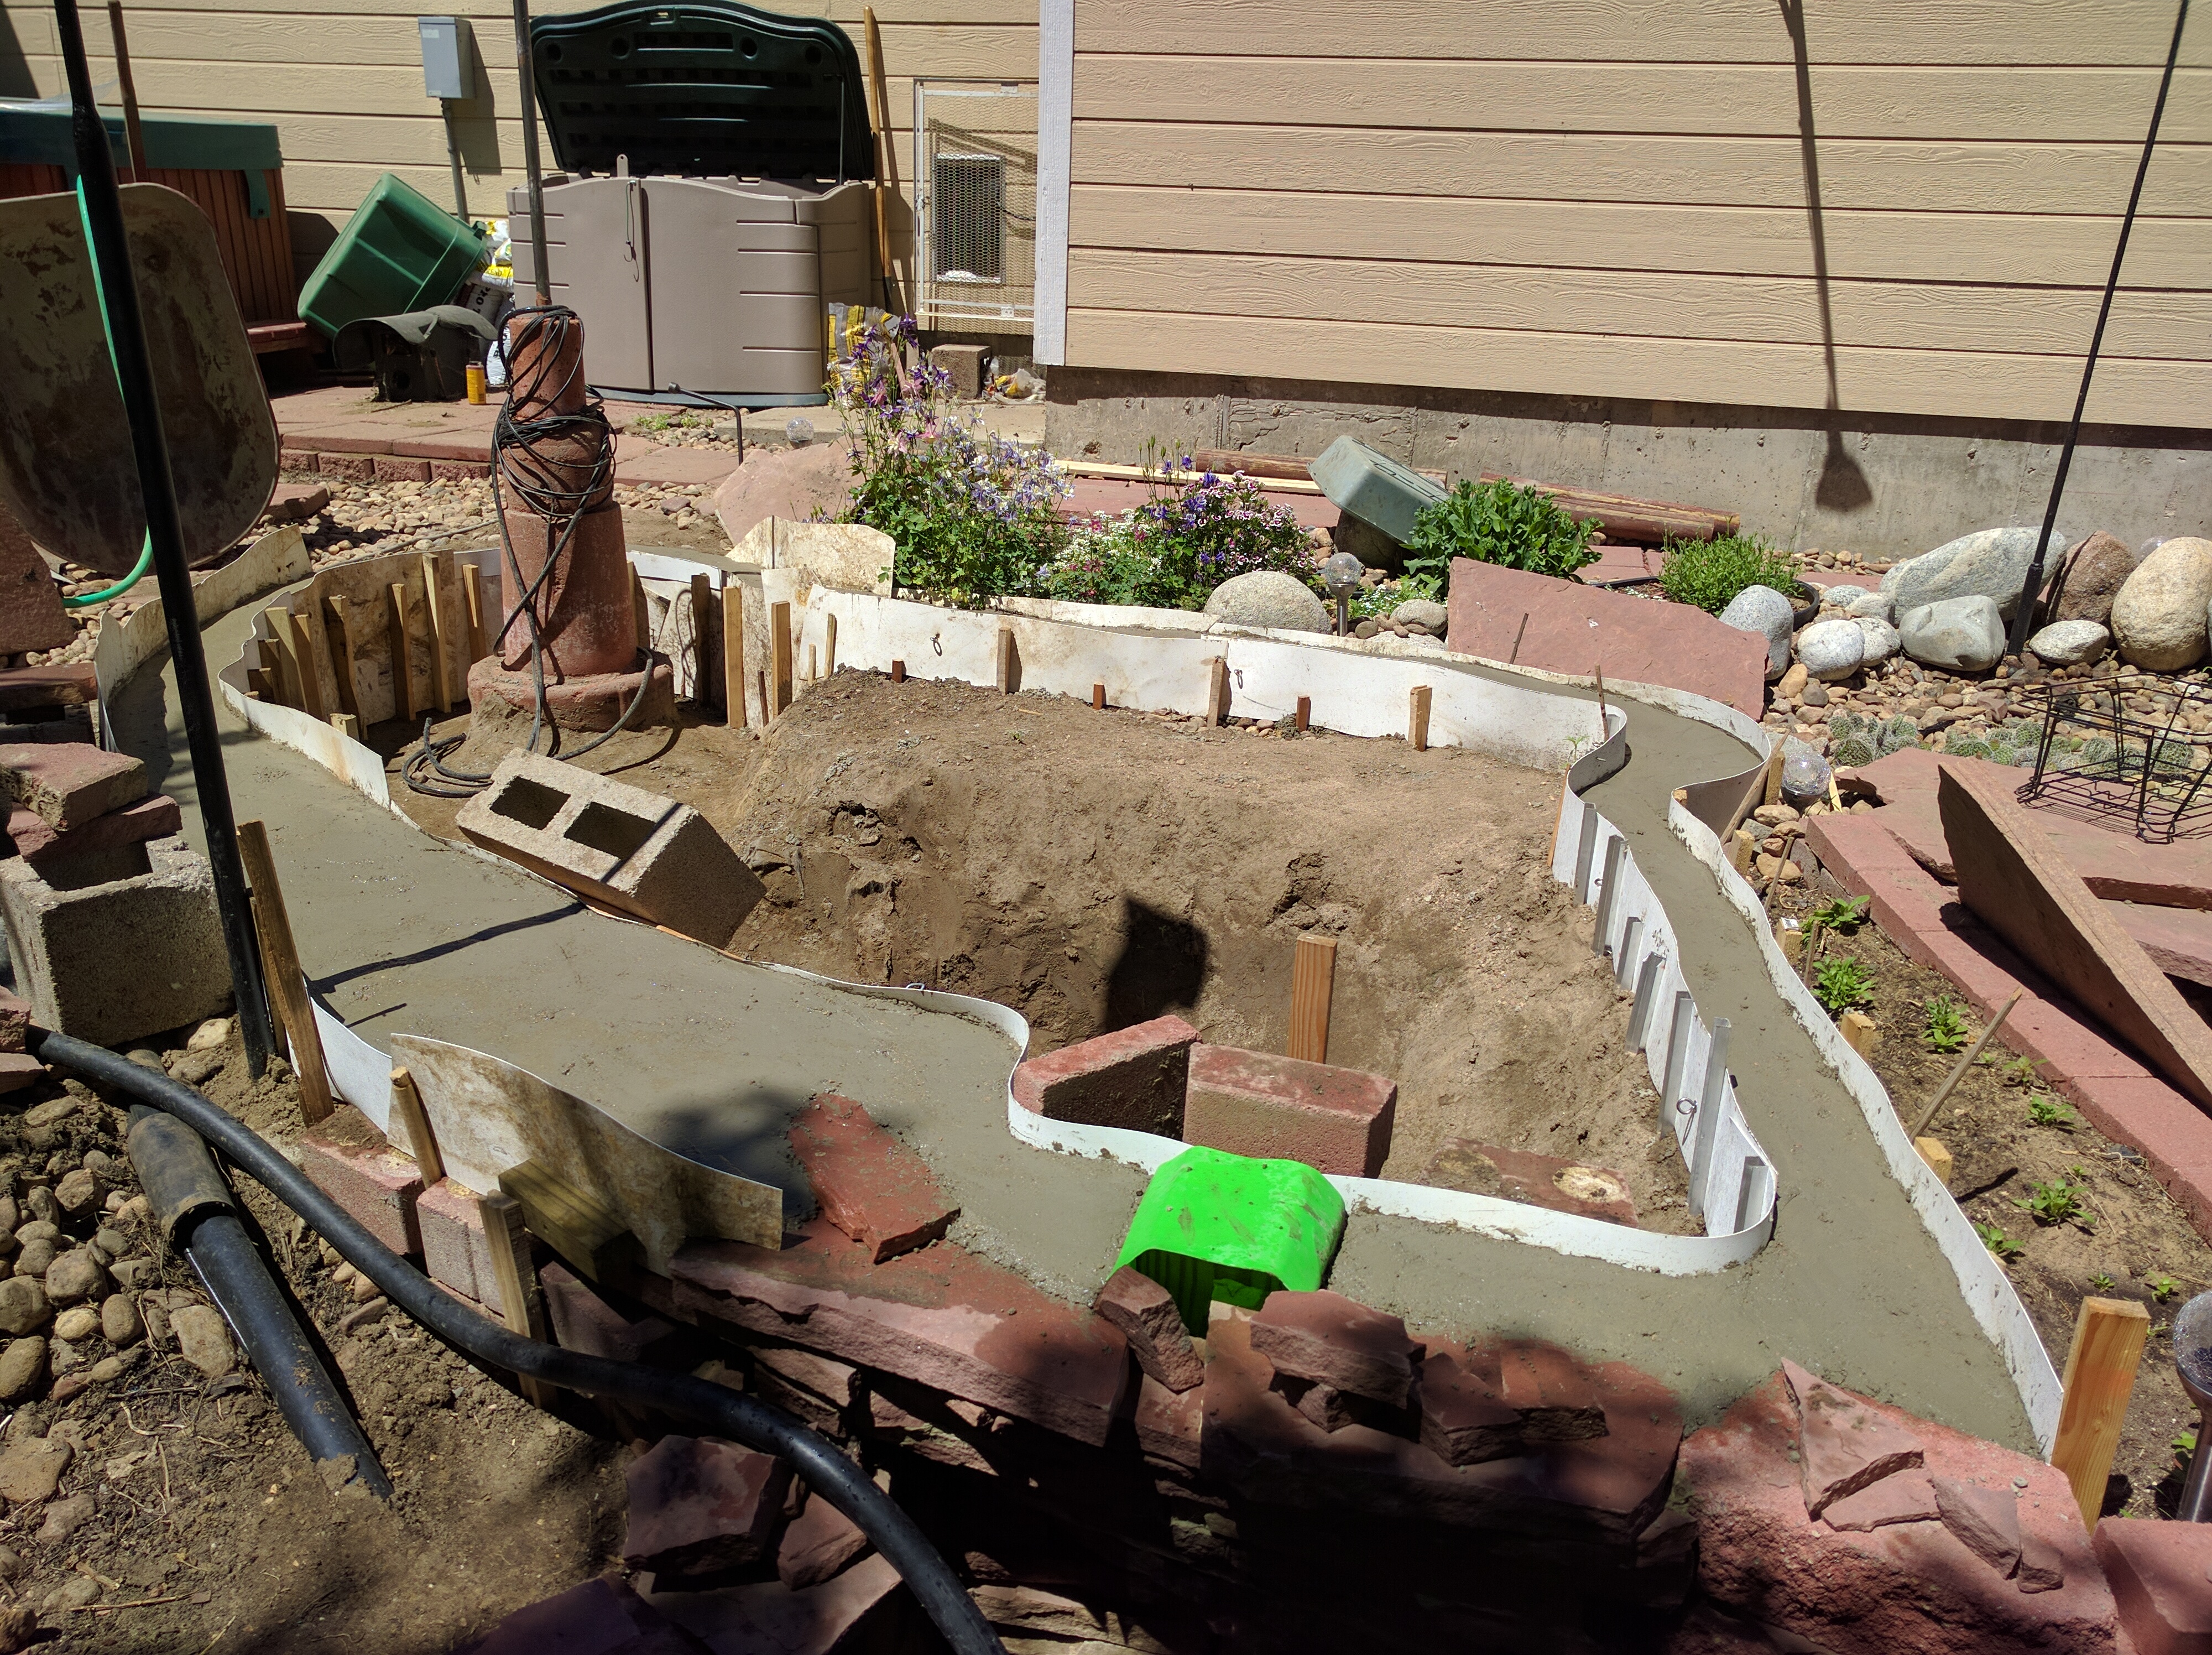
Pond v3-04
The fountain pedestal was problematic. I’m no professional mason, but finally managed to get it shaped, polished and sealed in an acceptable fashion. You can also see how I did the ingress points for water return and electric in the next 2 pics:
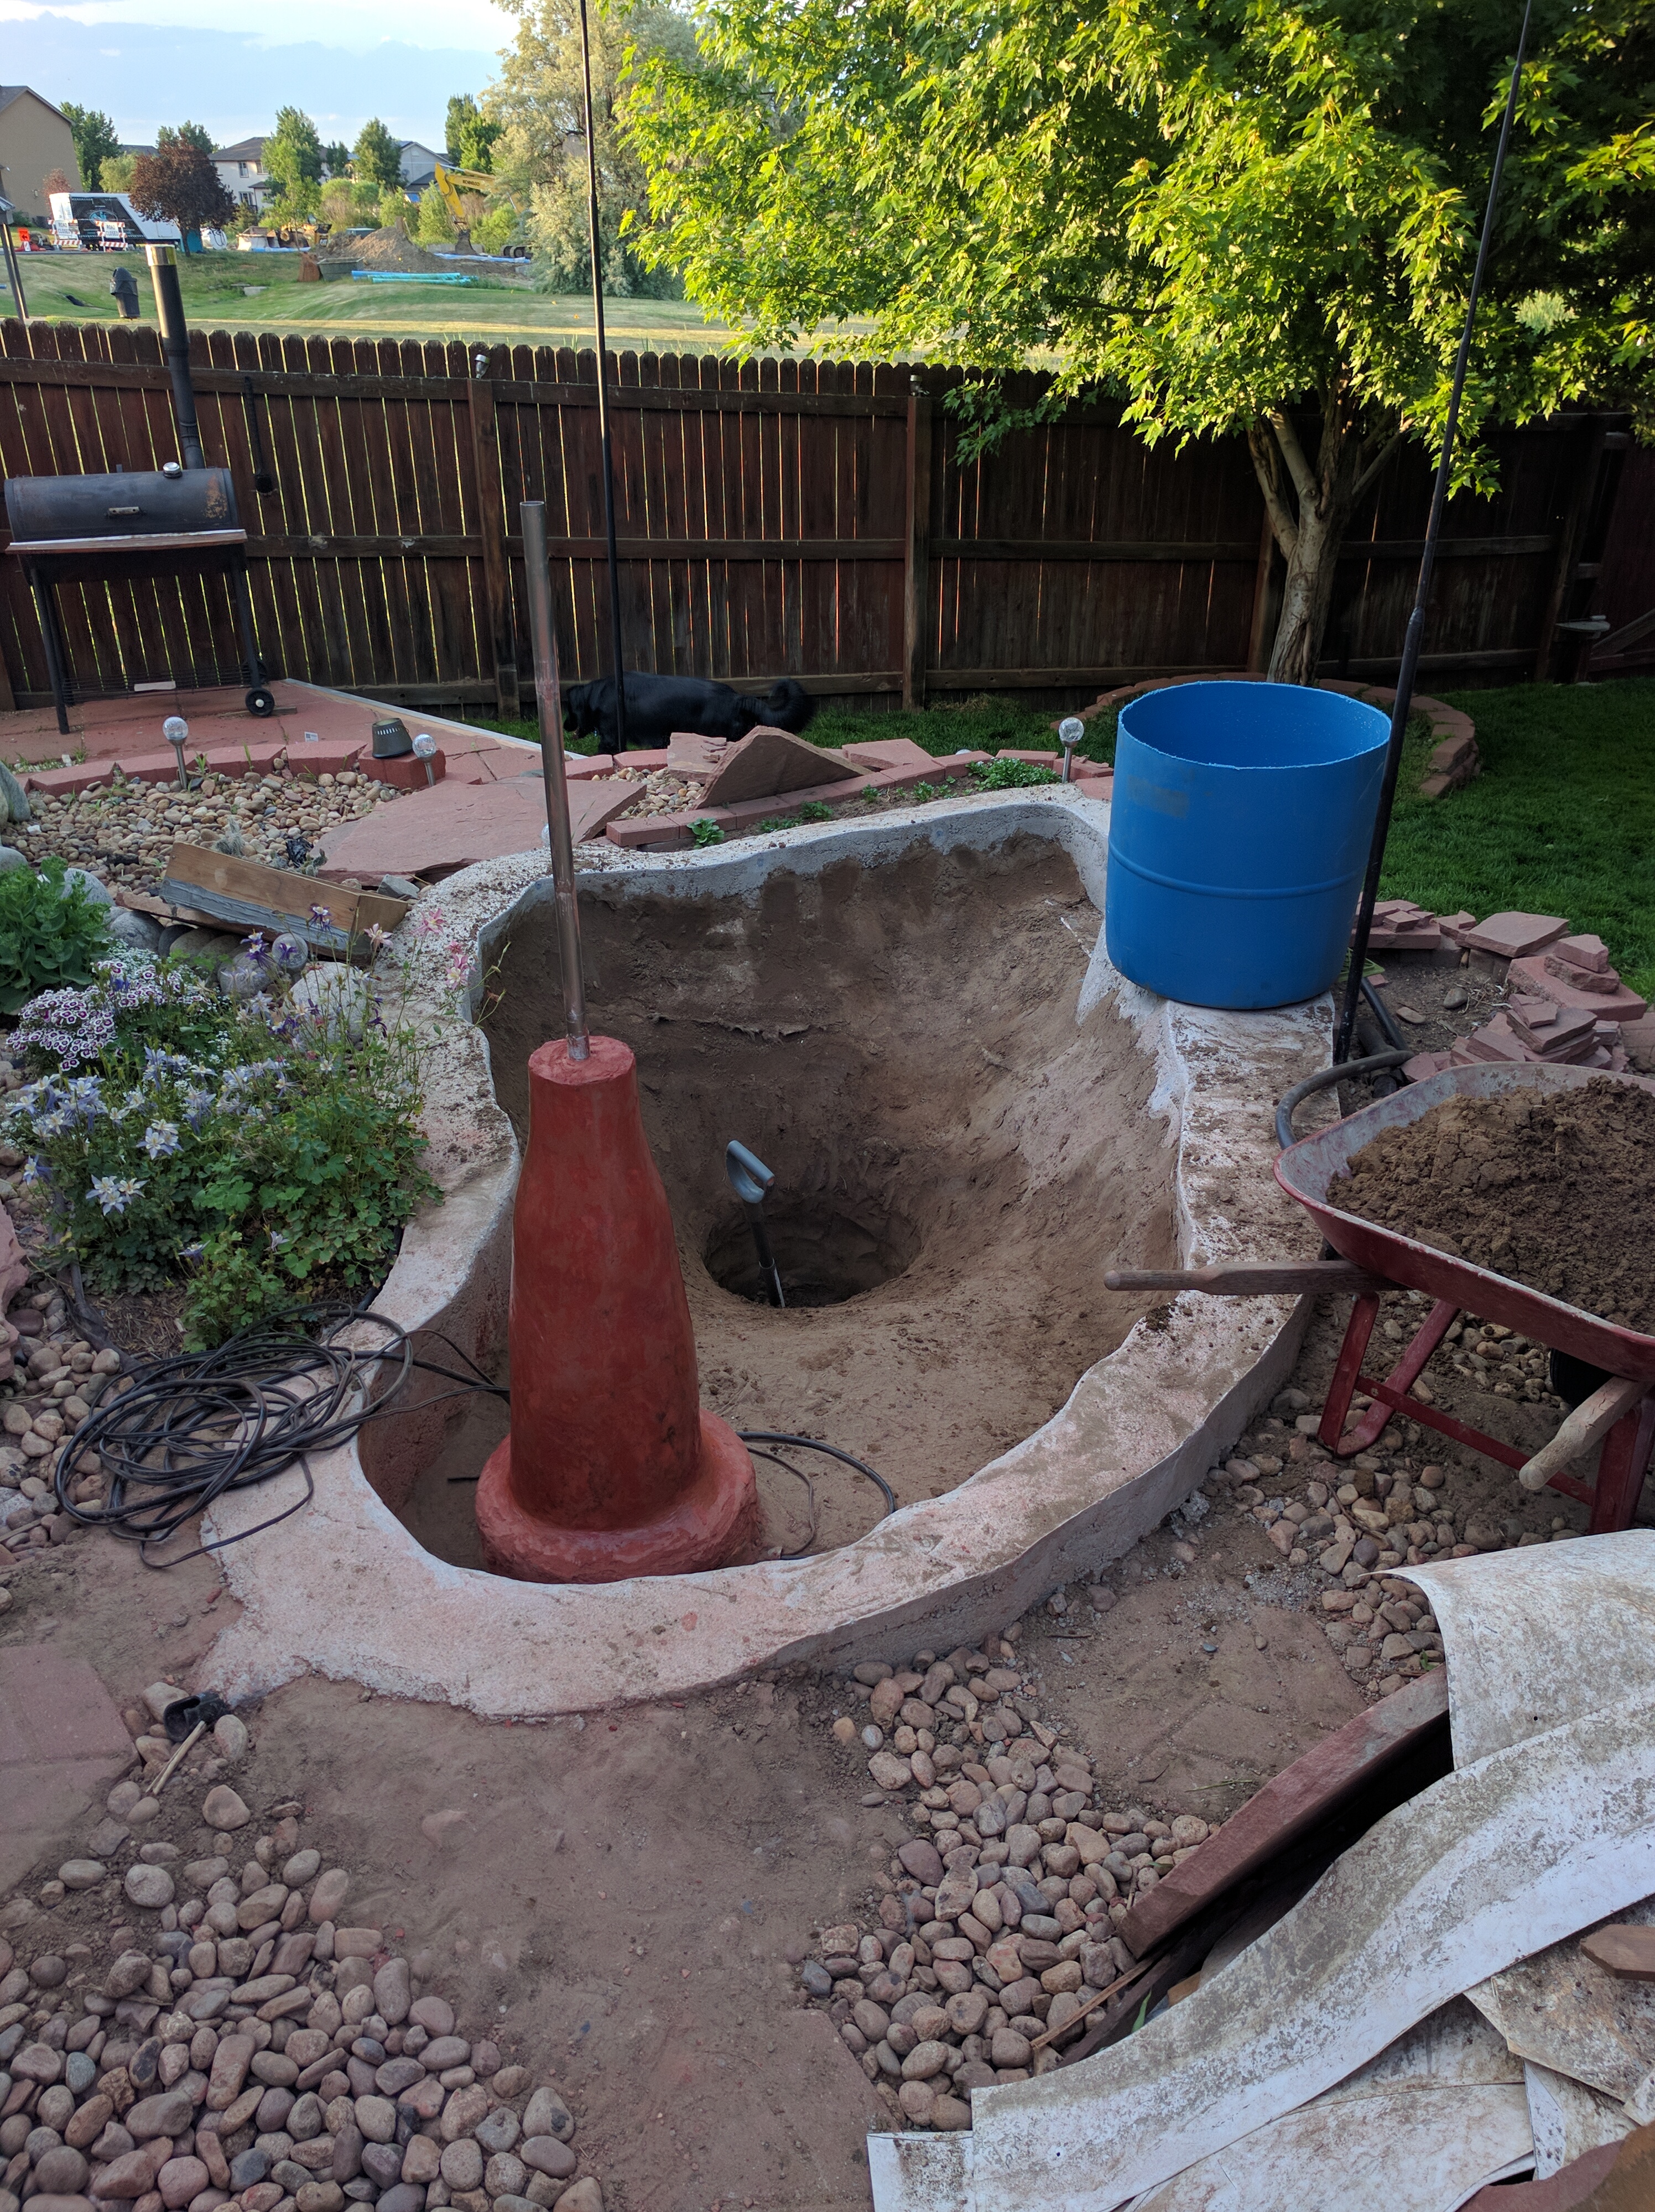
Pond v3-05
Pond v3-06
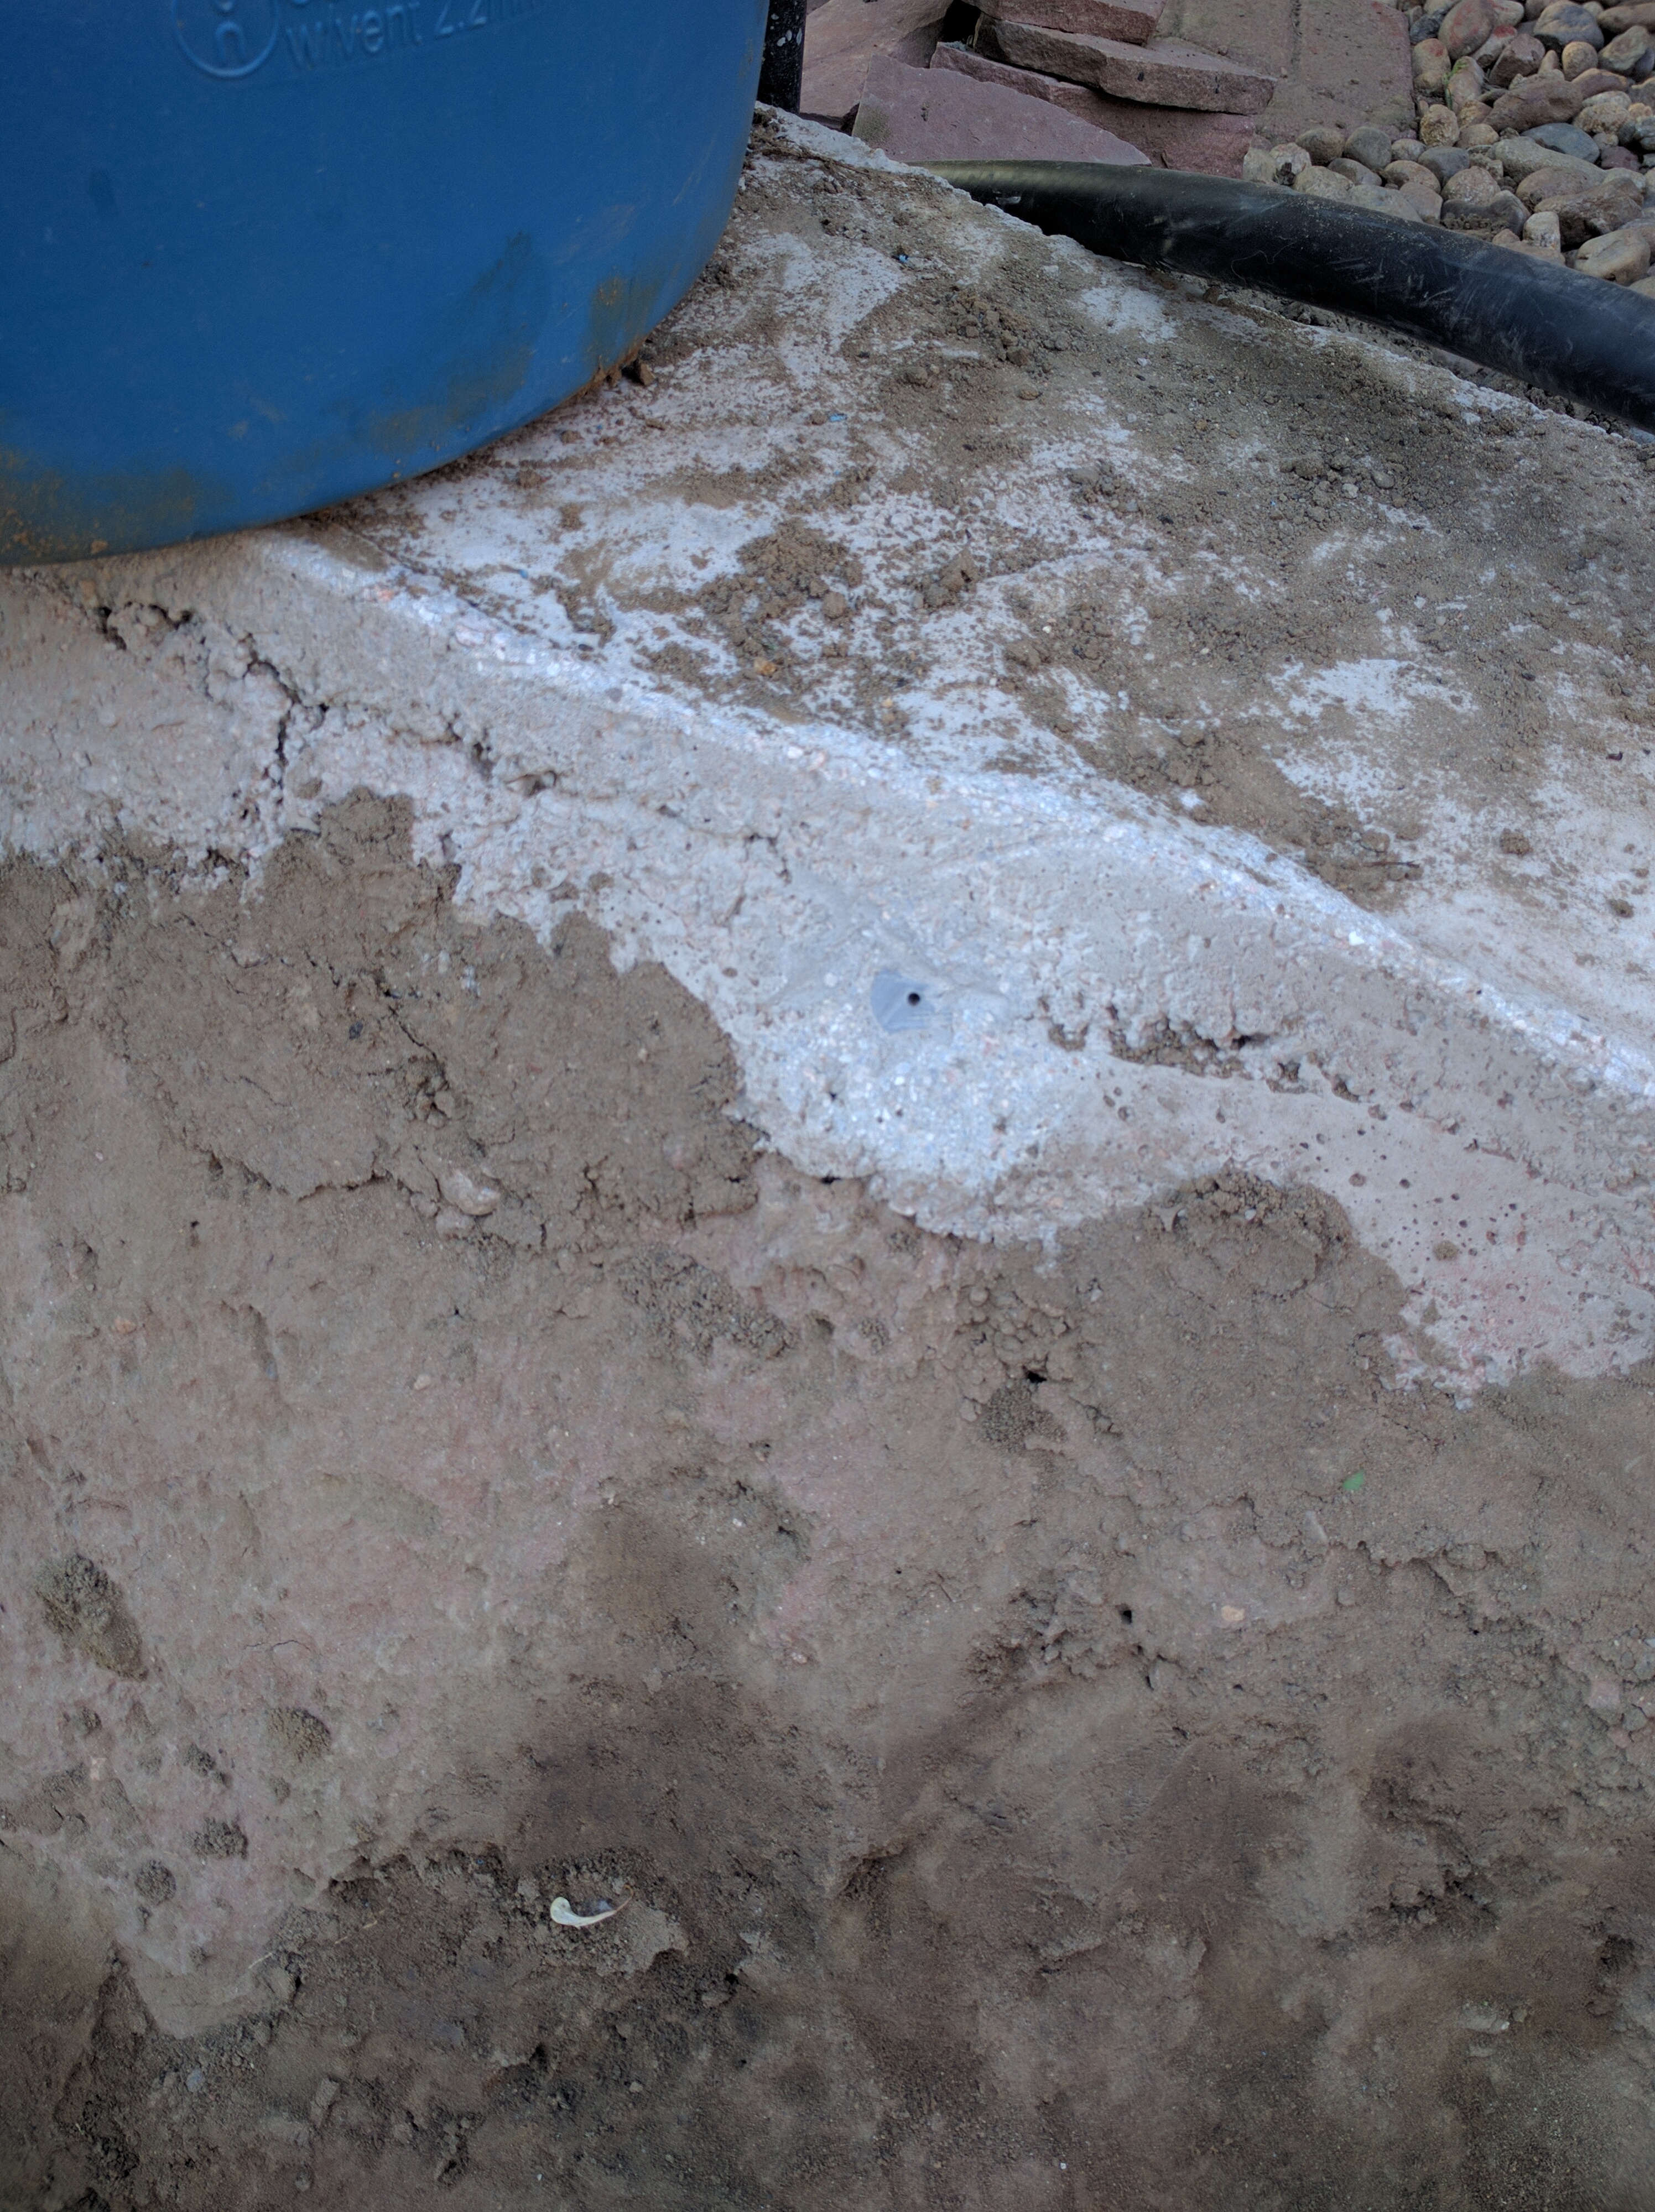
There are a total of 12 ingress points through the liner. I still need to fabricate a backing grommet for the fountain bottom. The little ones (shown below) are made from PVC dowels to accept stainless screws and screw-eyes. They will be used to fasten floating plants, lights and to control lettuce and  duckweed or whatever else ends up in there:
Pond v3-10
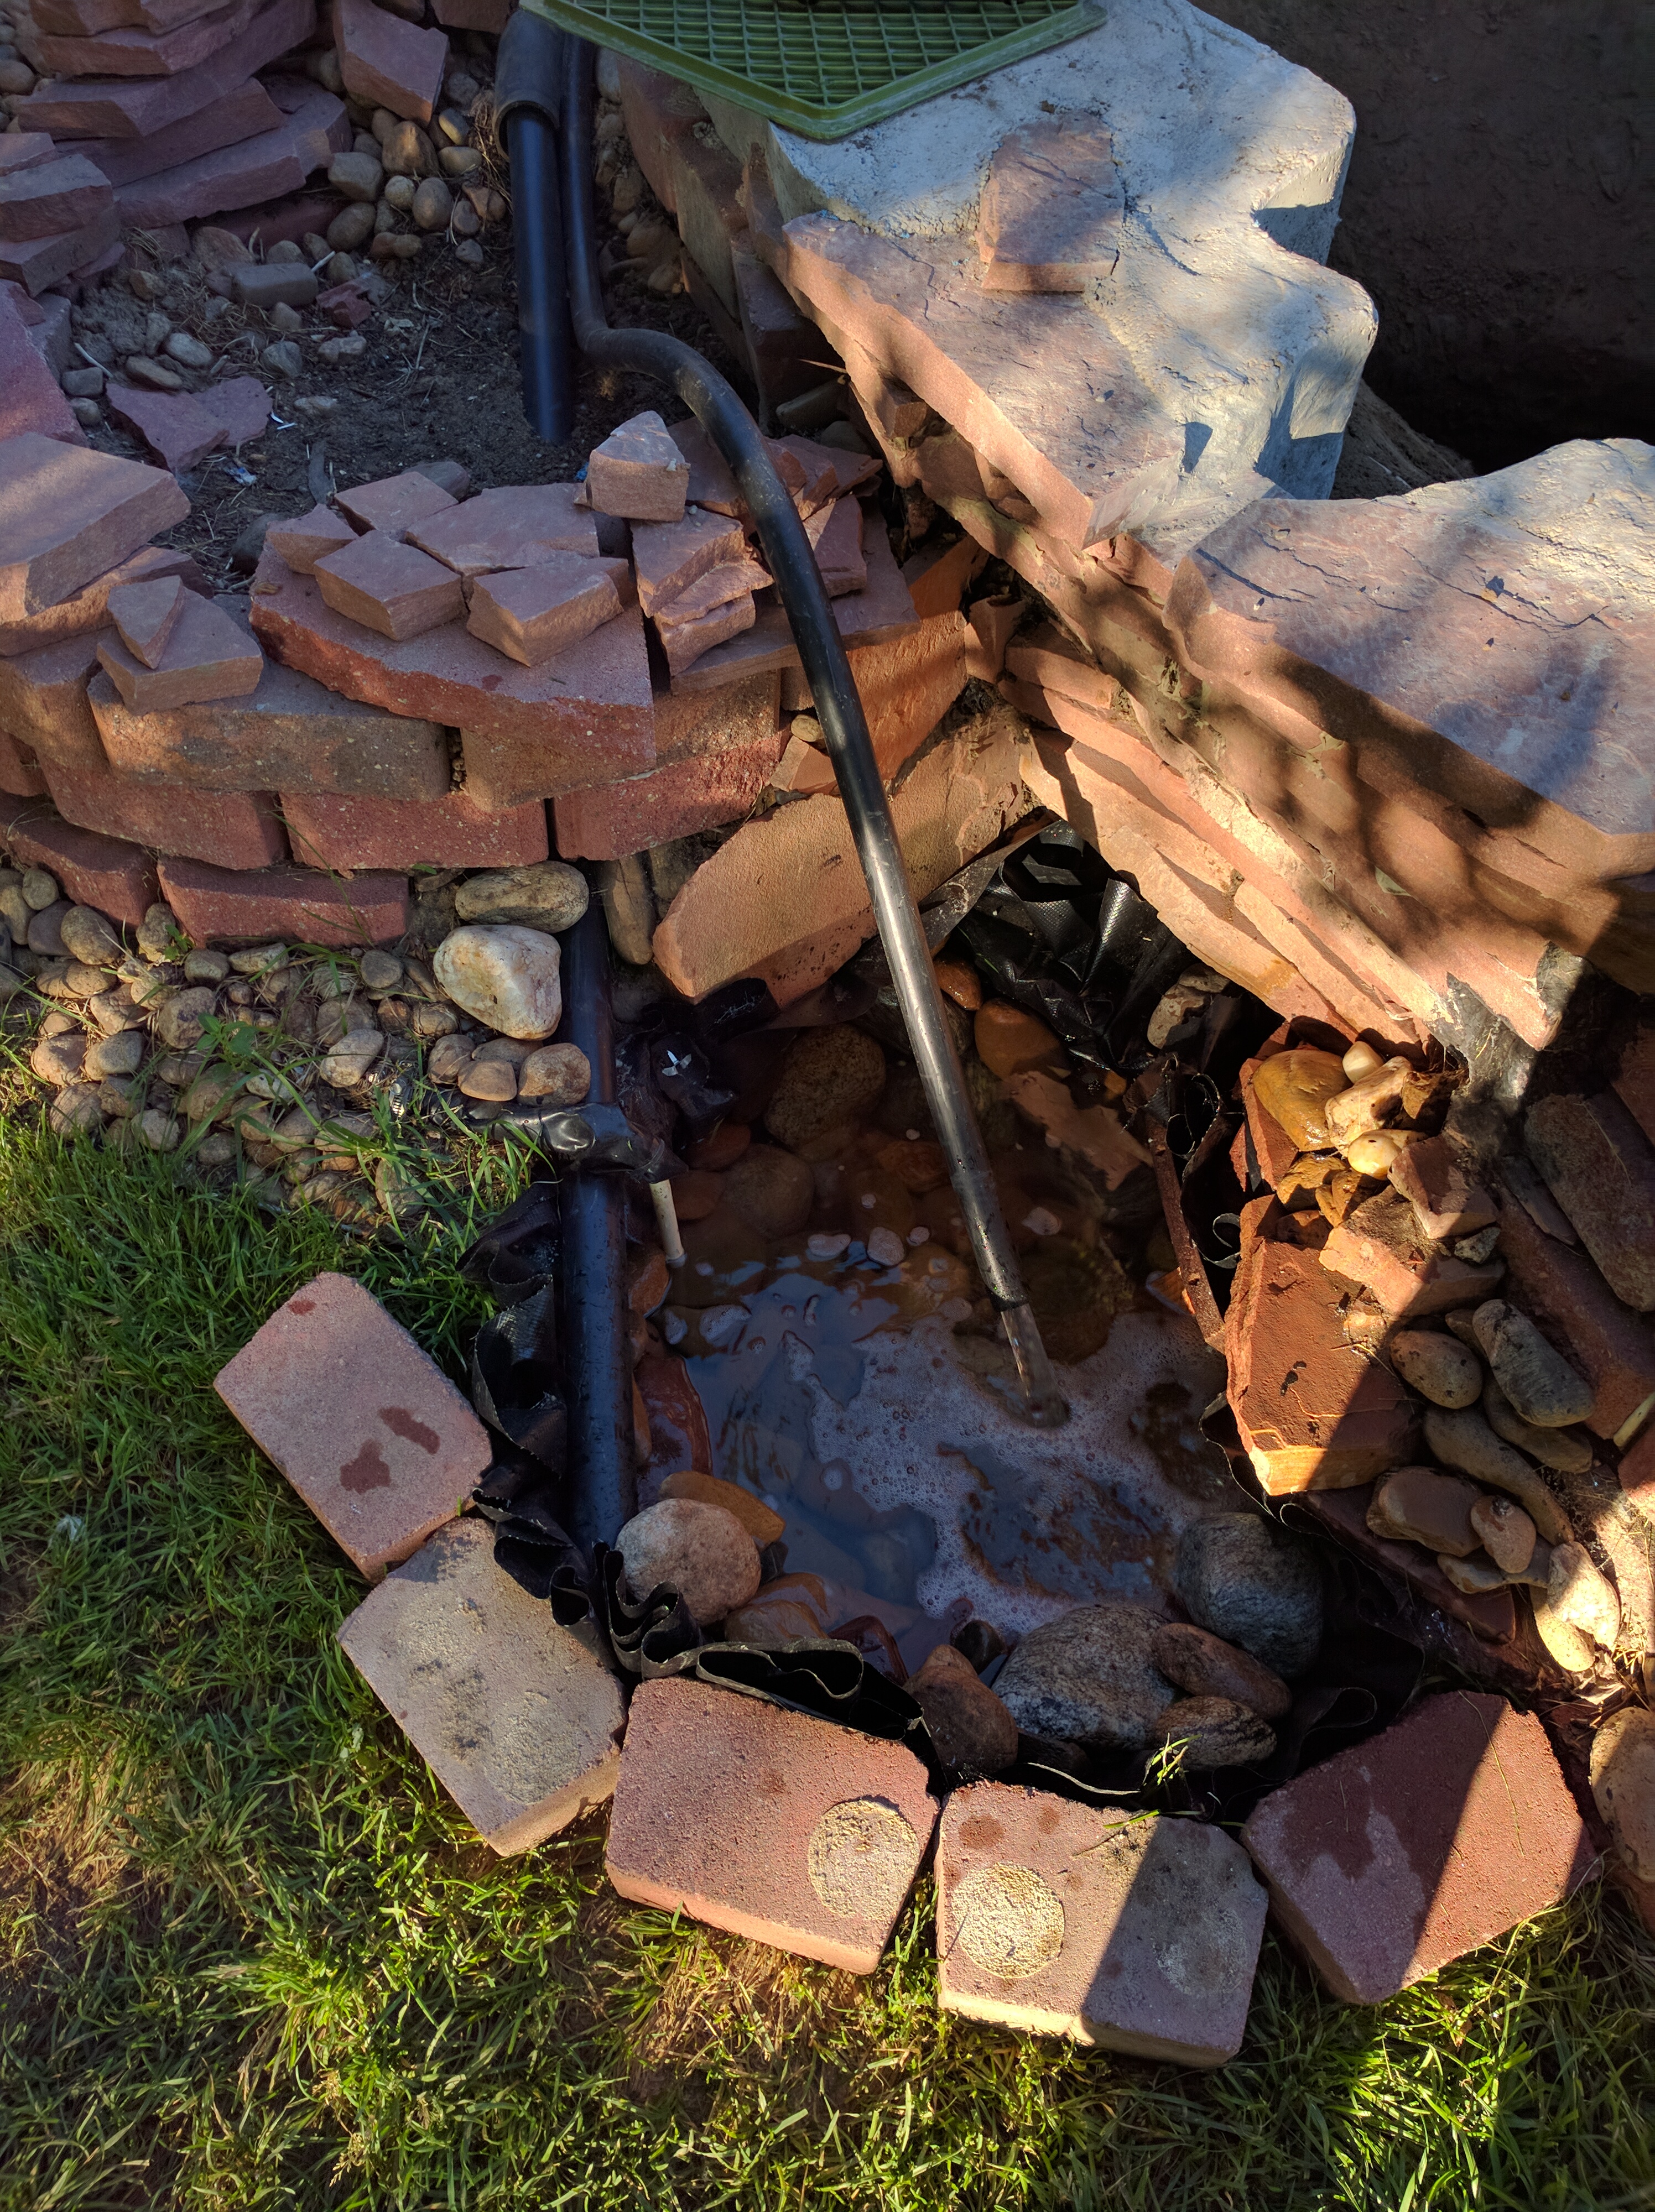
Here’s another pic showing a better view of the water return line:

Pond v3-07
I’ve had the sump/filter running in test mode for the past couple of weeks, and it seems to be operating as expected. The filter is made up of 63 wiffle balls covered with 2 bags of polyfill. This is actually a low-budget project, believe it or not. The biggest expense so far was about $100 worth of Quickrete. I got the poly drum for $10 from my methanol supplier. I think I’ll use 3 bags of poylfill next time, but it seems adequate with 2 for now. Bird netting separates the polyfill from the top layer of rocks. The landscape blocks around the sump edge are just holding up the liner for now, and I’ll get that properly finished at some point.
Pond v3-08
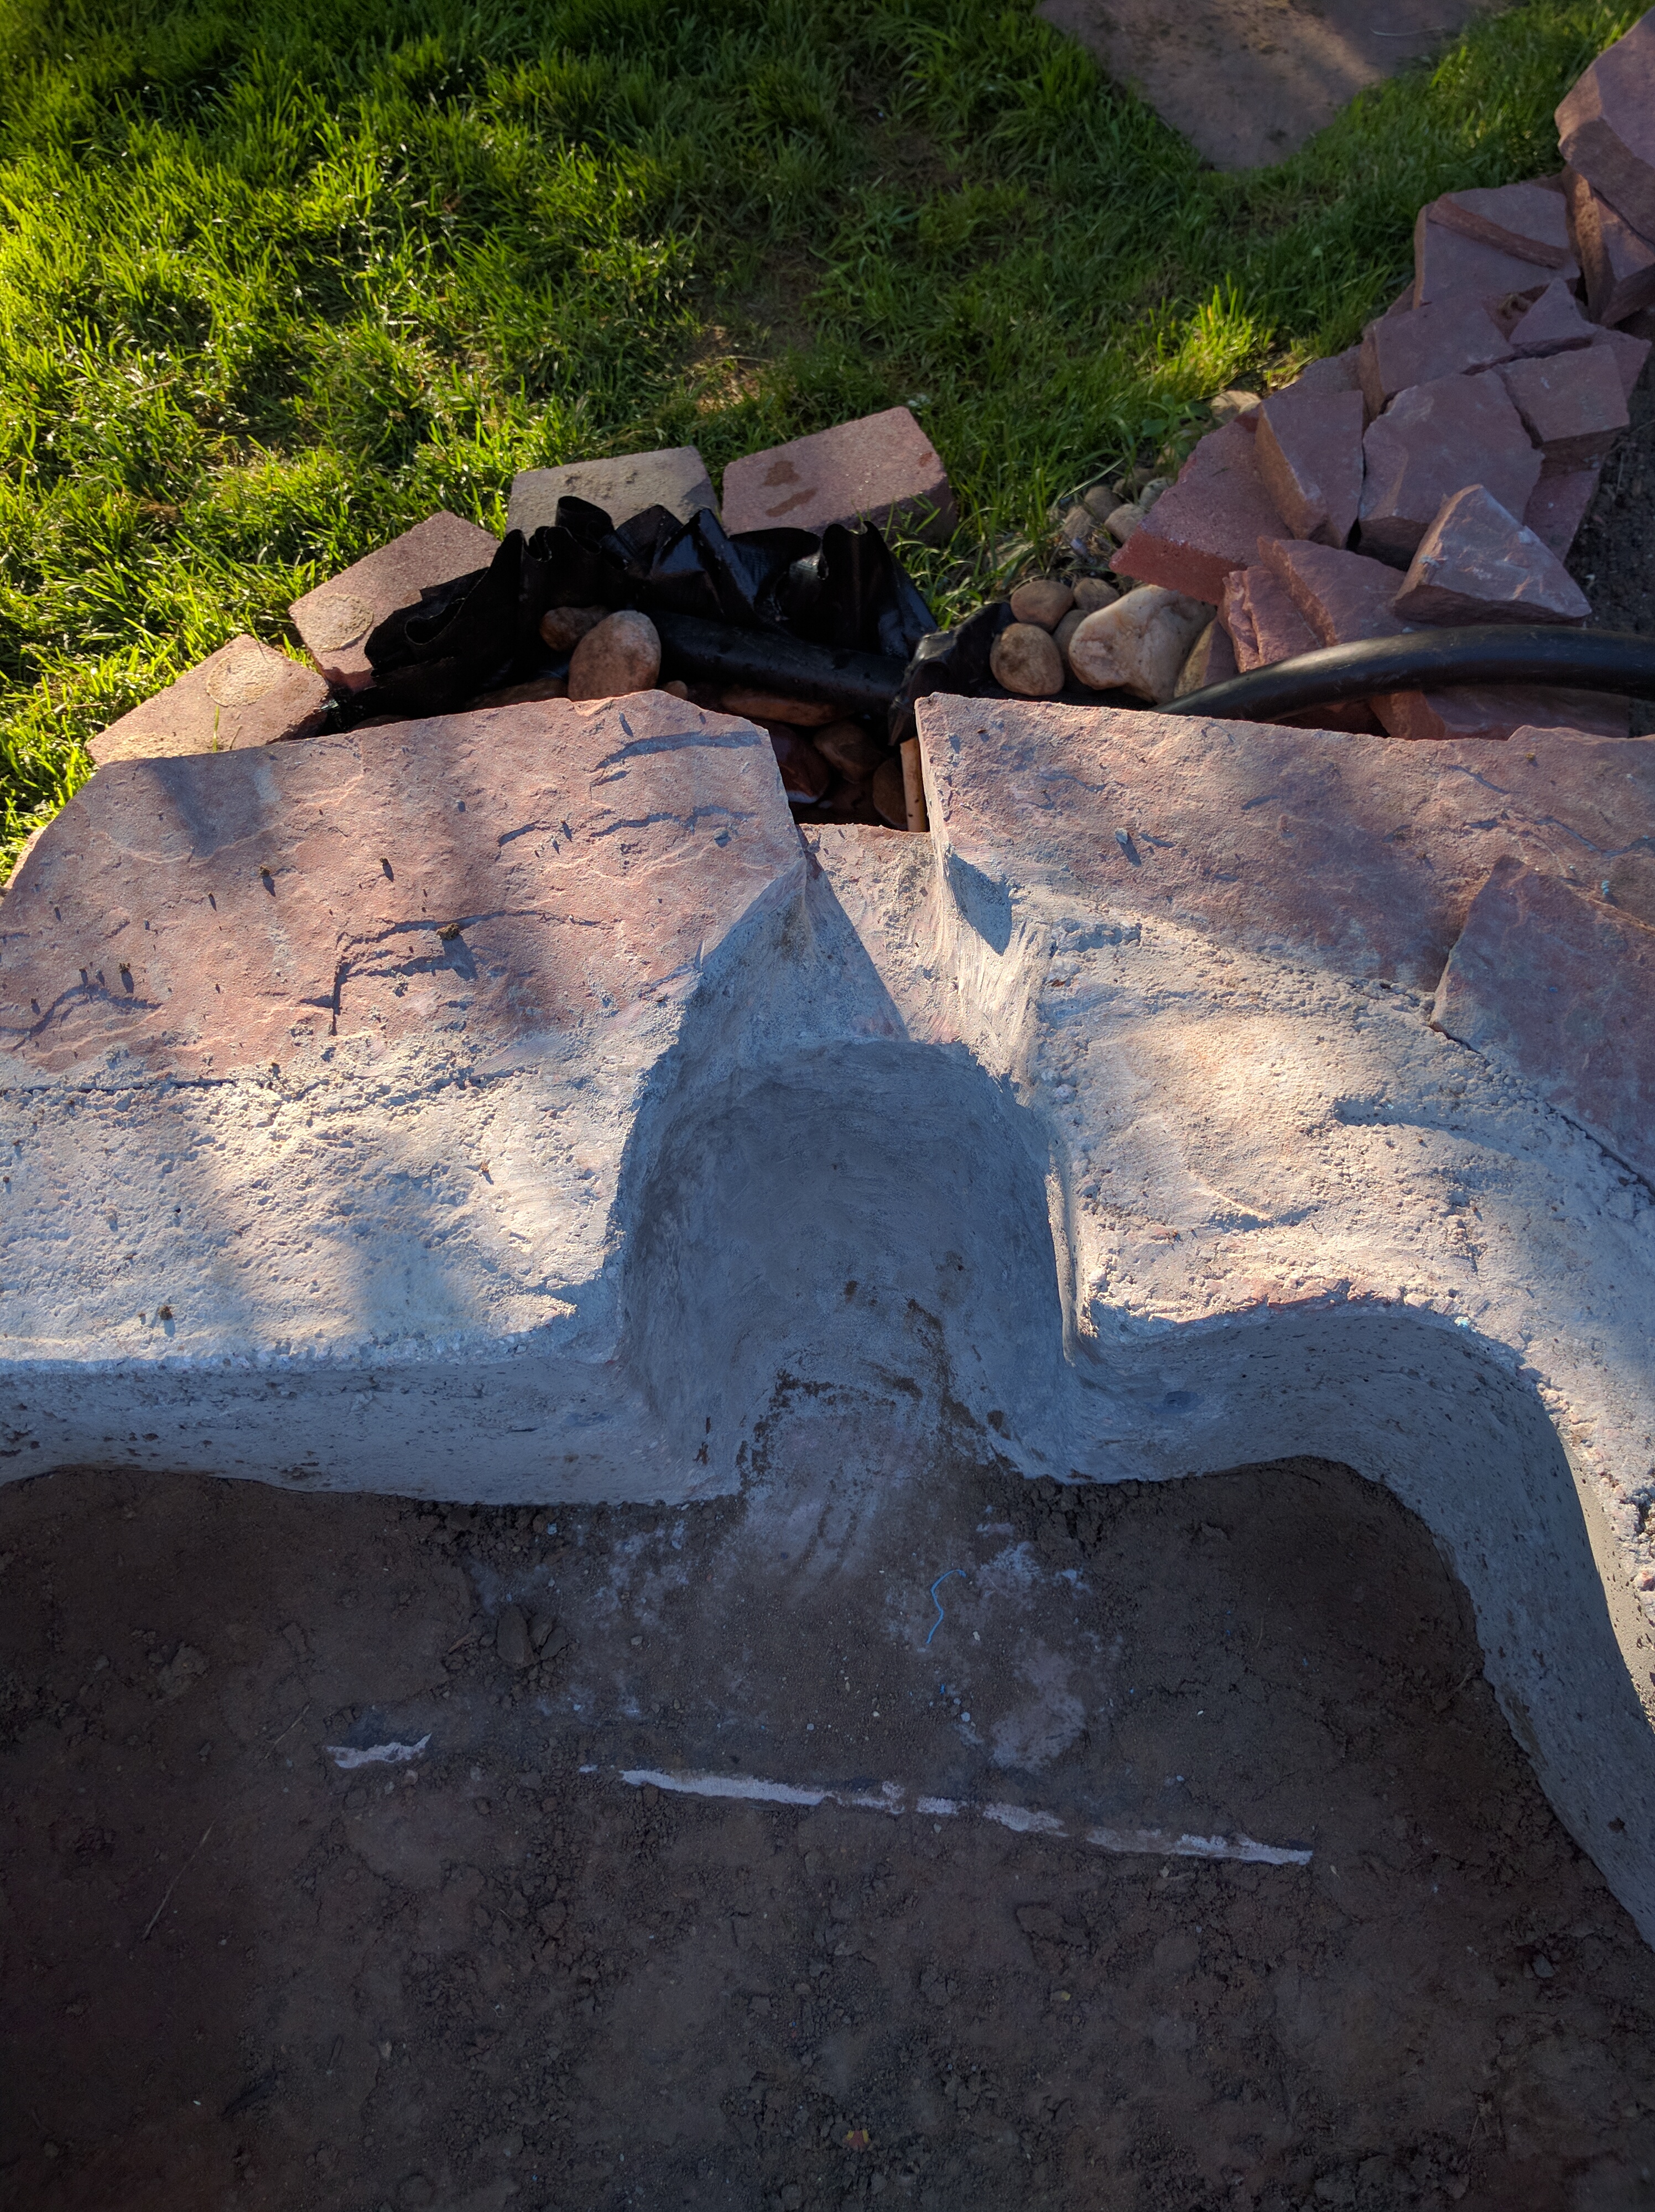
Where the water falls out to the sump here will be covered after the top is finished with flagstone all around:
Pond v3-09
Depth in the middle ends up being about 4 feet. Liner goes in today.
Pond v3: Construction Update

As mentioned in the previous post, the backyard pond turned into a major construction project this year. I expect to pour concrete this weekend, so that biggest and most difficult portion is now almost done. Welding rebar on my hands & knees for 4 hours yesterday afternoon really wore me out! I believe a tentative finishing date should be somewhere within the next couple of weeks. As opposed to the old 5-gallon pail, the new sump is a significant upgrade, now holding probably around 40 gallons. The big blue thing in there is the top 3rd of a 50-gallon poly-drum. It’s 16 inches below the water line, forming the lower pump compartment, with an access panel. Proper filter media goes on top of the pump compartment, covered with landscape rock forming a small pool under the outlet:

Sump
Water level will come up at least a full 6 inches, with alot of digging still left to do. The other 2/3 of the blue poly barrel will form the bottom of the pond itself, making it around 4 feet deep in the middle. I’d estimate total capacity to end up being in the 500 gallon range.

Sump
A concrete slab all the way around the edge will make it easy to seal. I got the largest liner Home Depot had – hope it’s big enough. We’ll be using red flagstone around the edges for finishing once again, and also to form a tall pyramid on top of the fountain pedestal. The pedestal will be finished with a polished surface color matching the flagstone. It should end up standing about eye-level at the top with LED lights under a small clear poly-carbonate dome where the water comes out. Two underwater LED’s will illuminate around the bottom.

The fountain is an interesting bit to me, from a design standpoint. It was the part that started the whole project after I decided the old store-bought item was not exactly what I wanted. This one is fairly solid, with 3-inch steel pipe support roots welded into a re-bar base going out 3 feet at a 45-degree angle. Standing back looking at it after that little concrete experiment inspired me to just tear it all apart a re-do the whole thing.

Sump

WEMMS Enters OTE

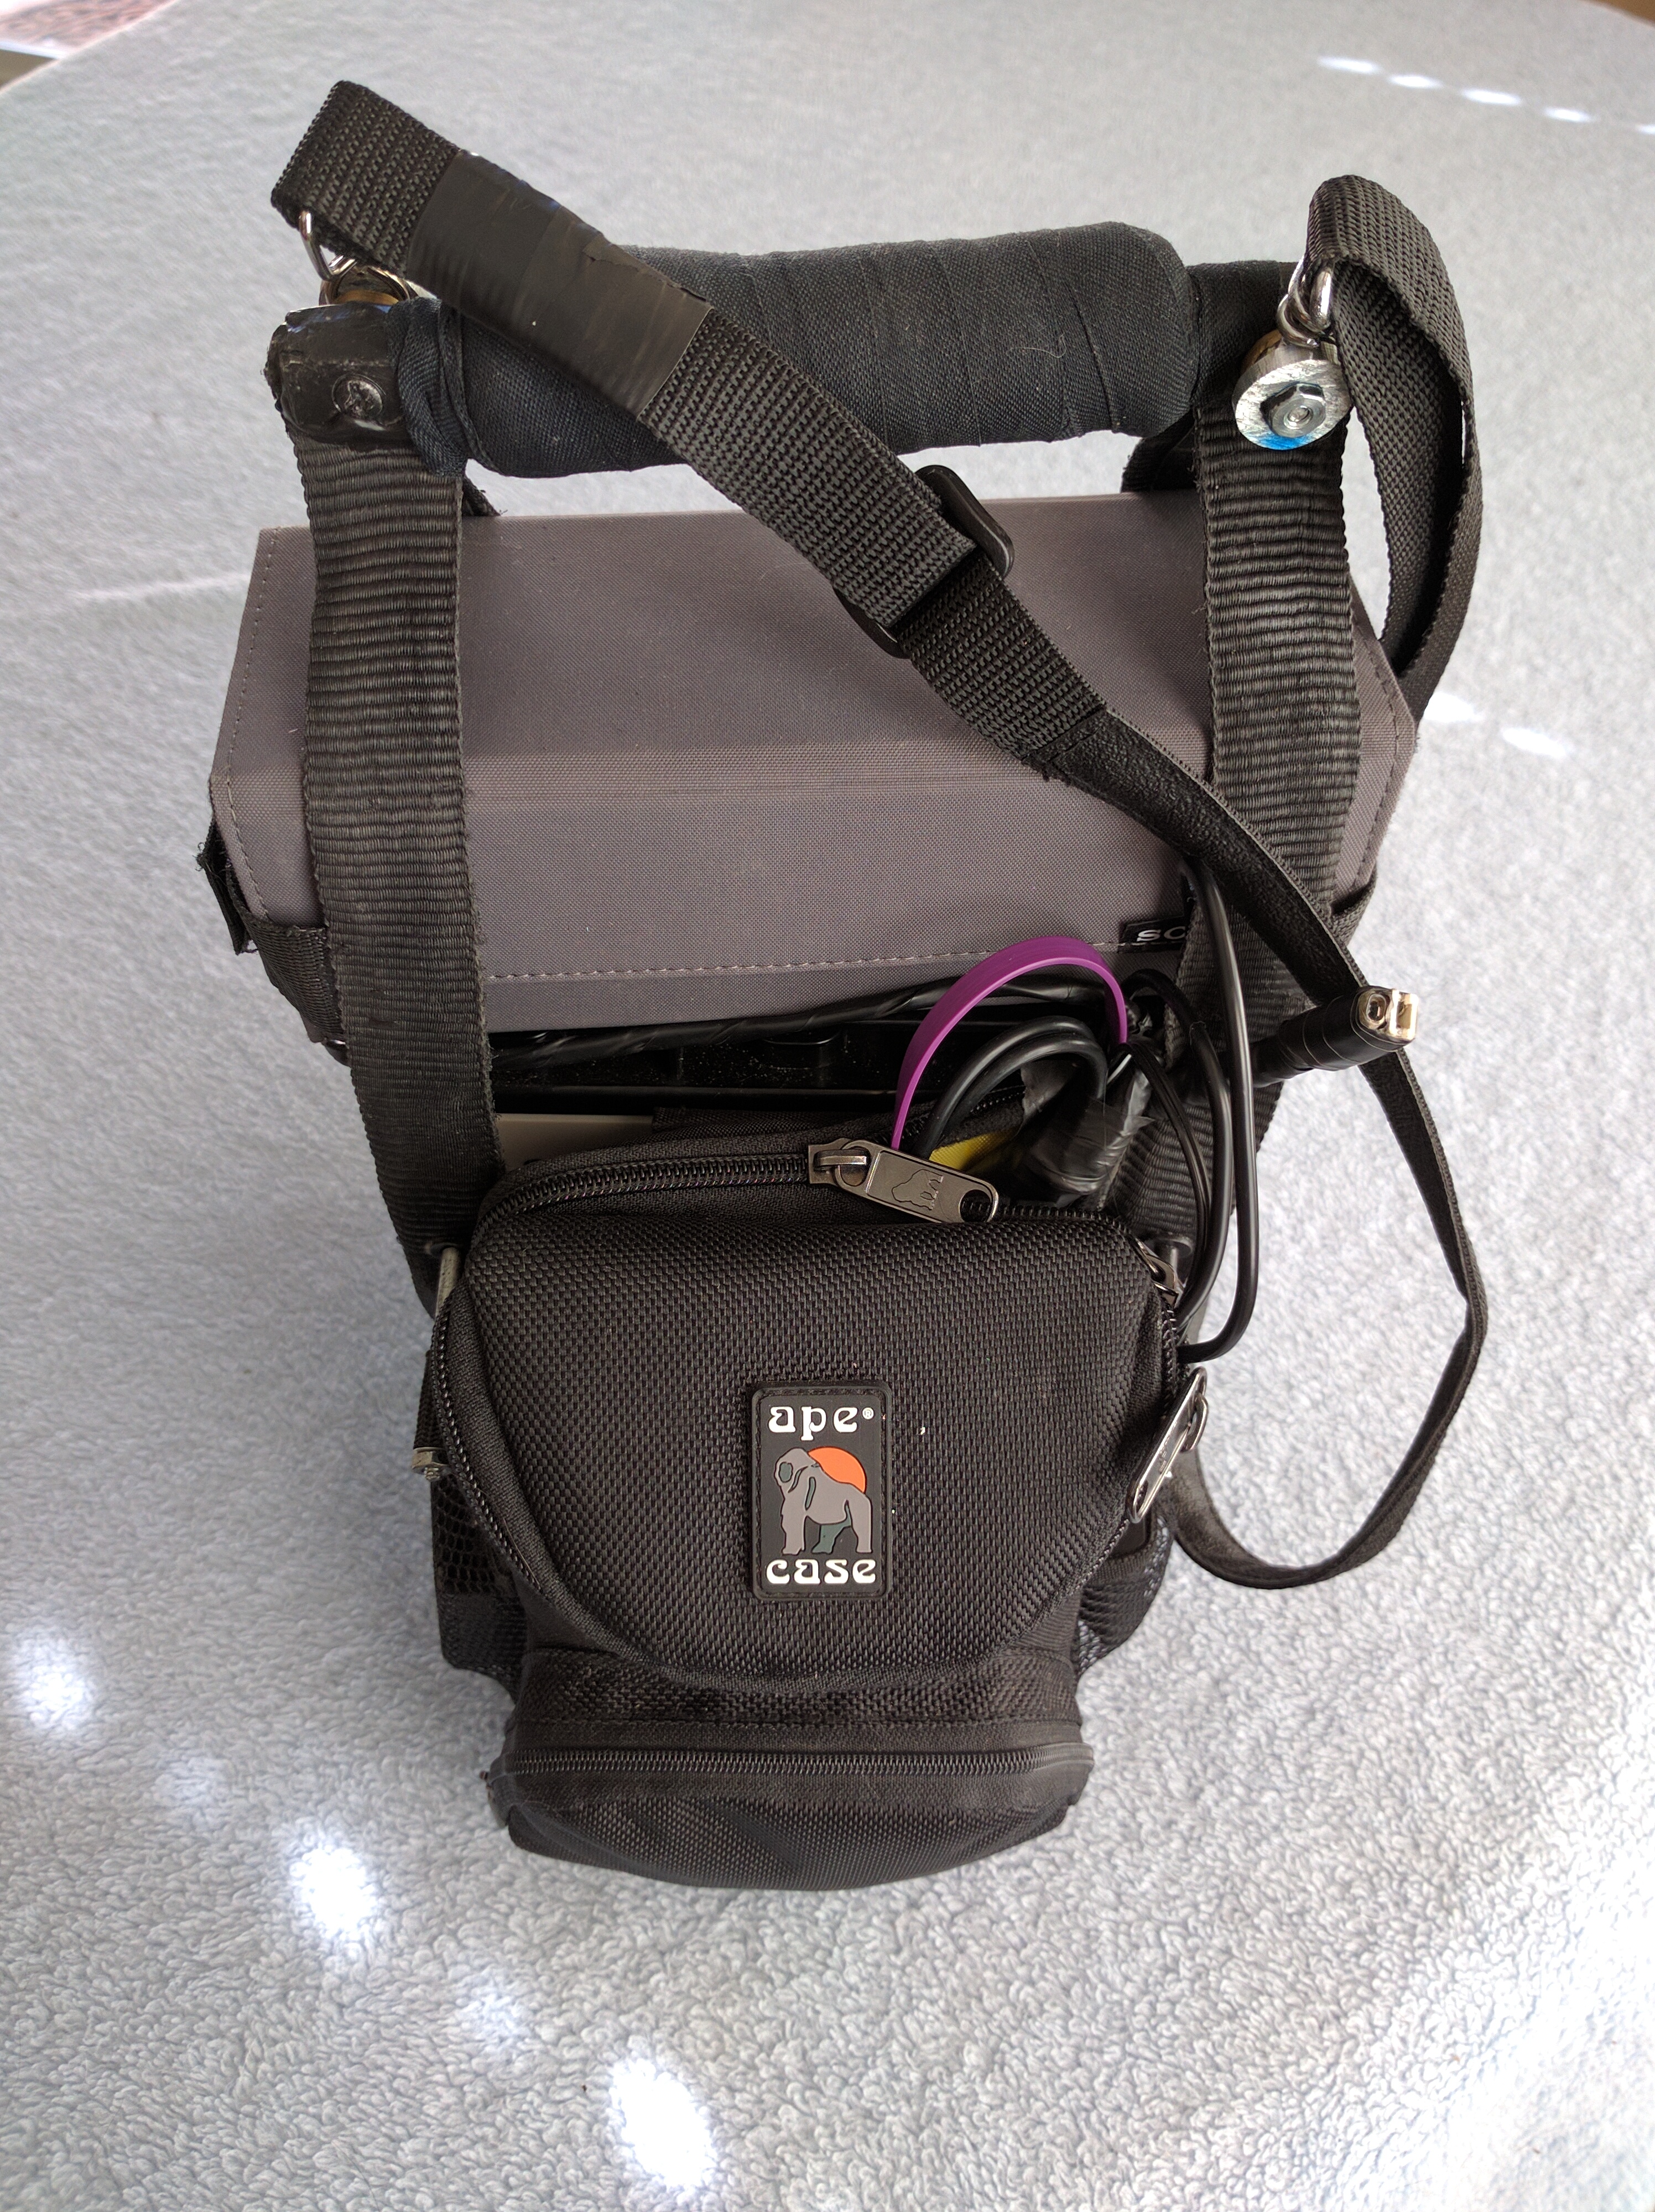
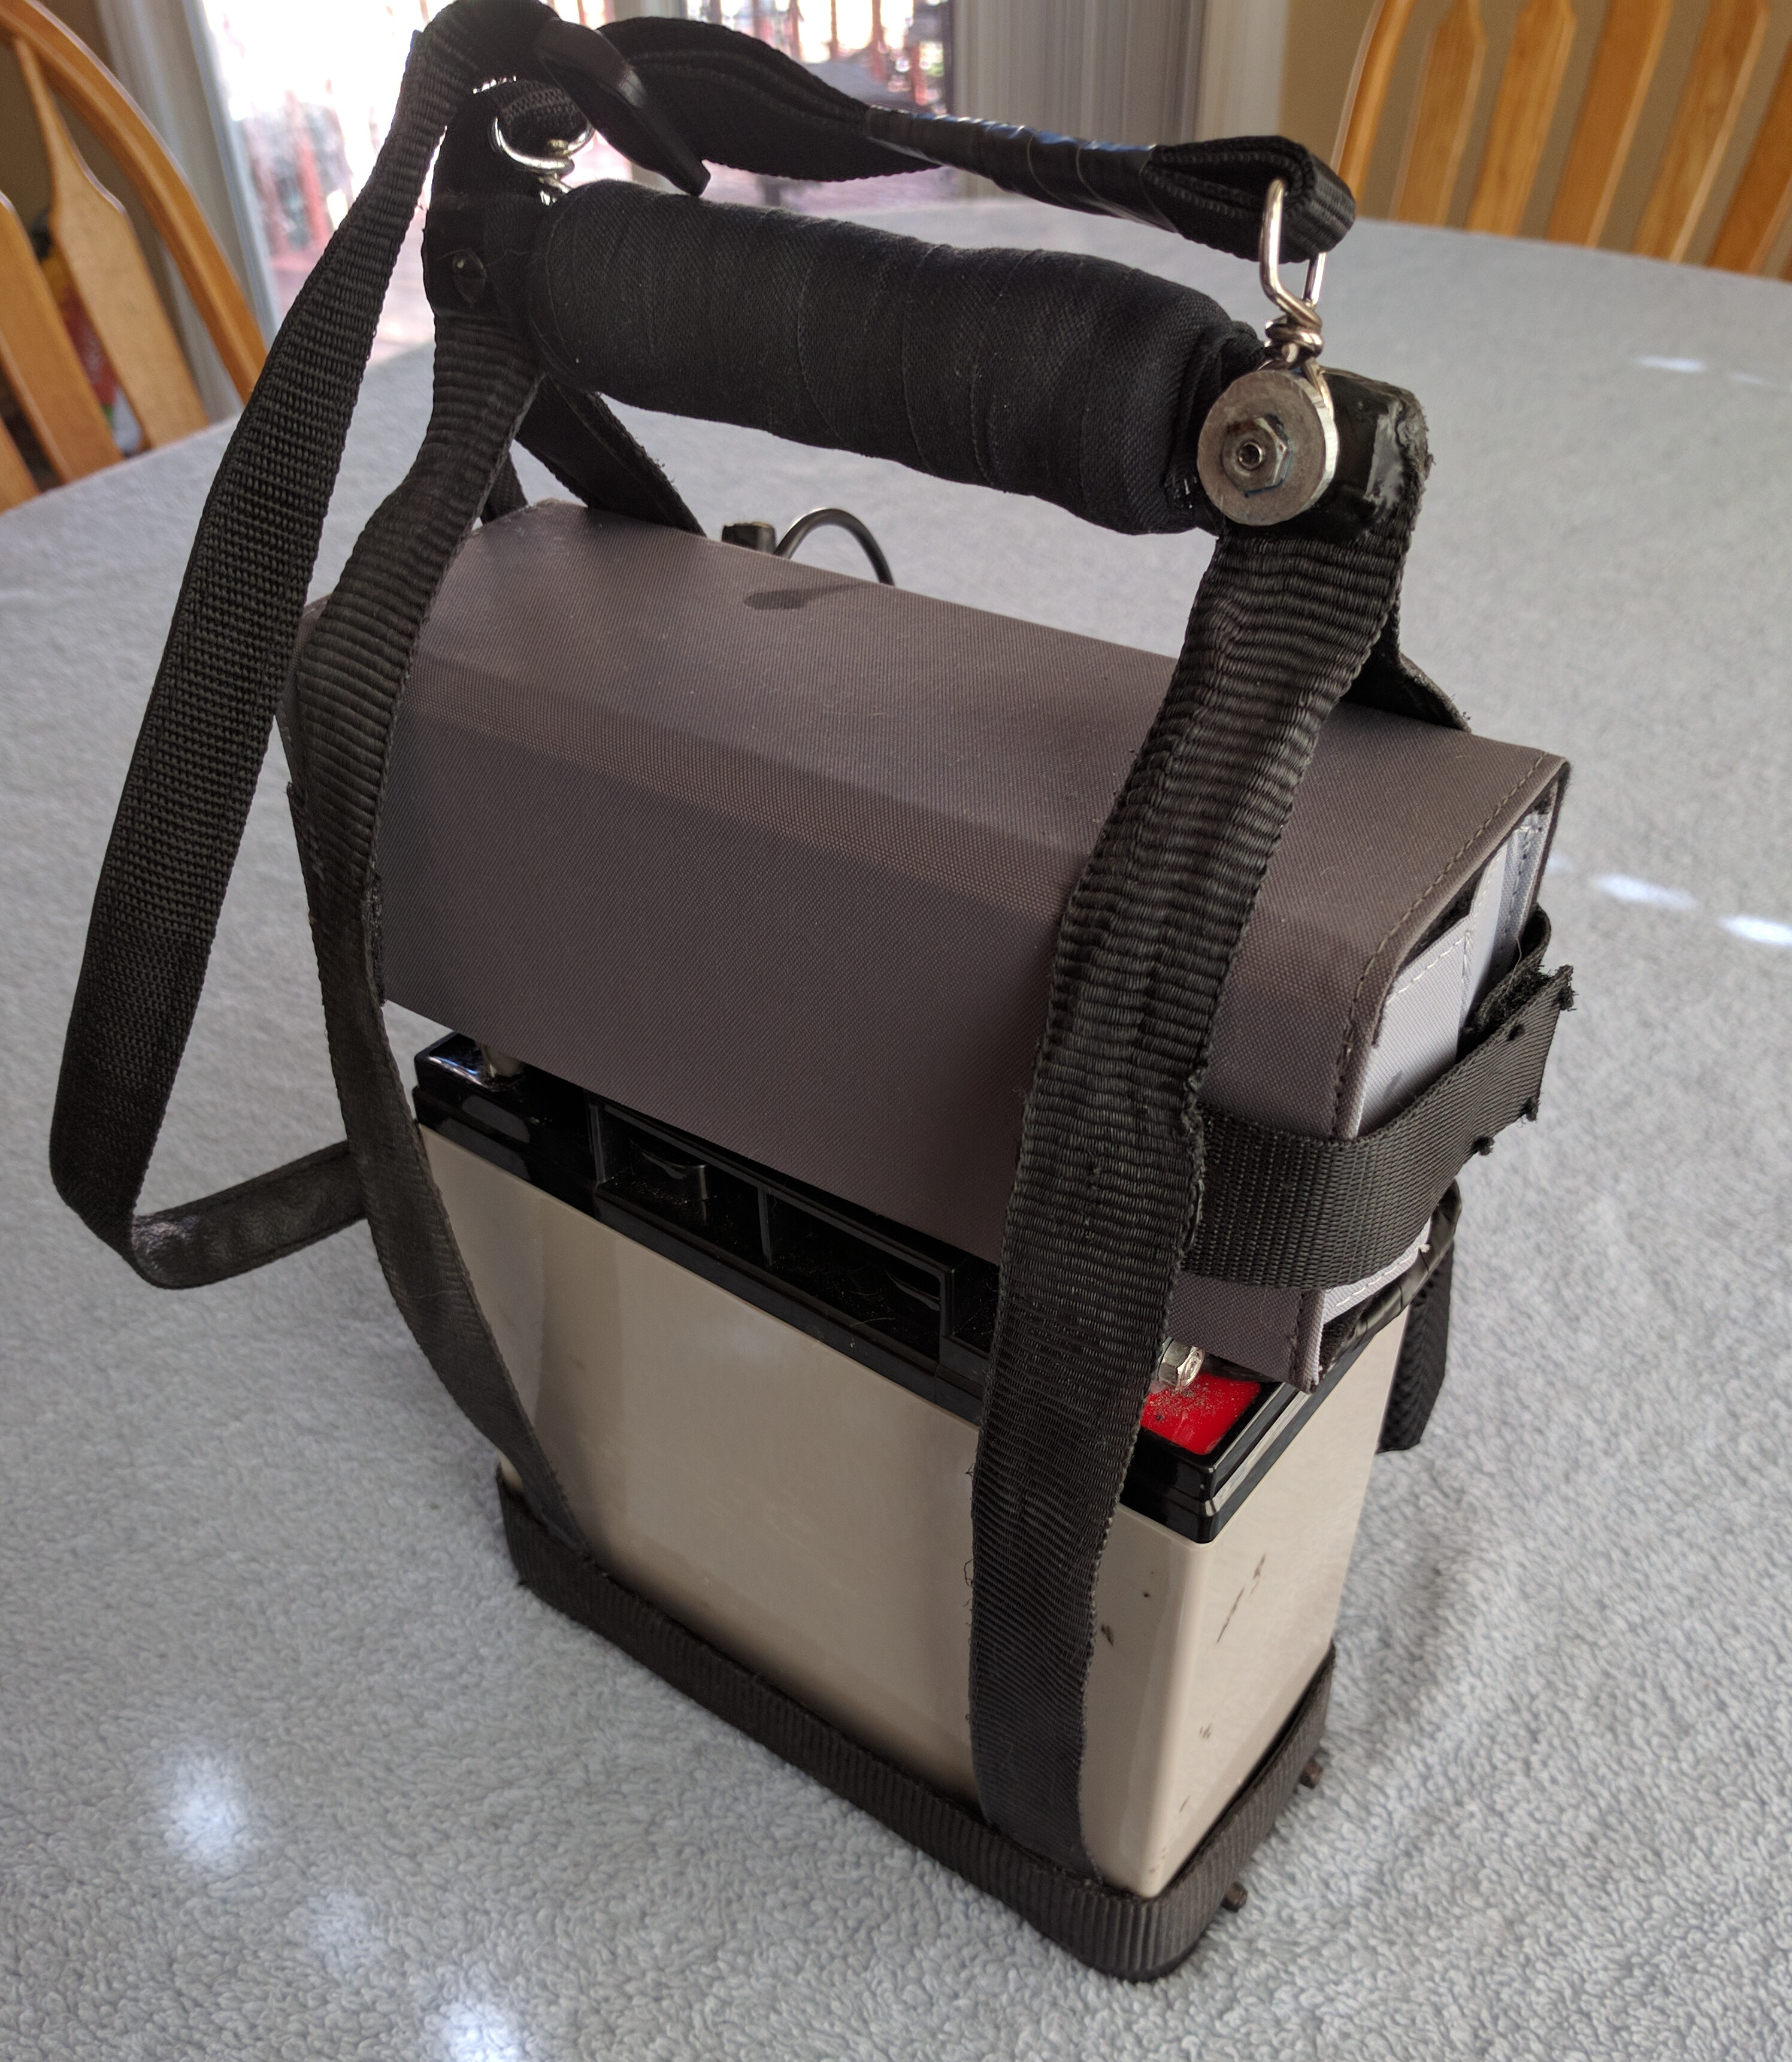
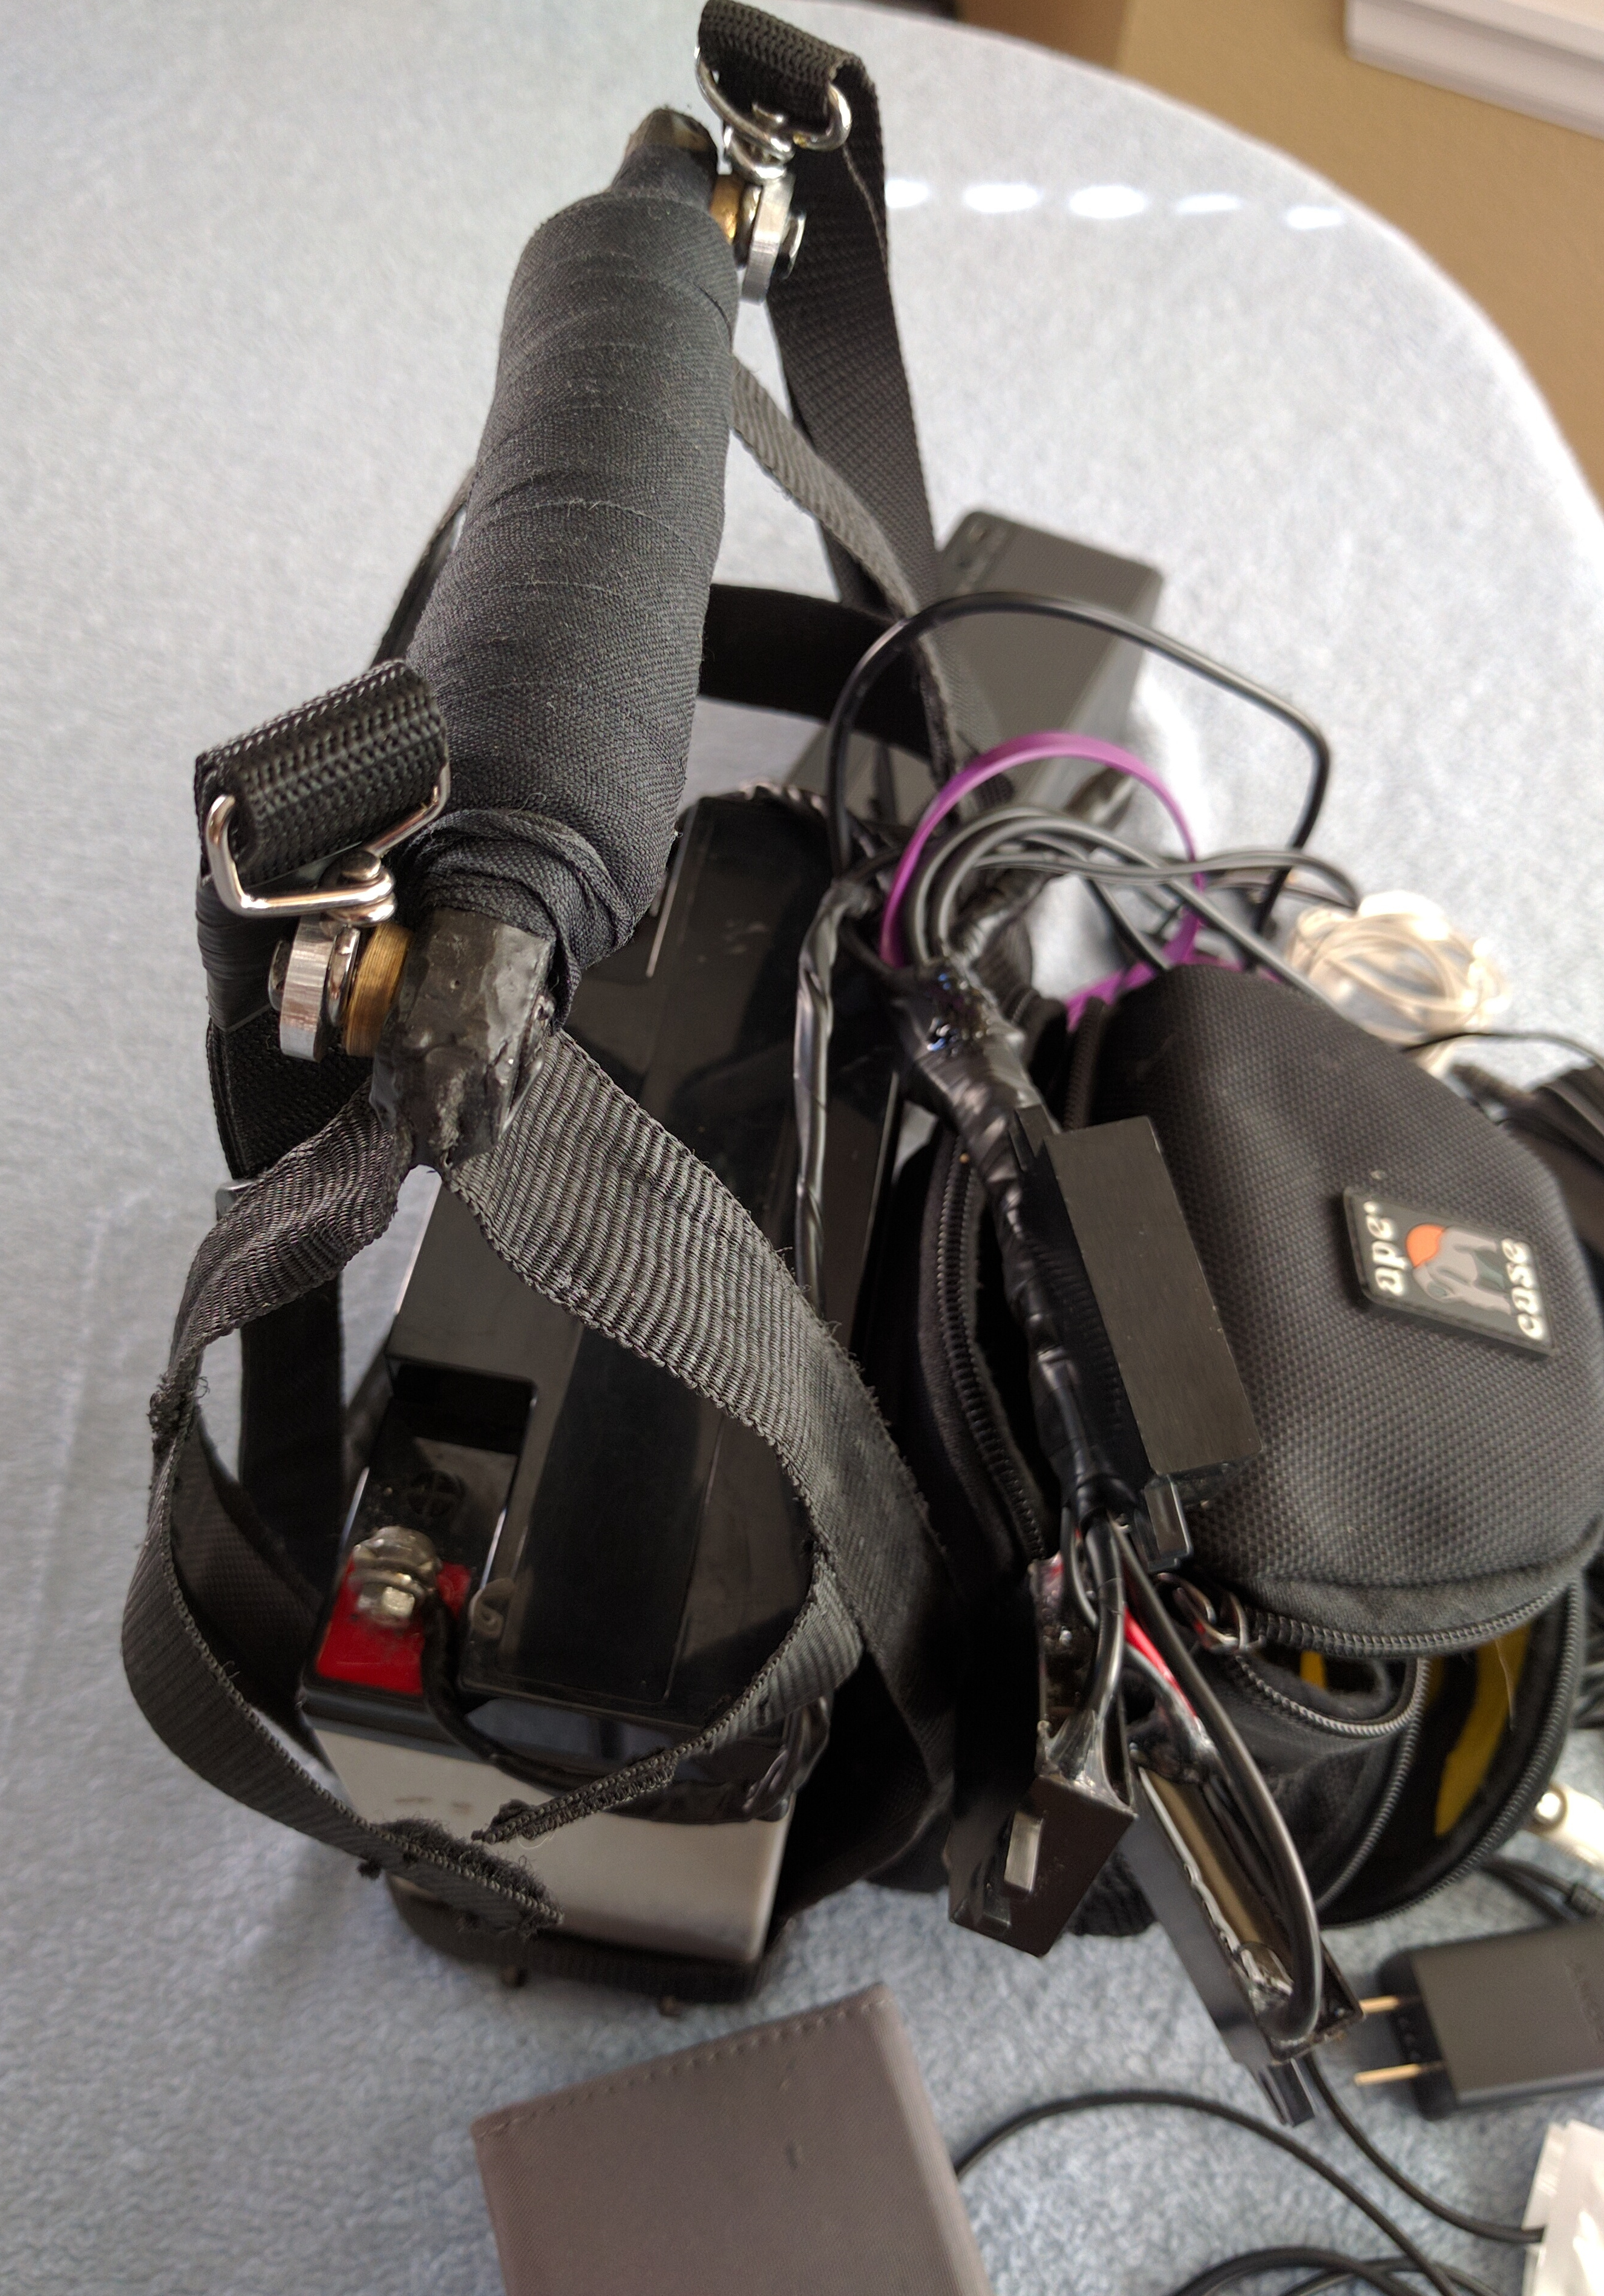
Yesterday, the WEMMS (W)ay (E)xtreme (M)obile (M)usic system achieved initial operational capability. It came in fully loaded at 18.2 pounds:

WEMMS1
WEMMS2

We had a little scope creep during the build, but what project doesn’t these days? (aside: I started the pond refurb 2 months ago with the intention of just replacing the fountain. It turned into a top-to-bottom rebuild. Ended up tearing everything out, clear down to the dirt.) Anyway, this guy is now also a universal charging station with 3 transformers supporting 2 USB female plugs, with cables and adapters to fit just about anything currently out there in the mobile electronics realm.

WEMMS3
WEMMS4

It played continuously in testing for over a week before I cancelled the test after the battery was down to under 6v. Recharge time with the big wall wart was about 2 days. The little wart is hardwired for standby charging near a wall socket to keep it topped up in that mode of operation. I still need to make a cigarette lighter and standard car charger adapter plugs, but other than that, I believe it’s pretty well finished and good to go. Camping trip in August will complete the OTE phase.

Sneak Preview: DIY Mobile Sound

I’ve never been able to realize a truly satisfying mobile music experience. Been through literally dozens of car, walkman, boombox, etc. systems over the years – some retail, mostly DIY, others kludged combinations. Despite the arguably diverse application scope here, one drawback always ruined it: Battery Capacity. To me, mobile means mobile. I’m not interested if it needs plugged in to keep playing loudly for more than a few hours.

I have this little Sony portable speaker and an Apple Nano I use for camping. It sounds good, but is as expected, limited by battery capacity. I was in a hurry ordering replacement batteries for one of the UPS units a few weeks ago and of course ordered the wrong ones. With the help of an inexpensive 5-12V transformer, I decided to press these 8-aHr units into service on a solution to my mobile sound quandary, rather than pay the 15% re-stocking fee. You can barely see the battery in it’s custom carry case in the protoype setup pictured below. It’s been playing continuously for 4 days now. The Nano thinks it’s plugged in:

BoomBox1

This morning it’s down to 12.3 volts, from a 12.7v start. That’s about .1 volt loss/day, playing softly. I’m springing for one of those new high-end DAC digital players that’s been showing up on the market lately for what I’ll refer to as the WEMMS – Way Extreme Mobile Music System. Finished pics coming after testing and touching up complete…

Pond V3: Chapter 1

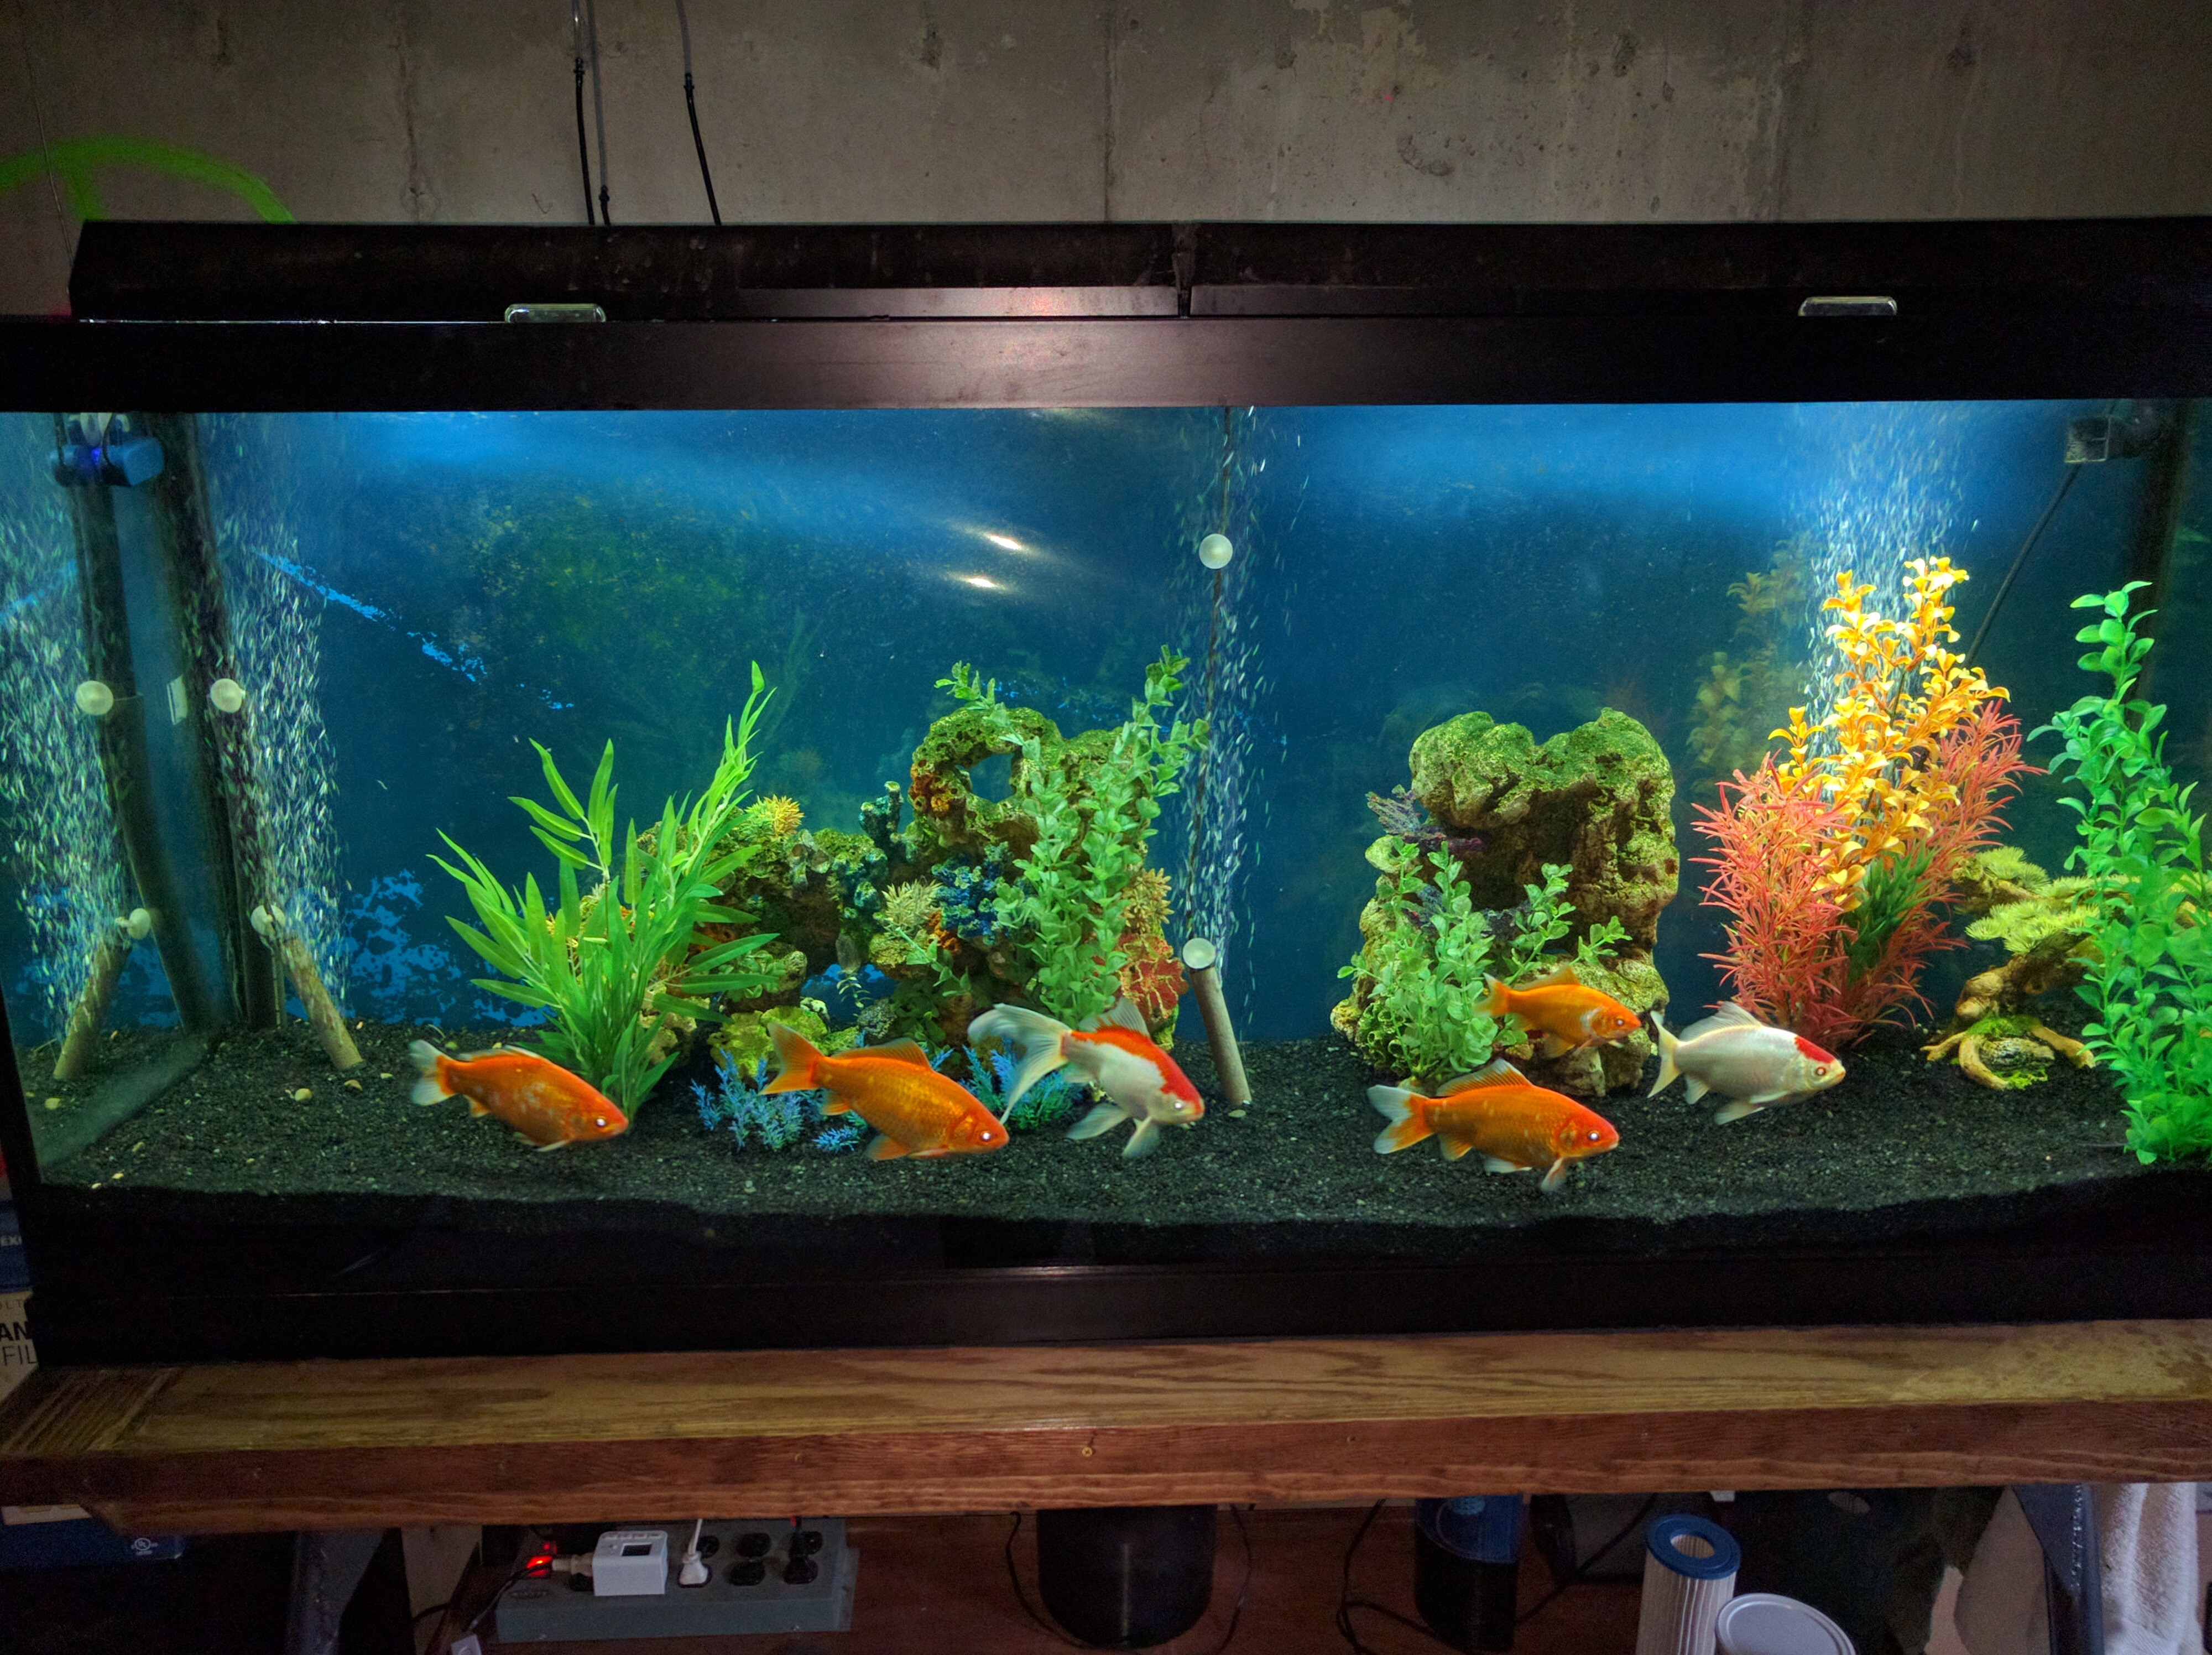
The backyard pond is getting a major, final (hopefully!) upgrade this spring. The past 2 years have been a learning experience. I believe I’m ready to put the finishing touches on it now. Those “touches” as t’were, entail a complete overhaul. One issue is the goldfish. They are getting BIG! Here’s a pic of them in their 125gal basement winter tank:

Goldfish01
Another thing is/was that plastic fountain I put up last year. It looked OK and everybody seemed to like it, but it just started feeling a bit cheesy to me. After some thought I came up with an idea for a permanent, more natural and elegant-looking fountain. It will tie into a concrete surround slab raising the water level about 6 inches this time. The sump seal is being re-designed and I’m going to replace the liner and dig it deeper. Goals for the work will be zero seepage and a significant capacity increase Here’s what it’s looking like after a good start over the past couple of weeks:

Pond Start

Junipers Out, Roses In

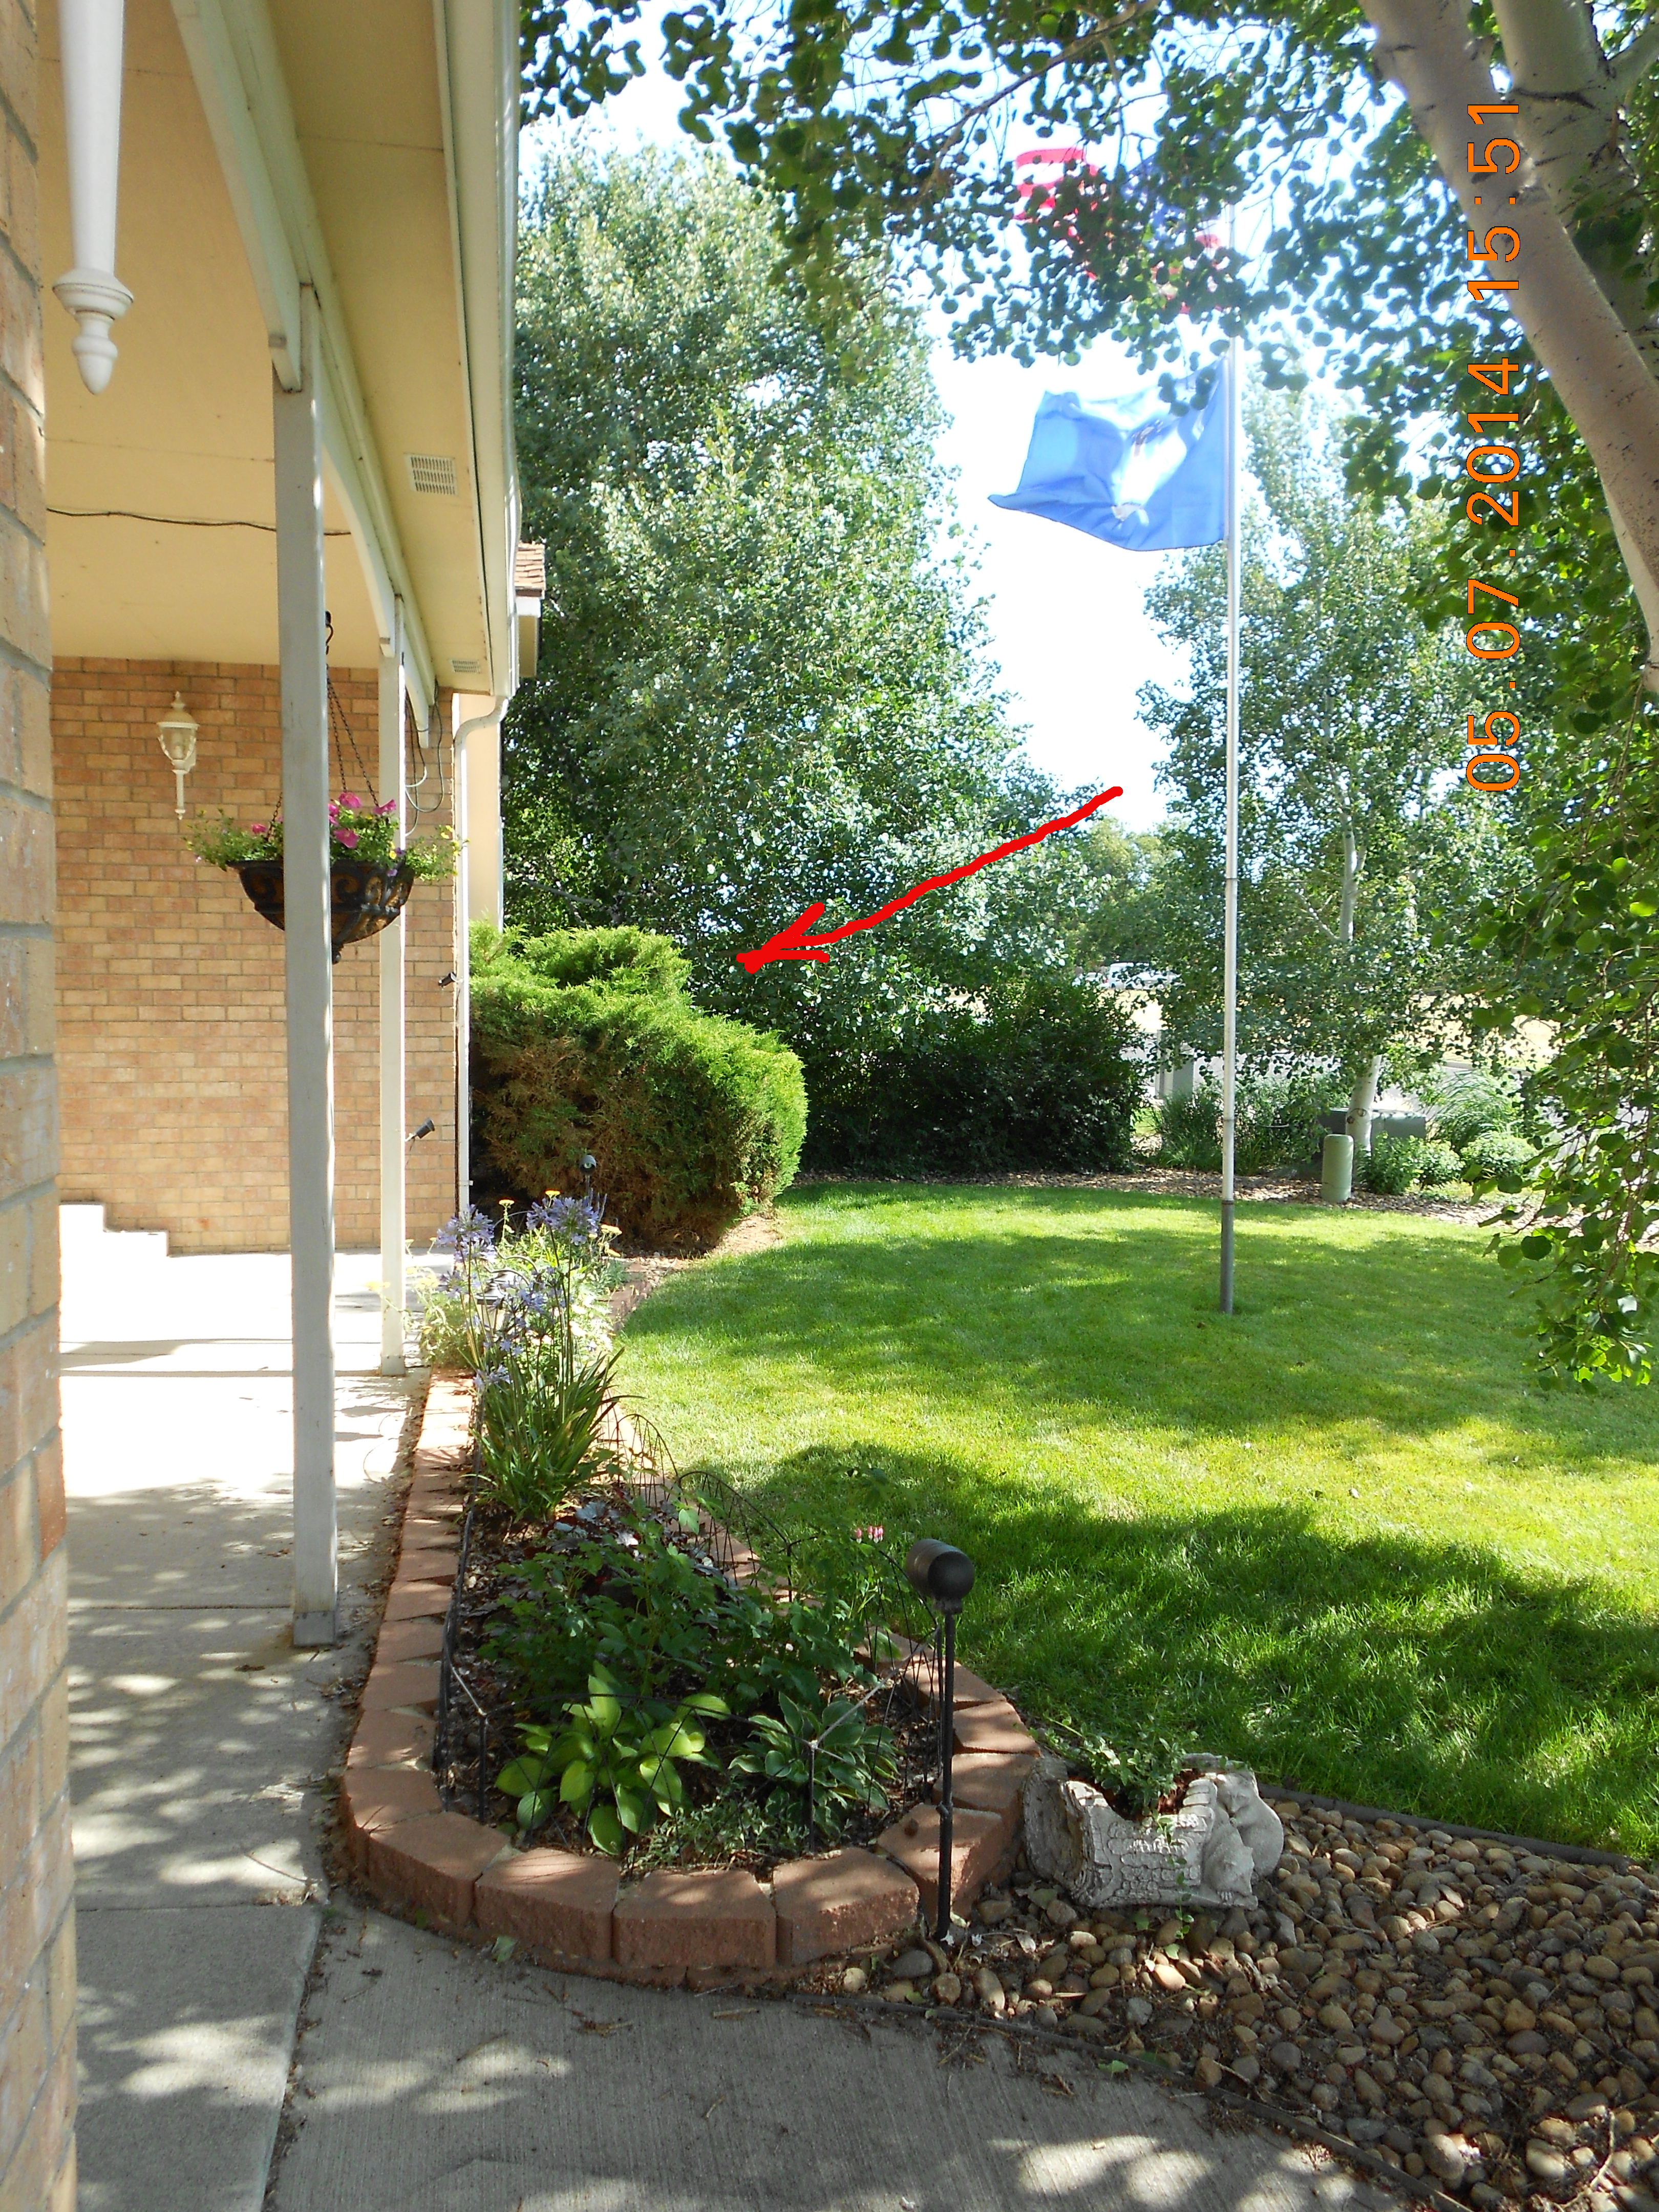
The very first flora we planted right after moving in back in 2003 was 3 Junipers outside Phoebe’s bedroom window:

Junipers
I viewed them as a security measure more than anything else, blocking access to the window and basement egress. We had an early hard freeze in 2013, that pretty much killed them. I say “pretty much” because they did survive just barely, but remained mostly brown for the next 3 years. I hoped they would eventually fully recover, but it wasn’t happening.

I started a somewhat related project in the spring of 2014 to install a sump in the egress window well. We’d always been getting water in there for some reason, I assumed just because the soil here is sandy and drains really well. So I did a little digging on-and-off over the next 2 years, not really in any hurry. Little did I know, the Juniper project would finally reveal exactly why water was going in there and rusting the window well shell.

The problem became quite clear after pulling the Juniper stumps. Some fool builder decided to back-fill around the window with landscape rock! Not completely, but enough to make a negative grade down almost 2 feet on 1 side. So I had to dig out about 500lbs. of rock and properly back-fill the thing with soil. Despite not really needing it anymore, the sump project finally got completed in conjunction with a new flower bed containing 2 rose bushes for starters.


The window well is still not actually quite complete. It needs a cover, which is going to be another custom DIY. I also have to get around to cleaning up and painting over that rust one of these days as well…

Big Move-In Re-install #2 Complete!

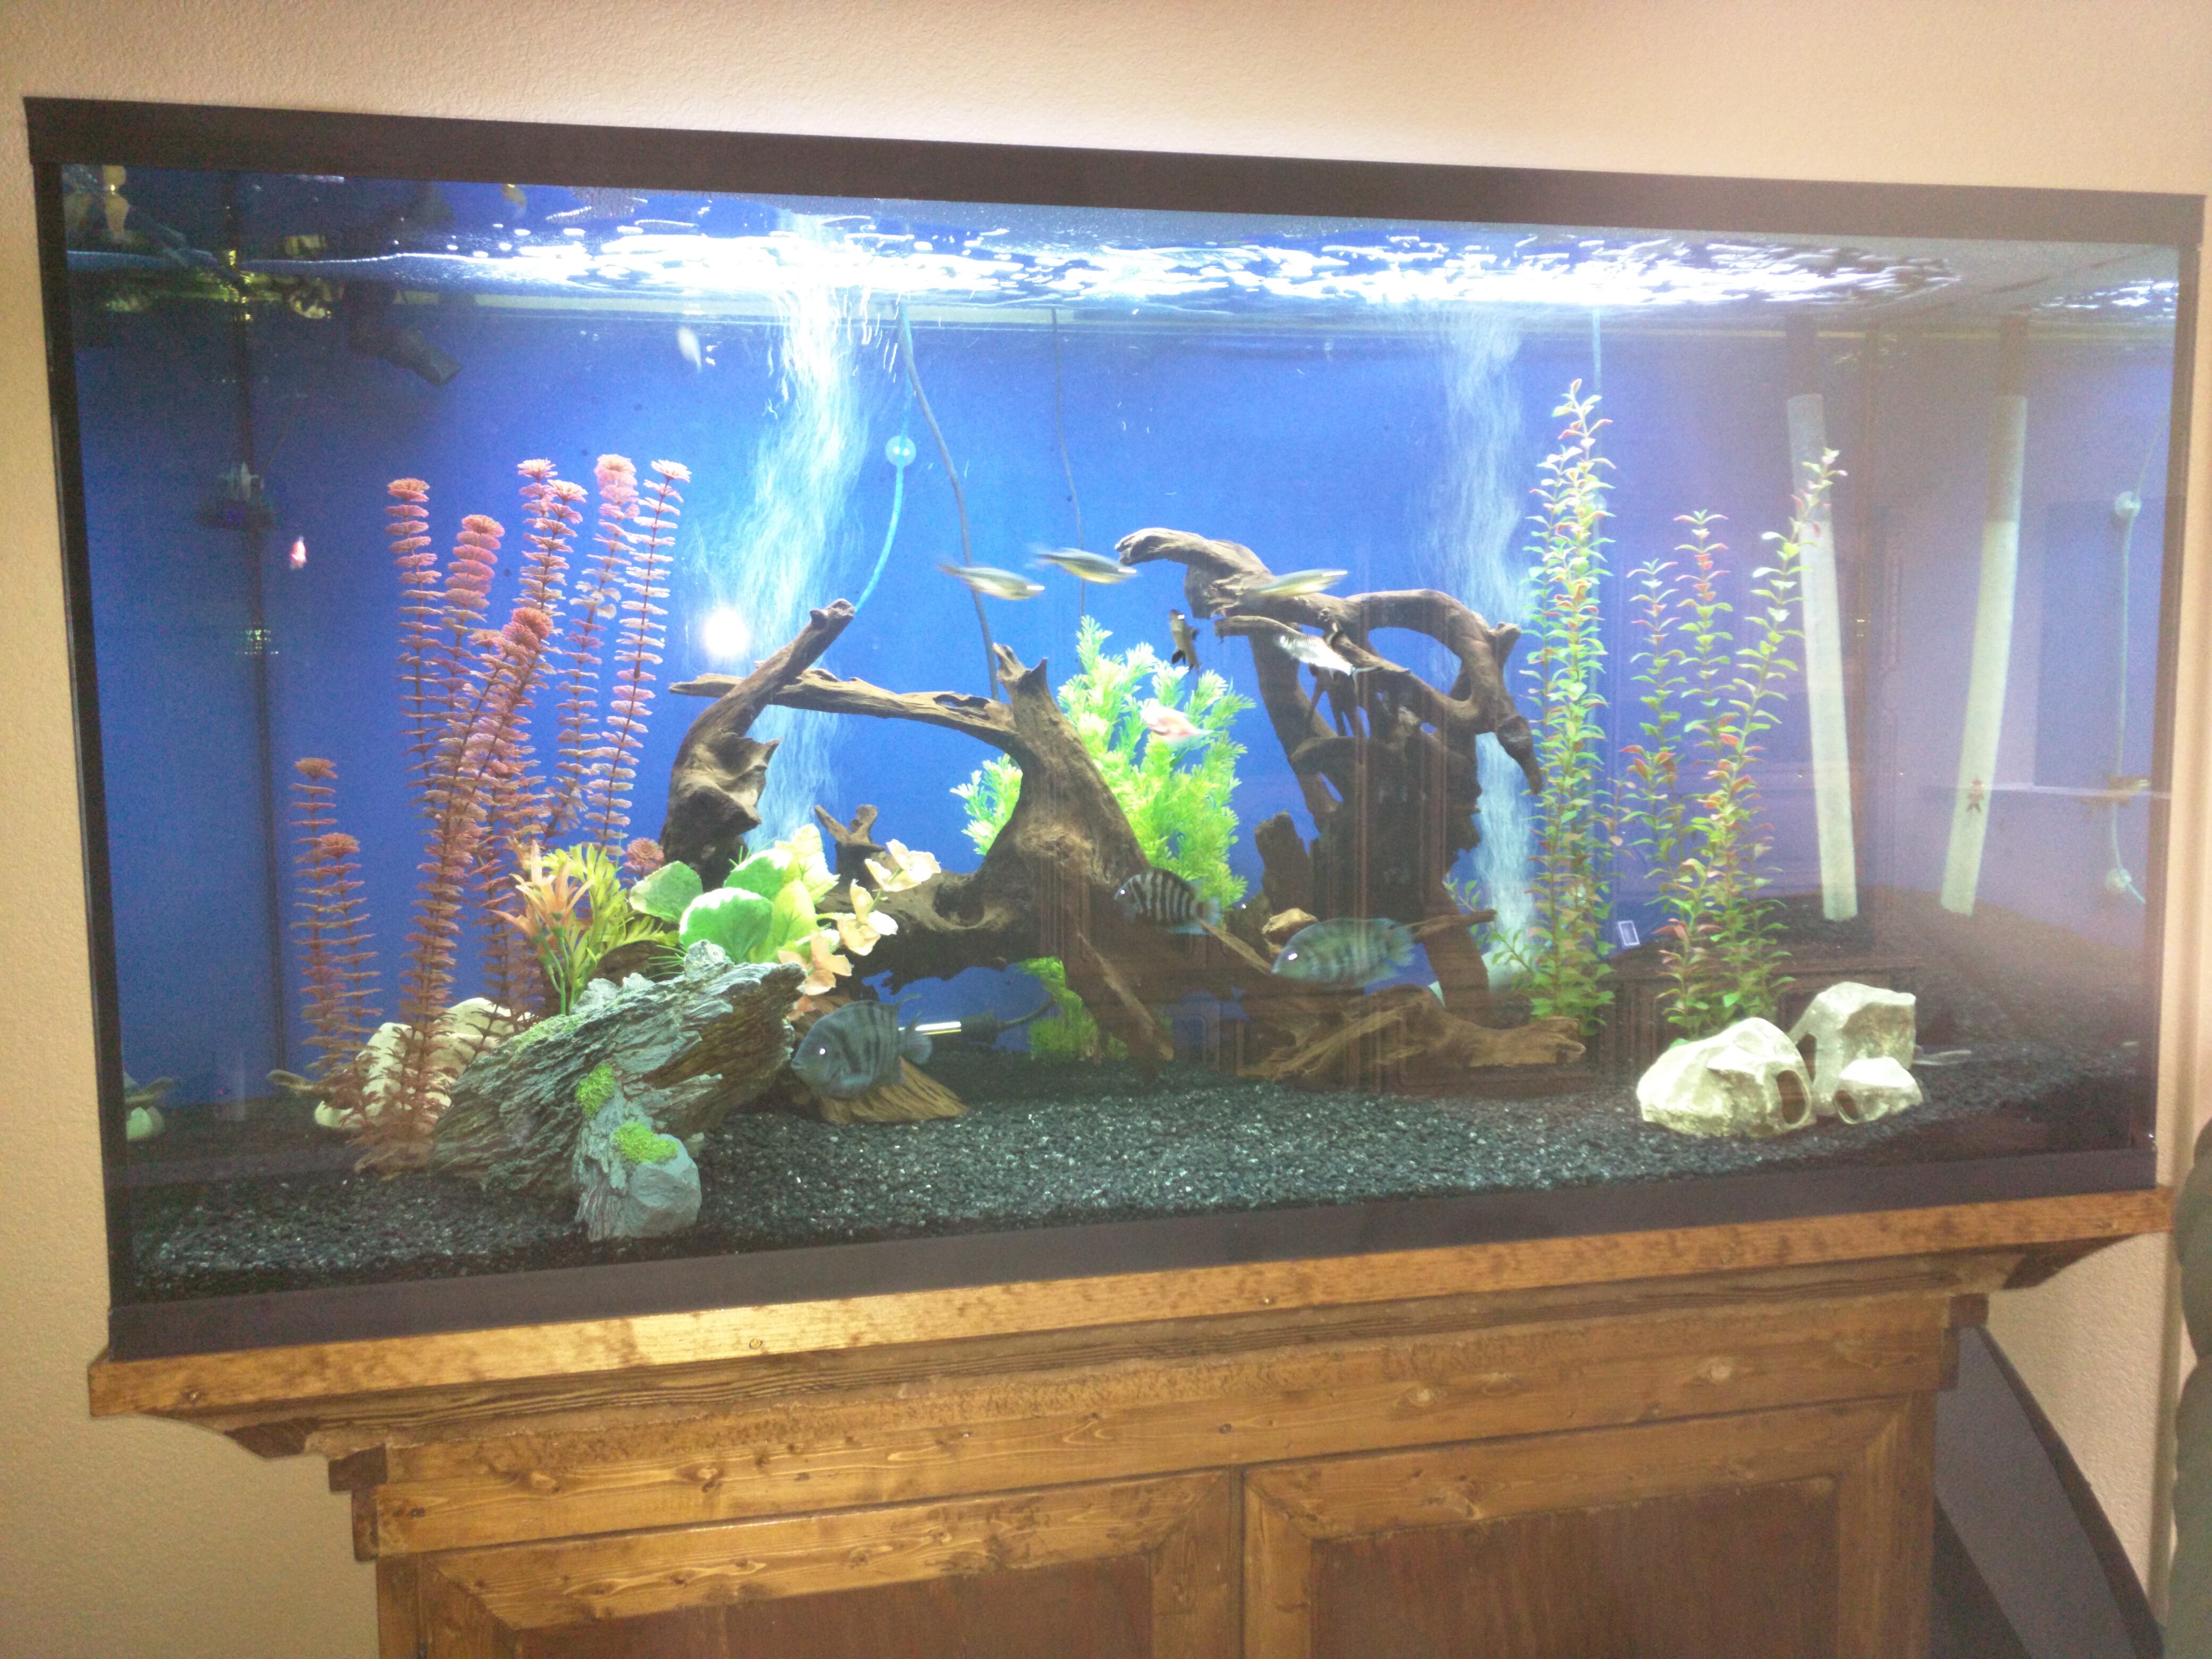
It was actually pretty much finished 2 weeks ago, but I was waiting for the driftwood to become waterlogged enough to sink before taking pictures:

190-02
190-01
It was alot of work upgrading and re-finishing the stand/cabinet while juggling renovation activities during the summer. Fortunately the vendor (Glasscages from TN) was very late getting it delivered, and even so I had to scramble to get the stand and floor bracing done only the day before the new tank arrived at the freight terminal in Aurora.

brace1
brace2
The floor under the new >1-ton unit feels more solid now than it did with the old 80-gallon tank. The entire Frederick girls varsity volleyball team was standing around it watching me feed the fish last week, so looks like it will hold up OK. Now I have to work on getting the goldfish into the recently vacated basement tank before winter sets in.

Big Move-In Re-Install Completed

Including restoring the old 80’s-era wooden Kenwood rack, it took the better part of week to get the entertainment center back into operation. I re-wired everything to utilize new floor openings created to improve cable routing. The left surround channel wires still come up through the vent there, but other than that, the cabling is nicely routed and pretty much out of sight. I had 2 amps turn up bad upon re-activation. The Carver M1.5t was “declared bad” (again!) due to a 60htz hum it’s had for some time now. I now have 3 old Carver amps awaiting repair – 3rd time around for the M1.5t. Most of that stuff is around 25 years old, so I guess it is to be expected.

entcent1
entcent2
entcent3
The TV Shelf was a DIY from way back after we first moved here. It was obvious that corner is the only good location for a TV, and corner furniture for the type system I was envisioning just doesn’t exist. It’s fabricated from 2 sheets of plywood with angle iron sandwiched around the edges and lag-screwed to the wall studs. It holds the TV with me standing on it just fine. Getting that JBL Studio Monitor mounted way up in the corner like that for the center channel was no mean feat. But it was the state-of-the-art reference speaker installed in recording studios everywhere back in the day and sounds great. It’s been kinda like the nostalgic signature centerpiece for the system, so it had to be done.